Mod Podge on Wood With Fabric: DIY Mod Podge Craft For Baby Nursery
ByAlyLast updated:
This post may contain affiliate links, which means I’ll receive a commission if you purchase through my links, at no extra cost to you. Please read full disclosure for more information.
I made some awesome painted wood name letters when my daughter was born. Since the wooden letters came in packs of 2, I still had a whole other set of wooden letters spelling her name just sitting around waiting for creative inspiration. The inspiration finally struck, and I created new vibrant name letters using fabric and Mod Podge on wood.
I did a lot of Mommy DIY crafting in my daughter’s nursery, and my mom even made her a quilt with her fabric theme. It only seemed fitting to keep with the theme of her room when crafting these letters. Hence, I’m using her quilt fabric.
I’m not a Mod Podge expert, but I want to show you what worked great for me in this quick tutorial!
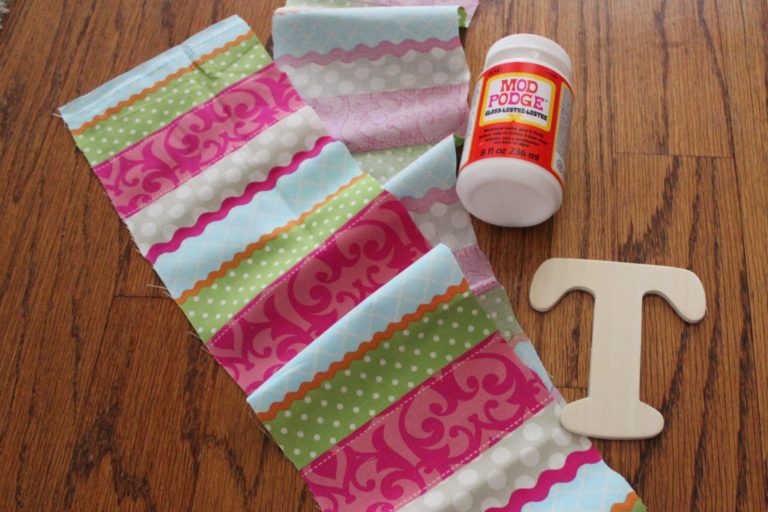
Wood Mod Podge Project Supplies:
Fabric
Wooden Letters
Mod Podge
Paint brush or foam brush
Scissors
How to Mod Podge Fabric on Wood
This is a really simple craft. First, I put Mod Podge on the front side of each of the letters. Make sure every bit of the wood is covered or else the fabric won’t stick.
I then stuck the letter to the back of the fabric.
Then, I put a layer of Mod Podge on top of the front side of the fabric. It helped when I used my finger to make sure the Mod Podge was spread all over and that the fabric was stuck on all parts of the wooden letter.
I let the letters dry overnight and then put another layer of Mod Podge on for good measure.
Once the second layer was dry, I used some tiny sewing scissors to cut around the shape of the wooden letter. Ta-da!
Here’s what the finished product looks like with all the letters as well as a couple of wooden hearts I added!
I later ended up using these wooden letters for a DIY growth chart. What do you think of the finished project? Any good project ideas you have for using Mod Podge on wood?