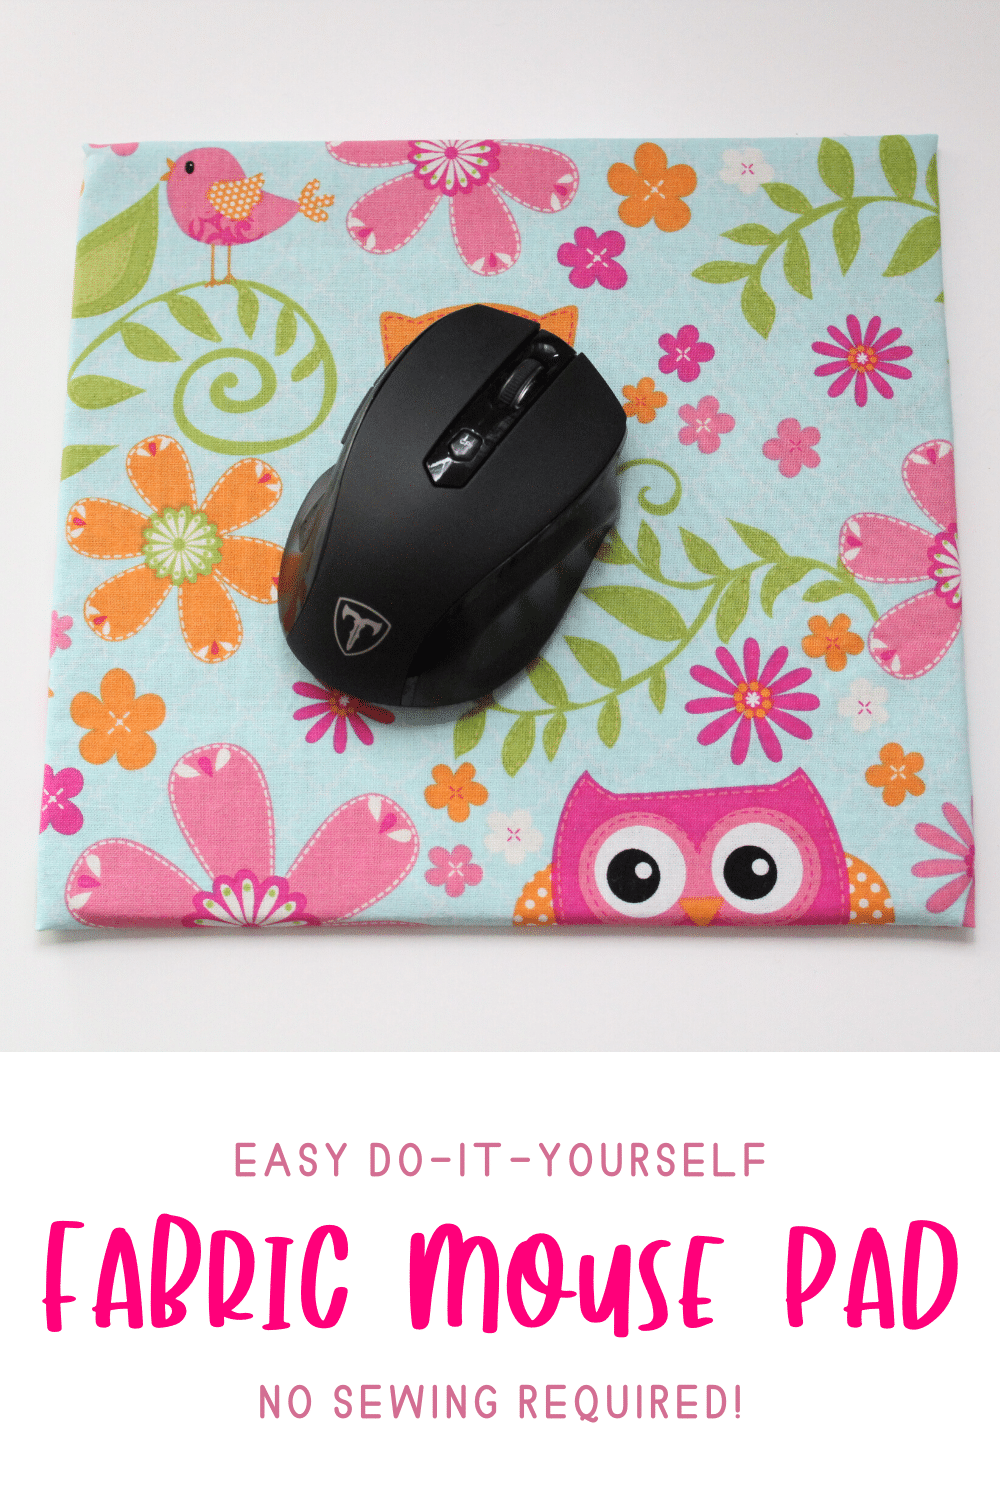
How to Make a No-Sew DIY Fabric Mouse Pad – Upcycle Project Idea
This post may contain affiliate links, which means I’ll receive a commission if you purchase through my links, at no extra cost to you. Please read full disclosure for more information.
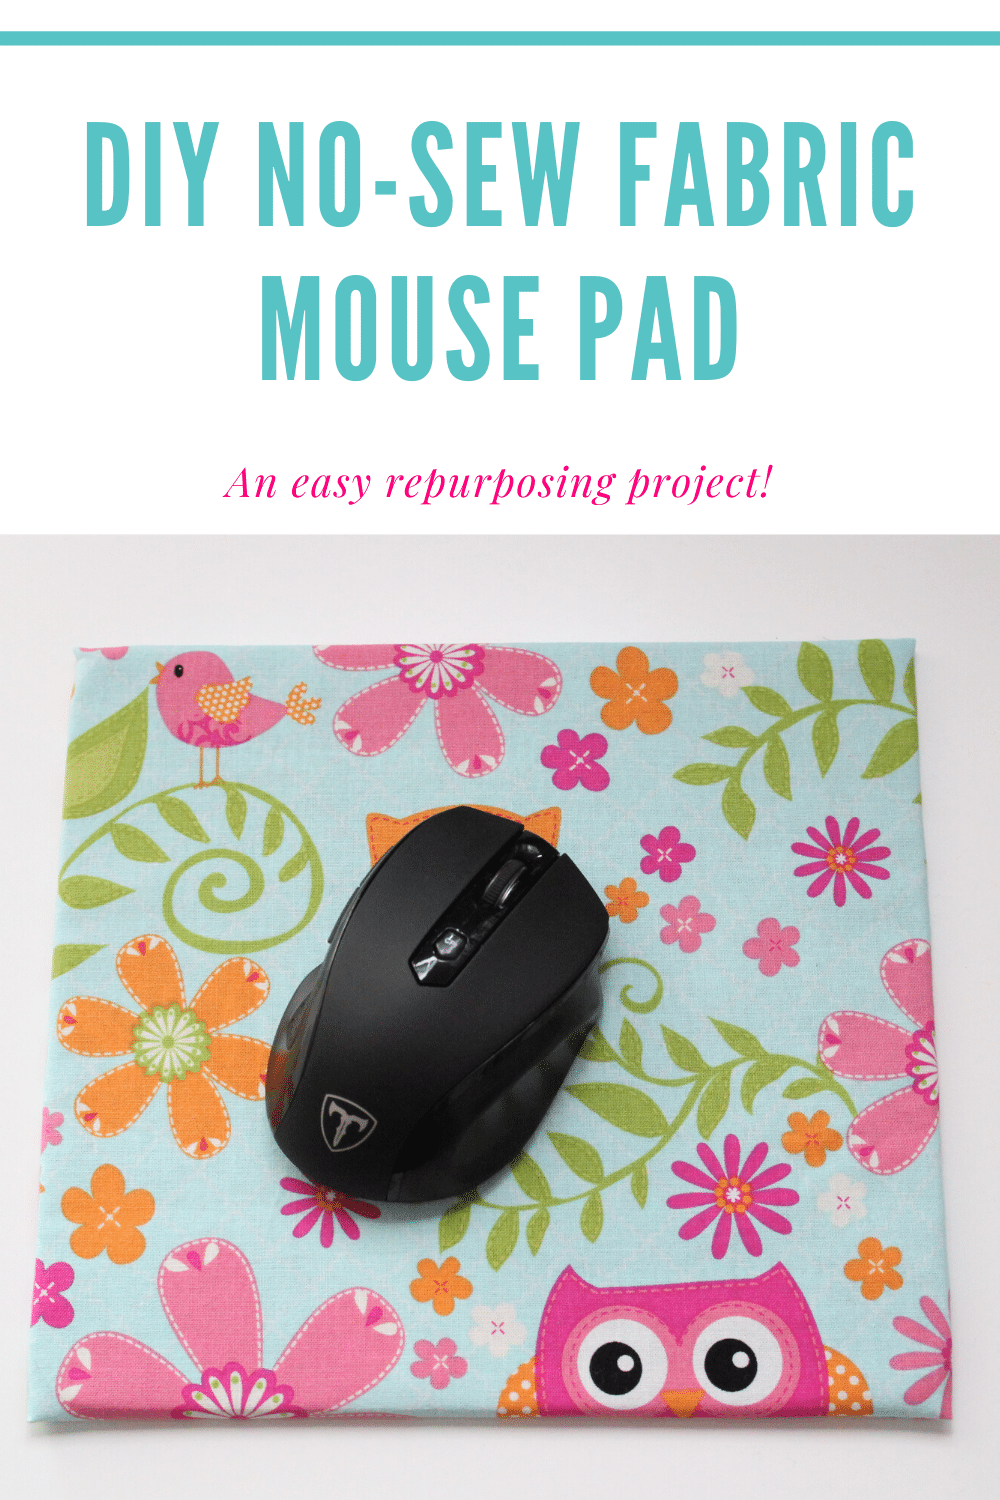
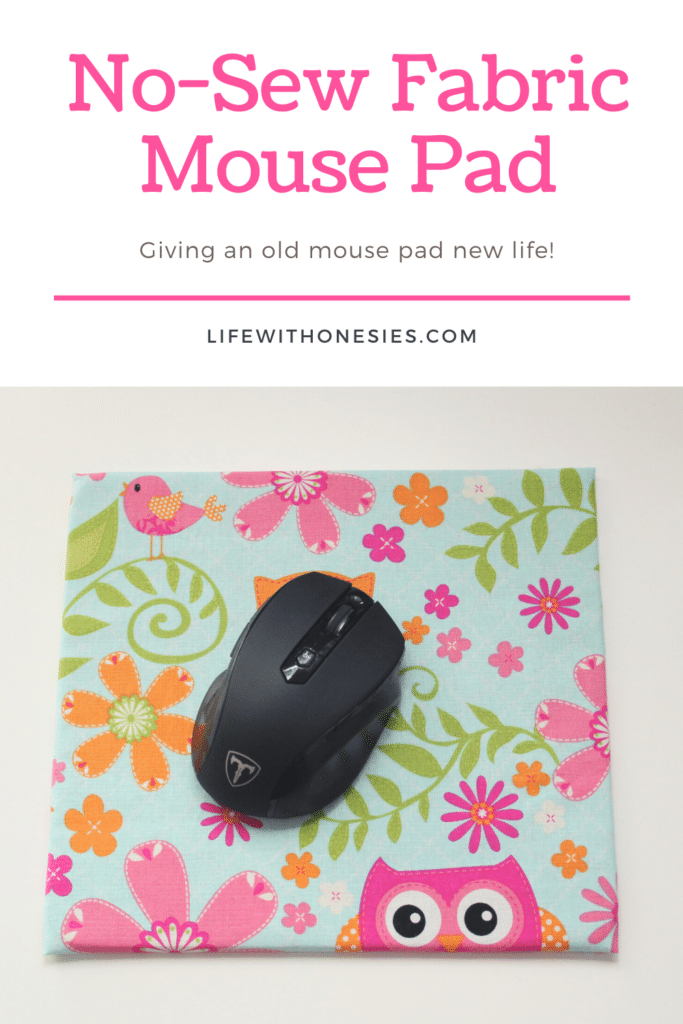
I want to share with you a quick tutorial on how to make a no-sew DIY mouse pad.
Using an old mouse pad as a base, it’s so easy to refashion it with some fabric and glue to a much prettier mouse pad.
With my new craft room remodel, I suddenly found myself in need of a mouse pad, and I wanted it to match just perfectly.
My dad had an old, ugly mouse pad available as a base for a new craft project, which was just perfect!
Now, let’s get on to the tutorial!
DIY Mouse Pad Supplies
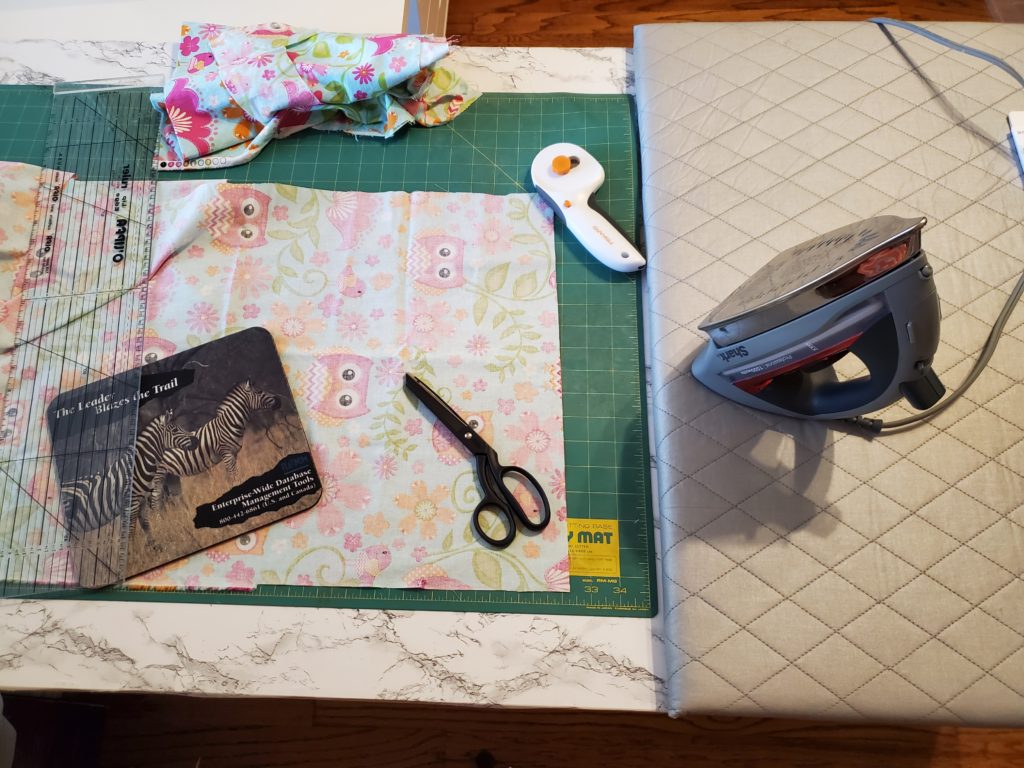
- Old mouse pad
- Fabric (I used a quilting cotton leftover from my daughter’s pink owl baby quilt. It is originally from Hobby Lobby.)
- Sewing scissors
- Craft glue that will work on fabric (I used Elmer’s craft glue)
If you’re using a rollerball mouse rather than a laser, make sure to test it out first to see if it will roll over the fabric you choose. I have this mouse here from Amazon that is a wireless laser mouse and works perfectly on top of my fabric.
How to Make a No-Sew Mouse Pad Cover
There aren’t a lot of steps to upcycling an old mouse pad into a new DIY creation, but I’ll show you pictures of the steps I took.
First, line your old mouse pad up on your fabric and cut fabric leaving approximately one inch extra around each corner. I love cutting fabric with my rotary cutter to get super straight lines, but you can use sewing scissors too.
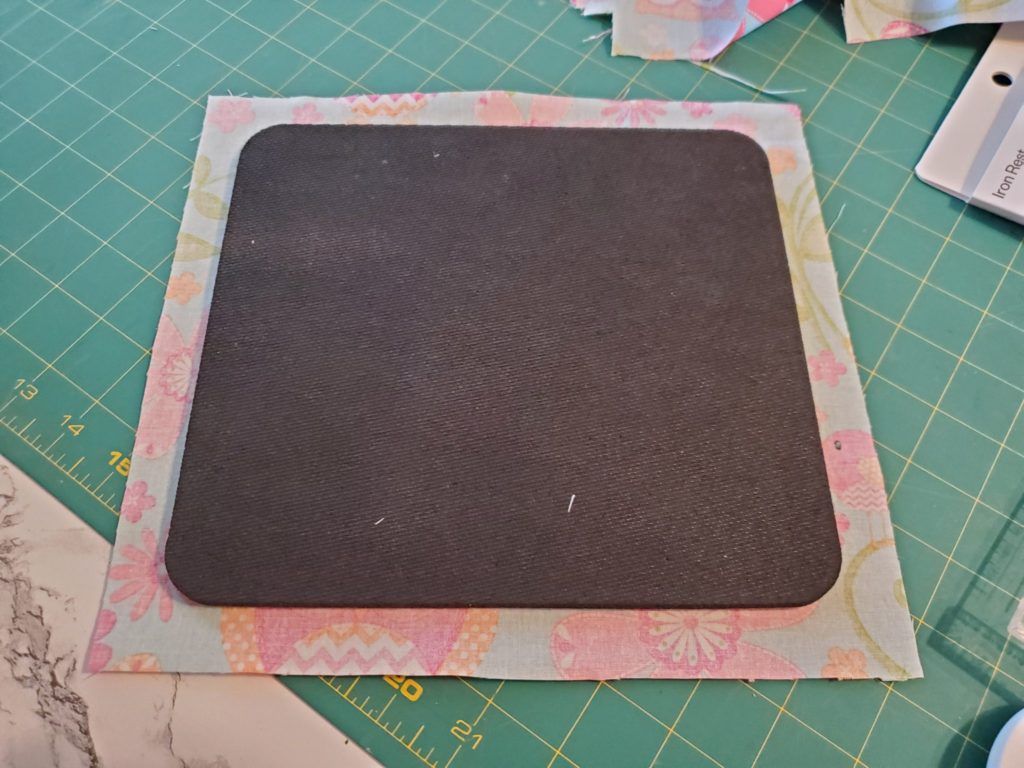
If your fabric is thin and your mouse pad shows through, you will want to put a layer of fusible interfacing underneath the fabric to make it more opaque. Luckily, my fabric was opaque enough I didn’t have to worry about show through!
Next, turn your fabric over where the wrong side is facing up. Then, place your mouse pad with the wrong side up on top of the fabric if it’s not like that already.
You’ll now want to put a small amount of glue around all four sides of the mouse pad. Carefully fold each side of the fabric over the side of the mouse pad and press down into the glue. If you put glue on the raw edges of the fabric also, this will keep the fabric from fraying over time. I gave it a little squish around with my finger to make sure things were good and stuck.
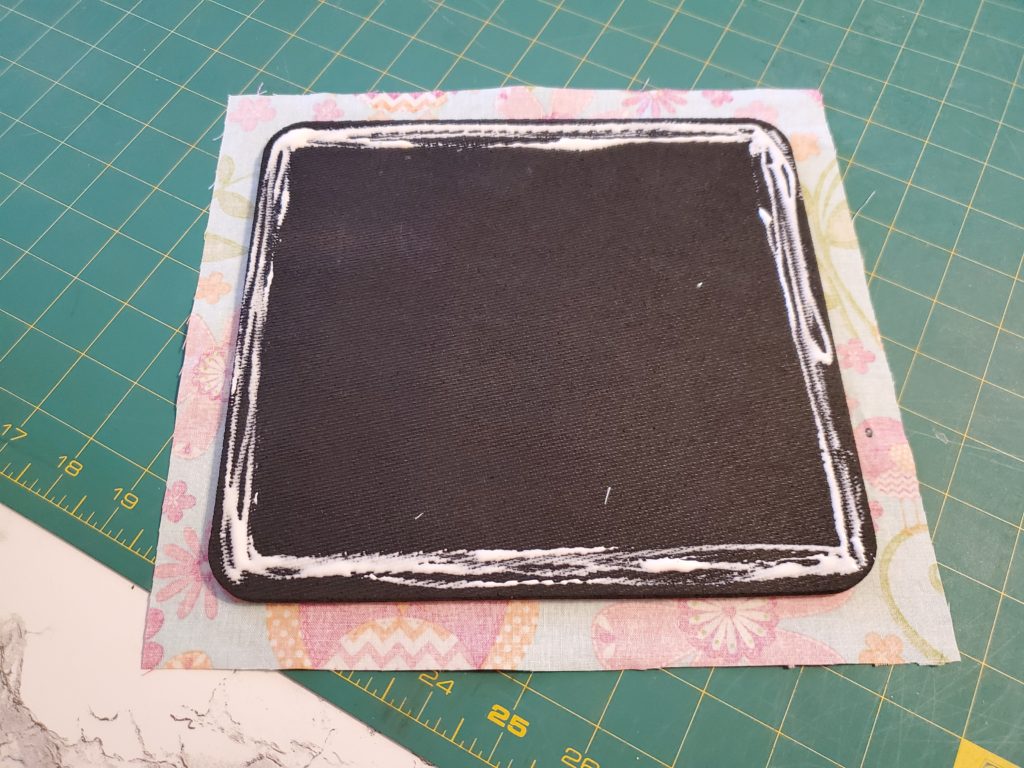
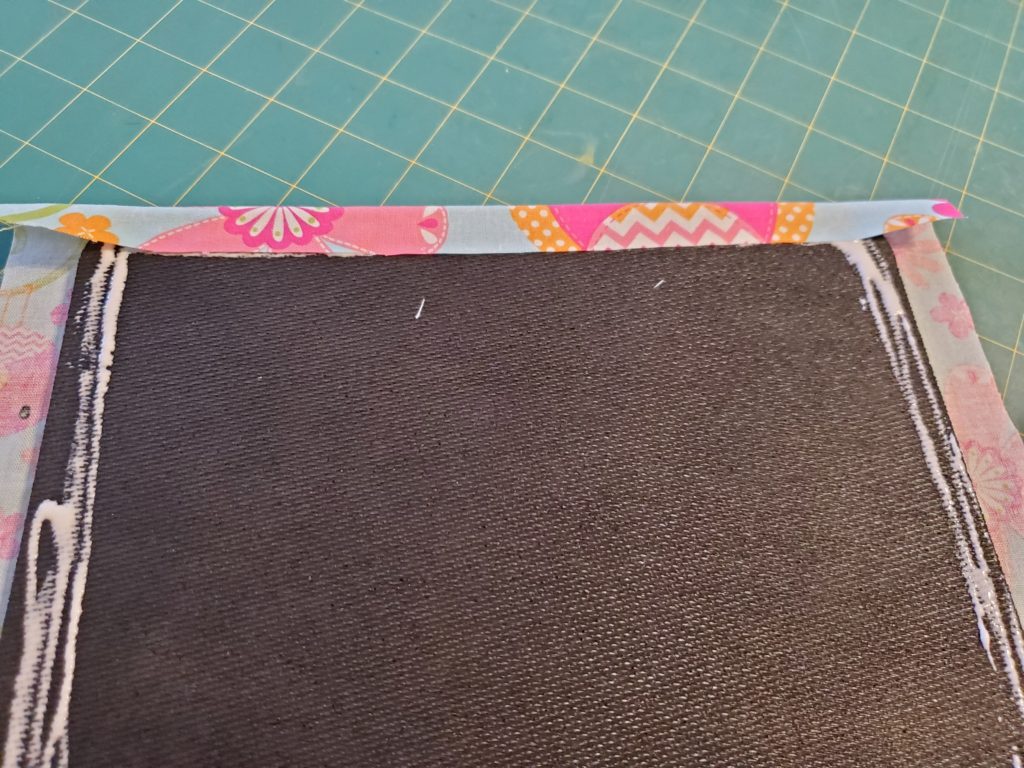
When folding the four sides, pay attention at the corners that you’re making things pretty and not too bulky. If you want, you can cut out a little bit of the fabric at the corners to take out bulk. The less bulky the corners, the smoother the mouse pad will sit on the table. My fabric was thin, so I didn’t have to worry much about bulk. I did glue all in and over the corners, though, to make sure I had all my fabric secured!
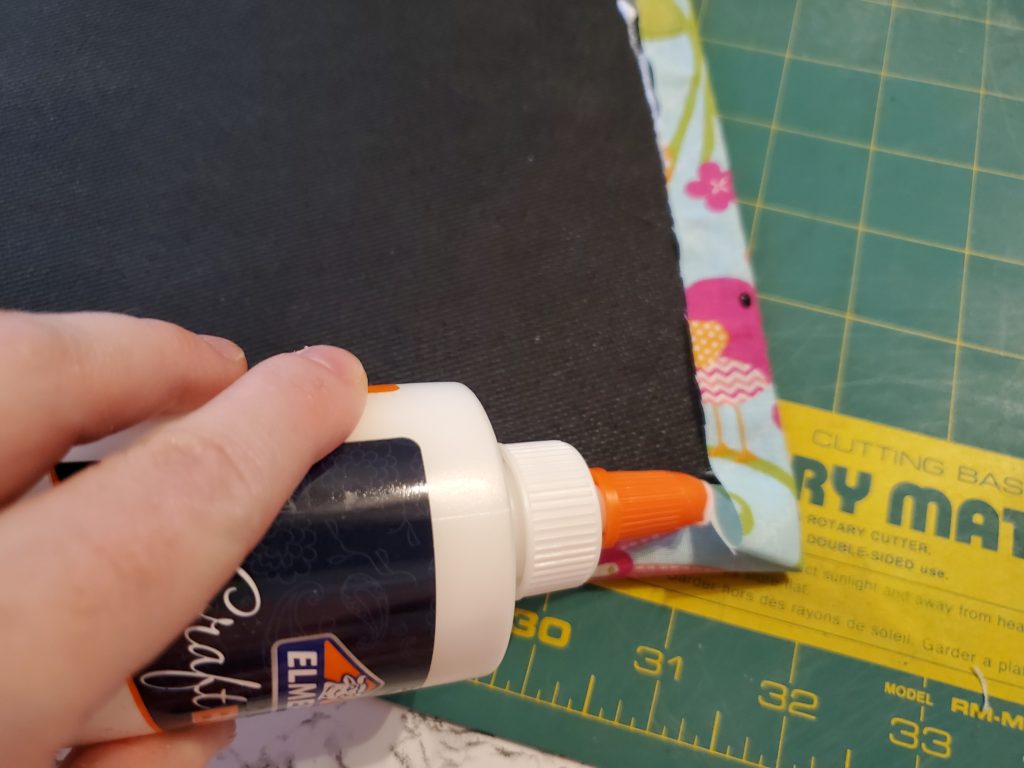
Now, your fabric has to be pretty taut on the back or it may move around on the front of the pad when you move your mouse. If this seems like it will be the case, you may benefit from adhering the front fabric to the front of the mousepad. I didn’t have this problem, but you can try double-sided tape to do this. If you have a layer of interfacing underneath the fabric, it will have more stability and also be less likely to move around.
Let the mouse pad dry, and then turn it over! Admire your masterpiece, and start using it!
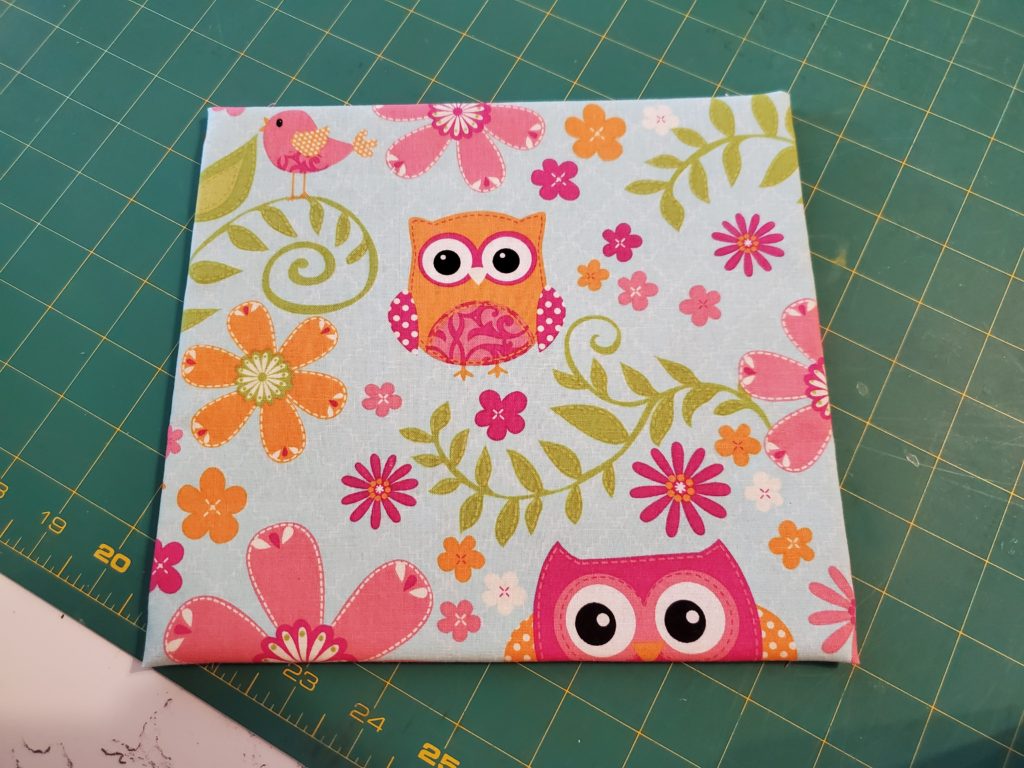
So far, I’ve had mine for a month or so, and it’s held up great and given me no problems!
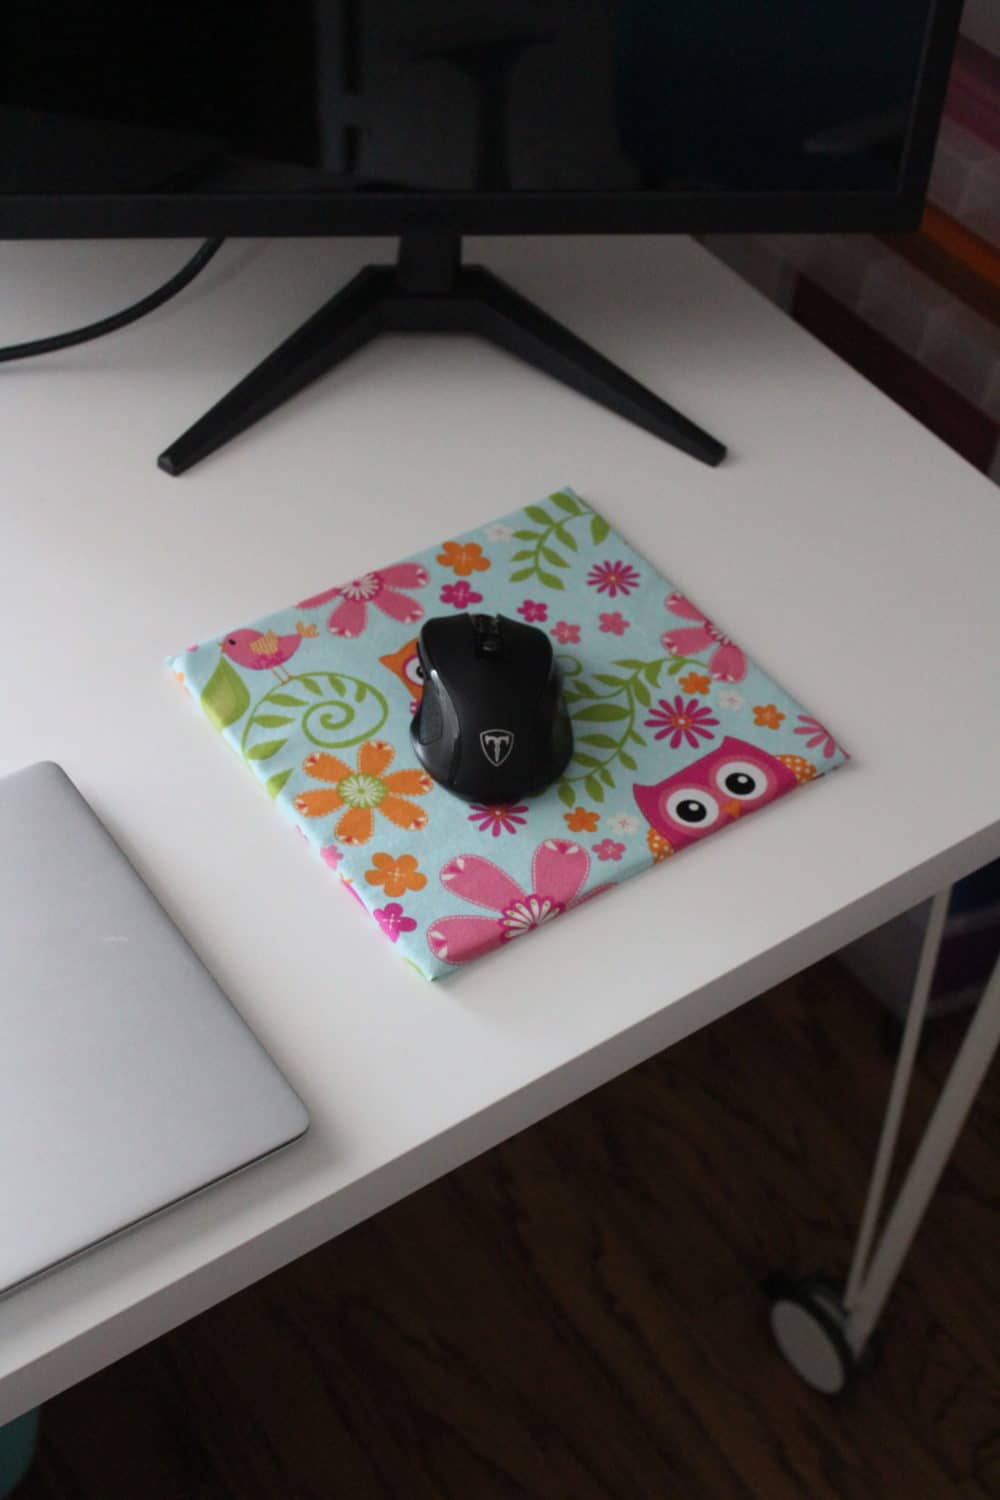
Here it is sitting so beautifully on my desk by my computer monitor.
