DIY Toddler Balance Beam from Wood – Easy to Make and Under $10
ByAlyLast updated:
This post may contain affiliate links, which means I’ll receive a commission if you purchase through my links, at no extra cost to you. Please read full disclosure for more information.
Starting from the moment my daughter could walk (which wasn’t until almost 15 months old), we enrolled her every month either in gymnastics, Gymboree, or swimming (with me in the water too!) to increase her physical strength. She had a rough little baby life and started physical therapy at 2 months old for torticollis and a flat head. She also has mild hip dysplasia, which was discovered too late to correct easily with a hip harness. So basically we are doing everything we can now to keep the torticollis under control and help the hip dysplasia improve without having to pursue aggressive treatment. As such, physical activity and strengthening exercises are so important for her!
Her favorite part of gymnastics by far–even surprisingly more so than the trampoline–is the balance beam! She still prefers to hold a hand so she can practically jog down the balance beam, but even by herself she can walk down the beam slowly. She also finds it fun to jump from the beam to the floor. Since she loved the beam so much at gymnastics, we decided it would be so easy to make one to have at home. Hence, this post on how to make a DIY toddler balance beam.
Balance Beam DIY – Much Less Expensive!
My dad was happy to help us! And I was happy for the help since we were able to make a cheap wooden balance beam for toddlers for less than 10$! There are some great looking balance beams on Amazon, but we don’t have that kind of money laying around for something that my daughter may tire of after a couple of months!
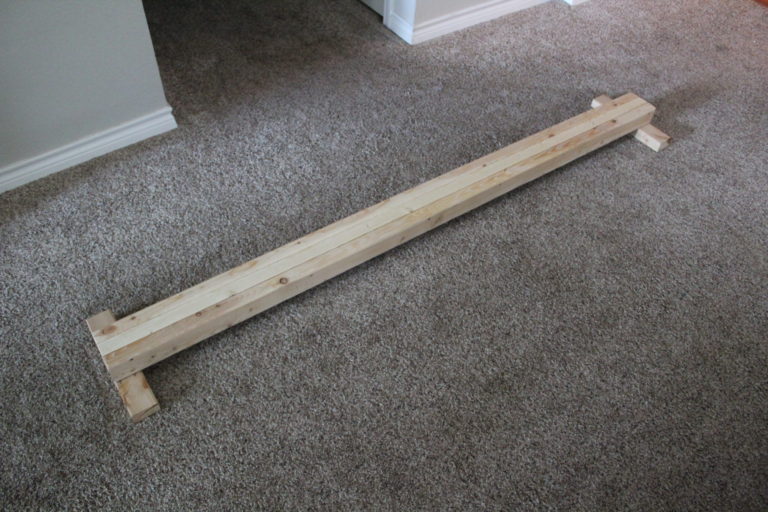
Here’s the finished balance beam for now!
One day I’m going to get around to giving it a covering, but it’s not currently high on my priority list.
What You Need for This Toddler Balance Beam DIY:
Wood (Two 8′ 2″x4″s and one 8′ 2″”x2″). Got mine from Lowe’s.
Screws
Saw, drill
Clamps, if desired
Something to sand with
Tape measure
A Brief DIY Balance Beam Tutorial:
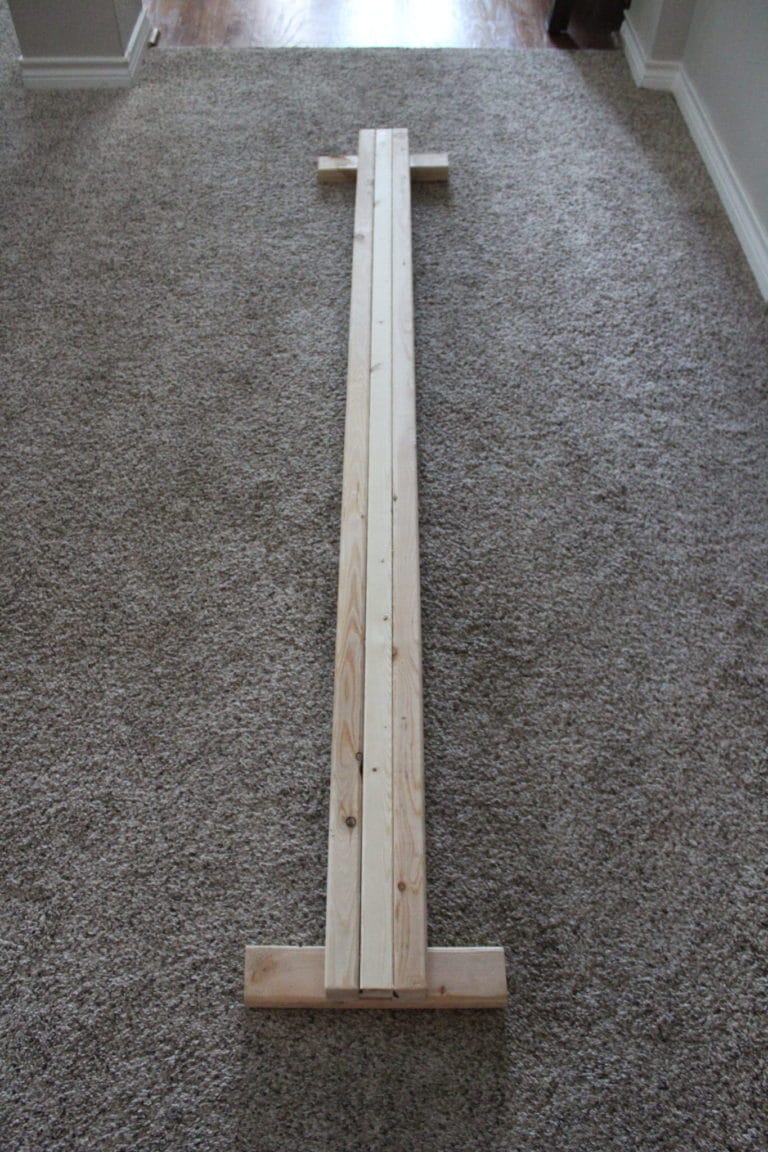
We wanted a 6 foot balance beam to allow for easy storage by the 6 foot window in the playroom. Thus, each of the three 8′ pieces of wood were cut to 6′. We sawed the two remaining feet of each of the 2″x4″‘s in half. This produced a total of four 1’ pieces of wood.
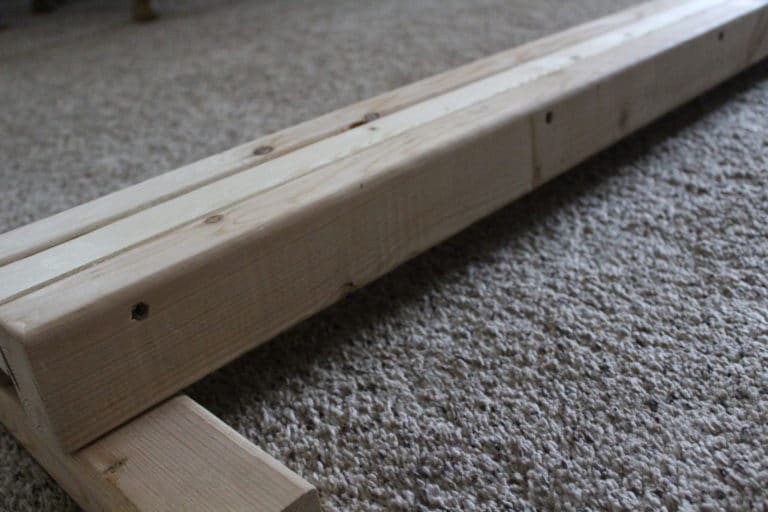
We screwed the three 6 foot wood pieces together in several places along the length of the beam. As you can see, the 2″x4″‘s were on the outside sandwiching the 2″x2″ on the inside.
Then, at the ends of the balance beam, we added a base made out of two of the 1’ 2″x4″‘s and screwed it to the beam.
Here’s the underside of the beam.
All the wood has been sanded to make sure there are no sharp ends and to decrease splinter potential. I have also reserved the other two 1′ 2″x4″‘s to stack underneath the current base to make the beam a little higher off the ground once my daughter gets more stable on it.
Overall, my daughter has loved her DIY toddler balance beam so far! What do you think of the design?
Also, check out some of our other crafting & DIY ideas here!