DIY Doll Chair Out of Cardboard and TP+Paper Towel Rolls
This post may contain affiliate links, which means I’ll receive a commission if you purchase through my links, at no extra cost to you. Please read full disclosure for more information.
This fun toilet paper roll DIY tutorial will show you how to take toilet paper and paper towel rolls and repurpose them into a doll chair.
It’s a practically free project that won’t take you too long to complete.
Once you’ve made the doll chair, you can then customize it with the paints and decorations of your choosing.
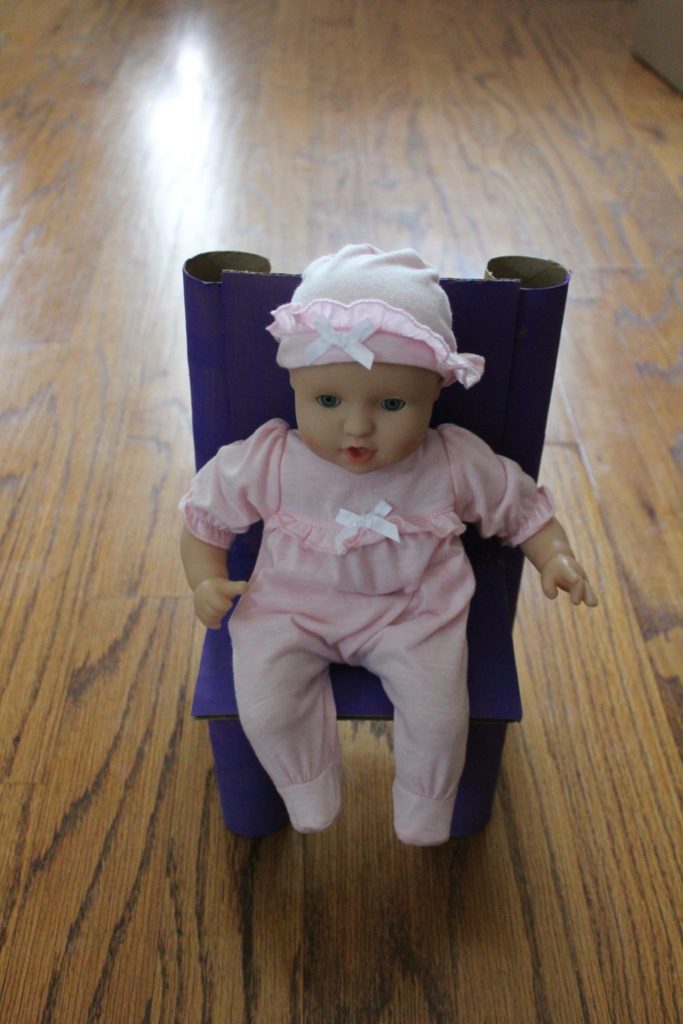
Why We Wanted a Doll Chair
At almost 19 months old, baby girl is starting to pretend play with her Jenna baby doll that Nicole gave her as a first birthday gift.
Jenna is a 12-inch doll, so she is pretty tiny!
Baby girl routinely kisses the doll, tries to feed it her food, and loves to put her white faux tissues on the baby as a blanket and wipe her face with them also.
We are trying to incorporate the baby doll into our eating routines to get our daughter to eat more.
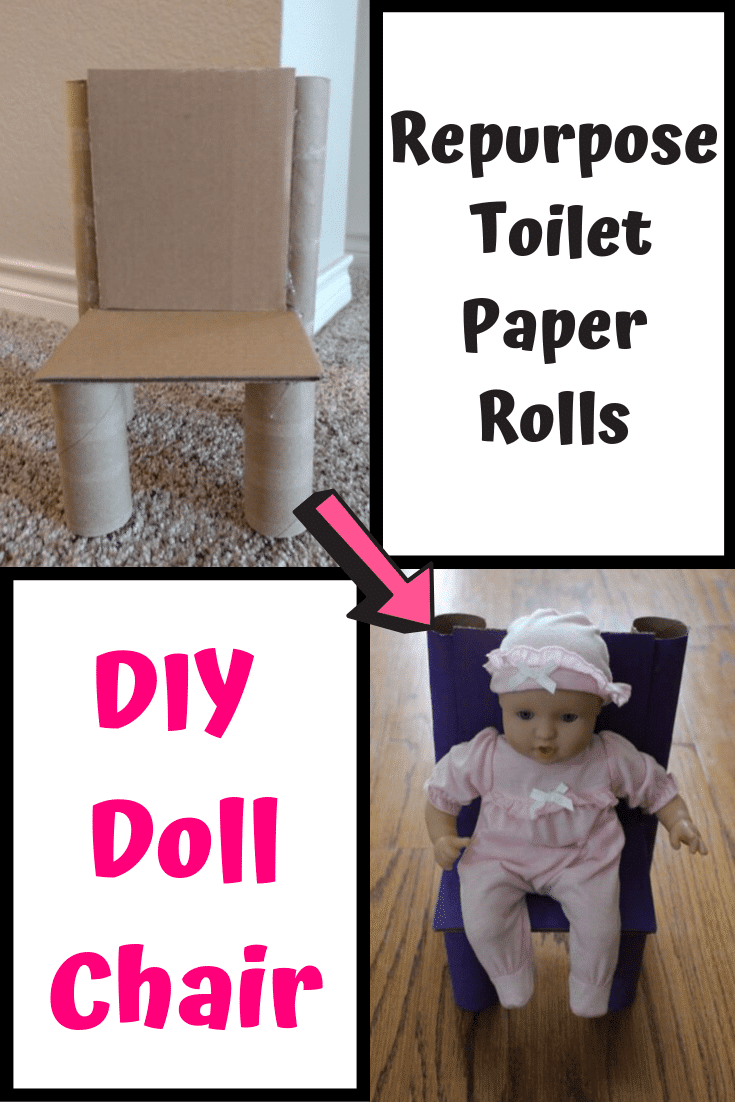
In order to have our doll at the table, we needed to make her a baby chair!
And since we don’t know how long our daughter will be interested in the baby, I didn’t want to spend an arm and a leg on a mini chair. Hence, this practically free idea: a DIY with toilet paper rolls.
Supplies:
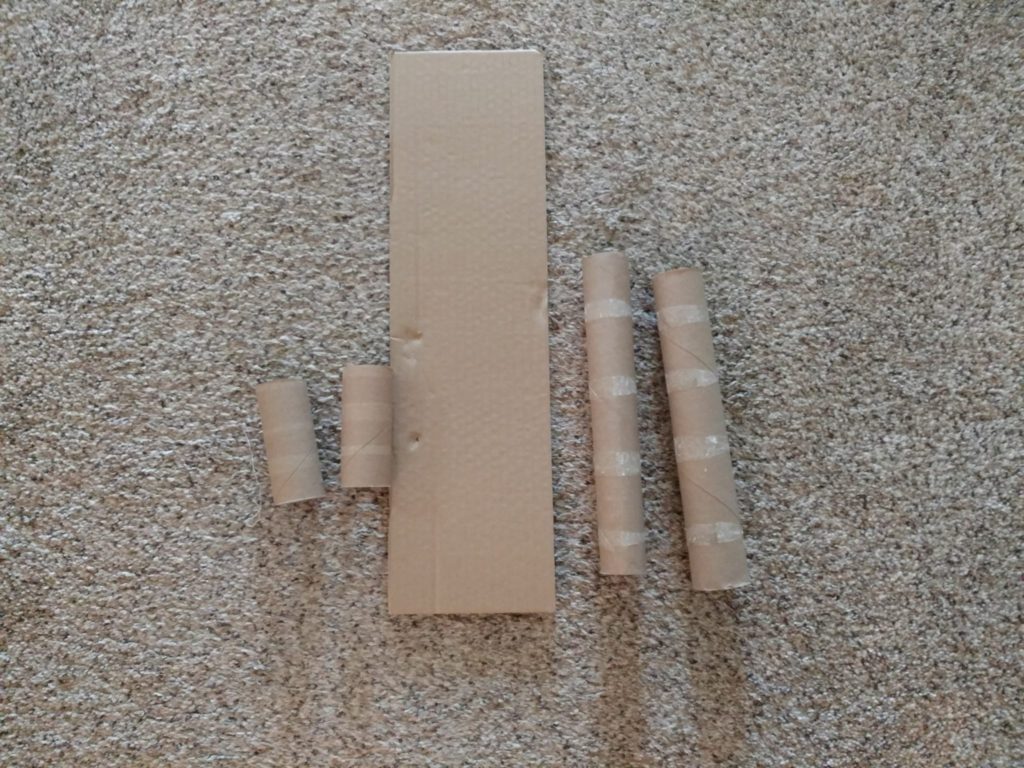
- 2 empty toilet paper rolls
- 2 empty paper towel rolls
- Old cardboard box
- Scissors
- Glue (at first, I used hot glue… which worked well for about a day…; I ended up using a more permanent glue.)
- Paint as needed for decoration
How To Make a Doll Chair:
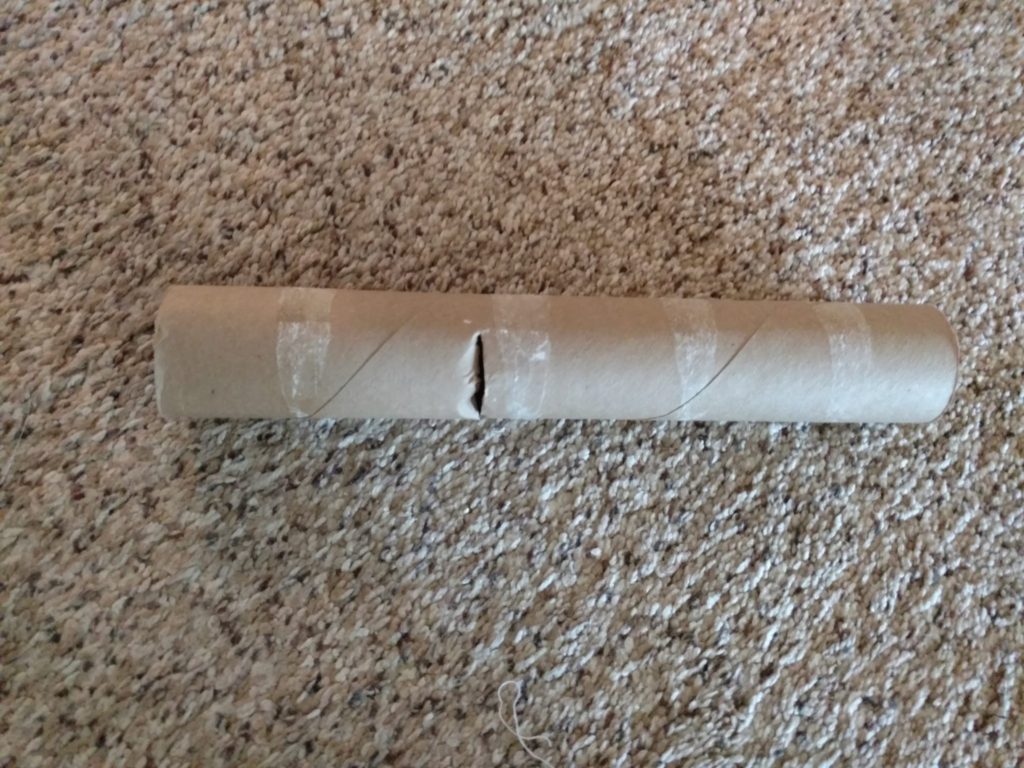
With the small size of the doll, it worked out perfectly that the chair’s height could be the length of the toilet paper roll. I first started by cutting a slit in the side of each paper towel roll at the height of a toilet paper roll. See the picture below! The slit was about ¼ of the circumference of the roll.
Next, I cut the cardboard to make the chair’s base and the back. The measurements that I used were around 6.5″x 5.75″ for the base and 7″x 5.5″ for the back.
I glued the base of the chair corners into the paper towel rolls, as shown below. I made the project at first using hot glue, but this didn’t hold up well, so I had to redo it with more permanent glue.
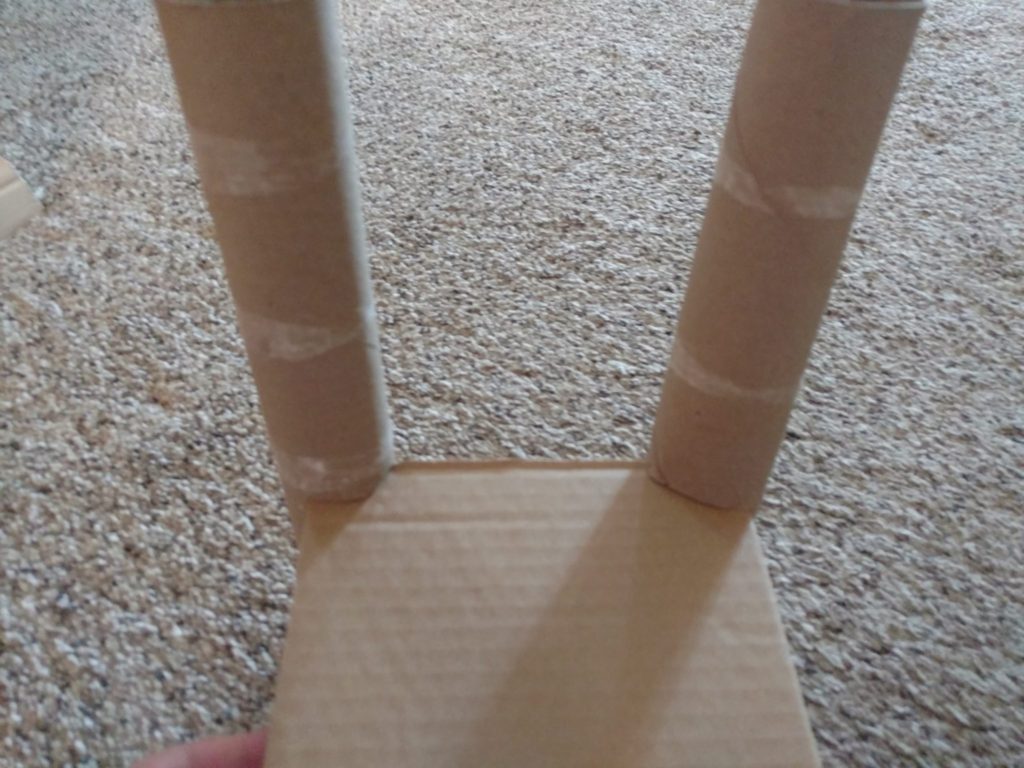
Then, I attached the two toilet paper rolls to the bottom of the cardboard chair base to form the other two legs of the chair.
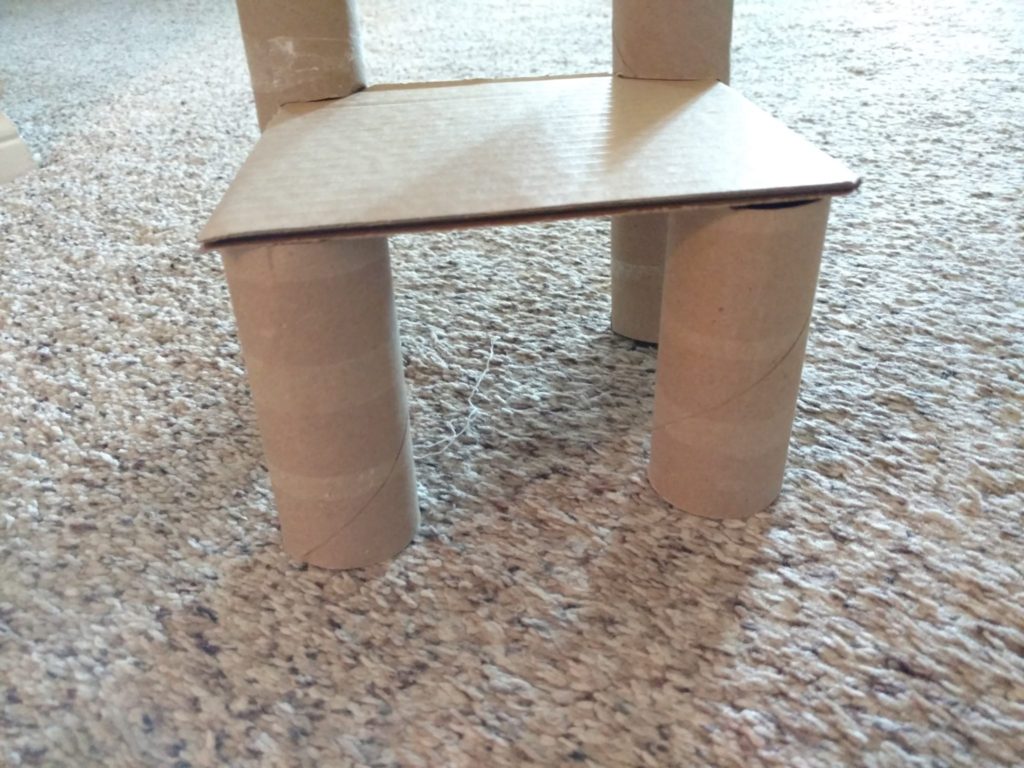
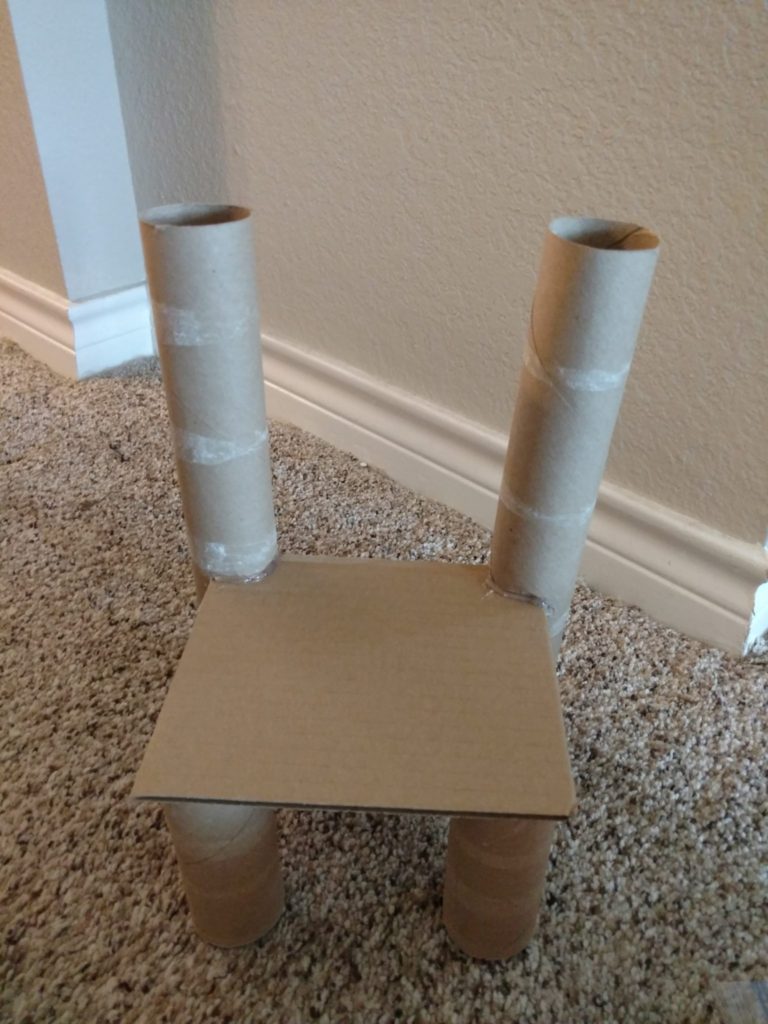
Lastly, I glued the cardboard for the back of the chair onto the top of the paper towel rolls. Getting things to stay straight took a little bit of patience and effort on my part!
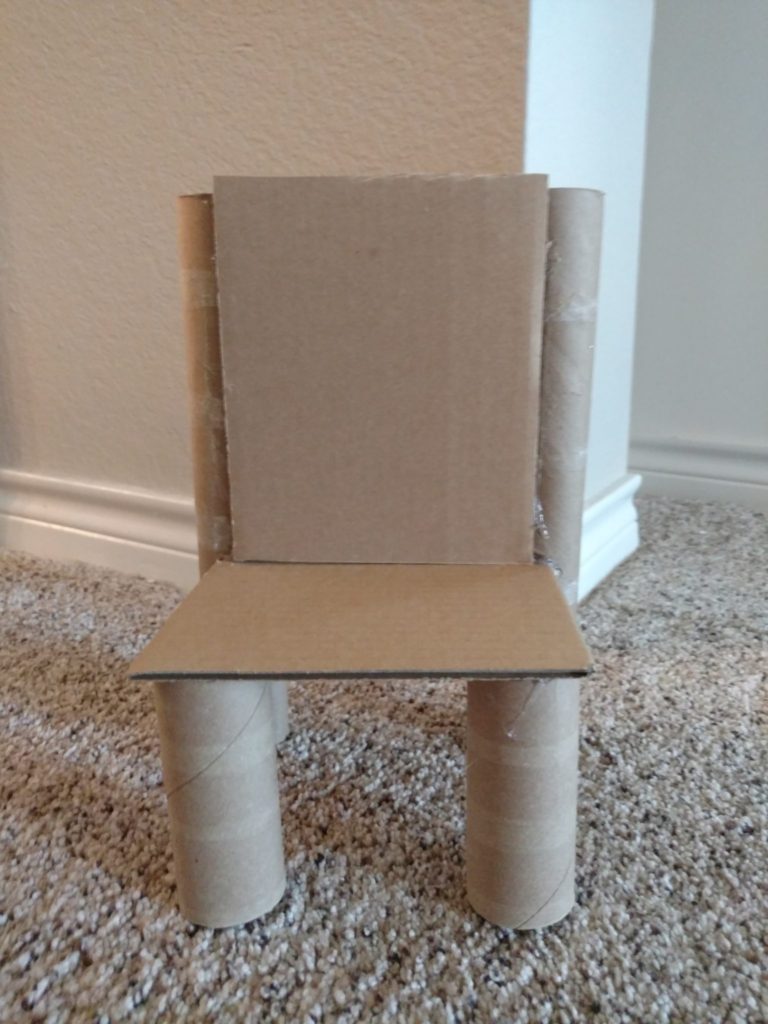
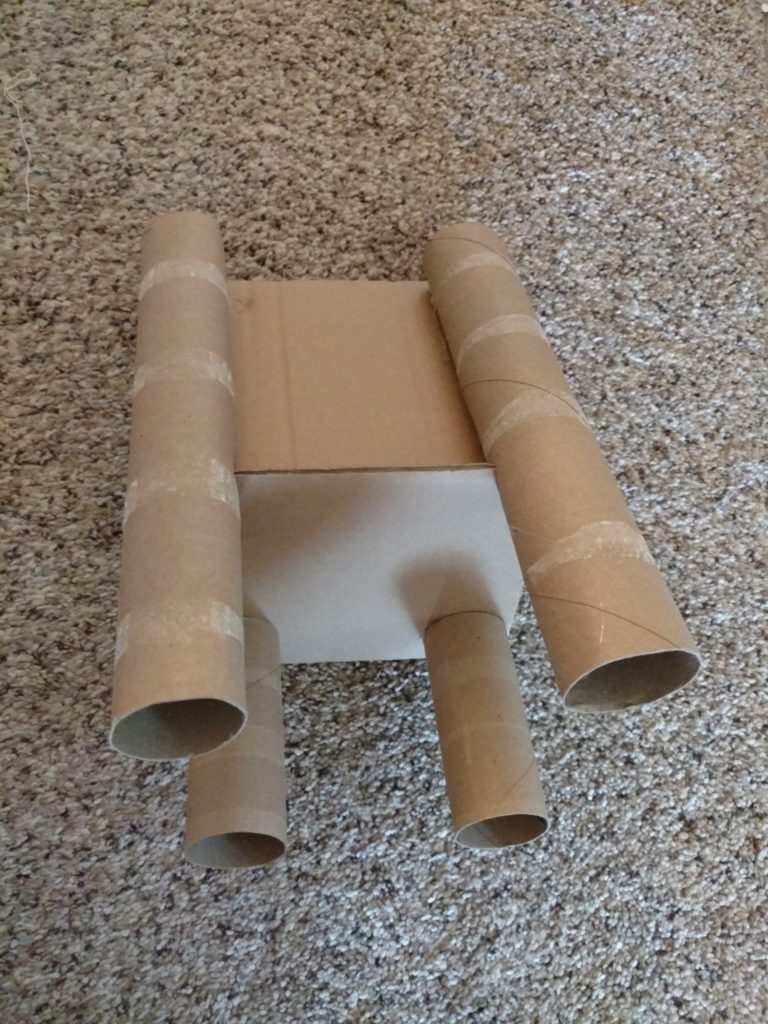
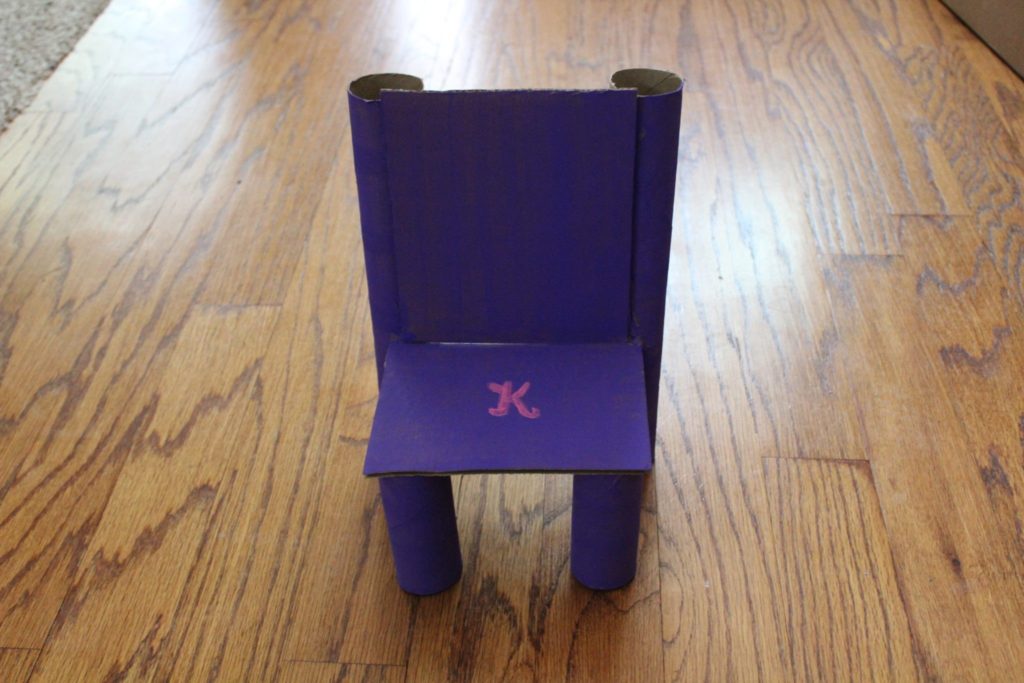
When I finished the chair, I let the glue dry and then painted it a lovely purple color. I also added a pink K for personalization.
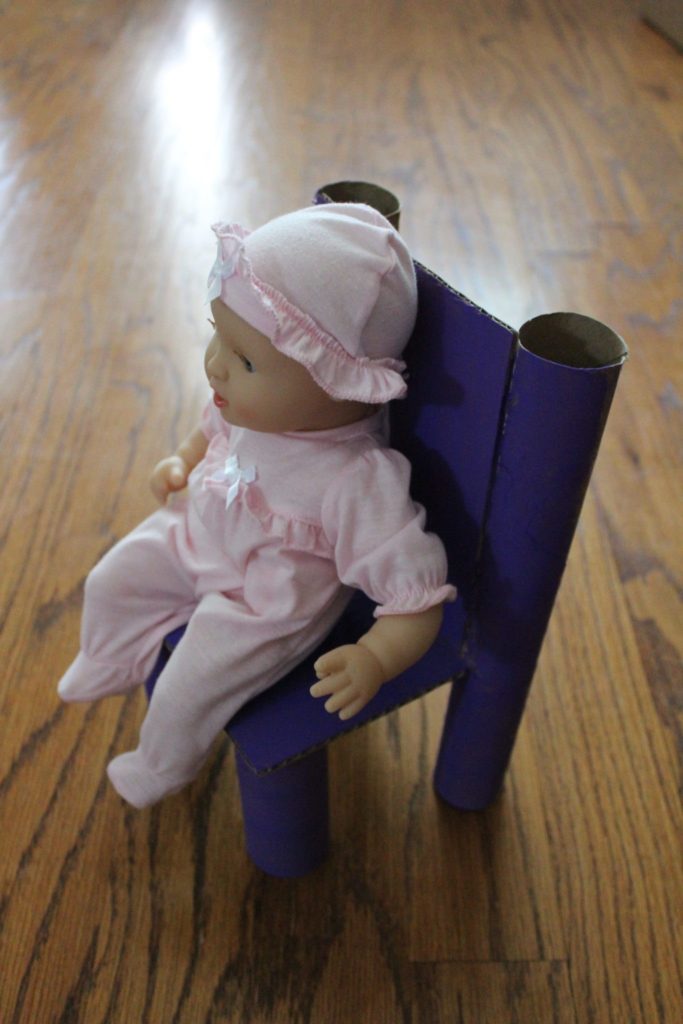
Kathryn loves to sit the baby in the chair and put blankets on the baby!
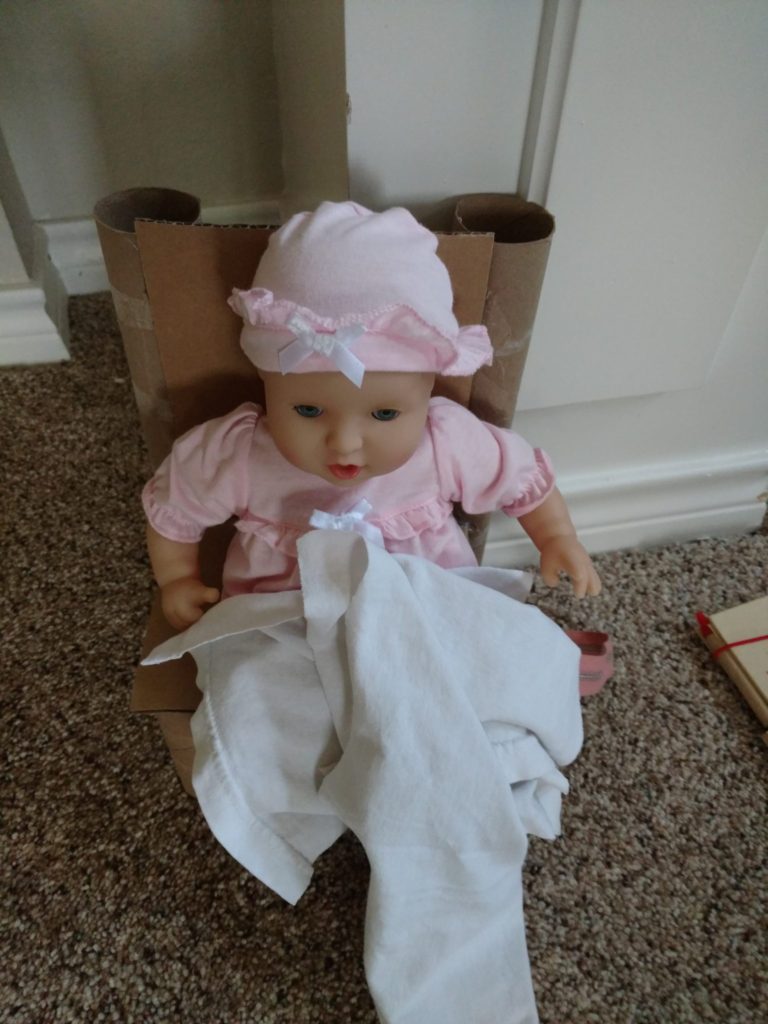
I’m thinking of making her an actual blanket, pillow, and maybe even a little sleeping bag if I have the time. We’ll have to see!

I hope you enjoyed this DIY with toilet paper rolls project.
