How to Make a DIY Ironing Board Using Wood & Quilted Fabric
This post may contain affiliate links, which means I’ll receive a commission if you purchase through my links, at no extra cost to you. Please read full disclosure for more information.
My new craft room is finally complete!
One of my favorite parts of it is this DIY ironing board I made using wood and quilted fabric. By cutting the wood to my preferred size, I was able to craft a larger board than I could buy, and I could have it fit perfectly on my sewing table.
It took me less than 30 minutes to make, and it didn’t break the bank either–all said and done I might have spent $20 for the supplies I used!
Follow along for how to make your own ironing board for sewing and quilting!
DIY Ironing Board Supplies
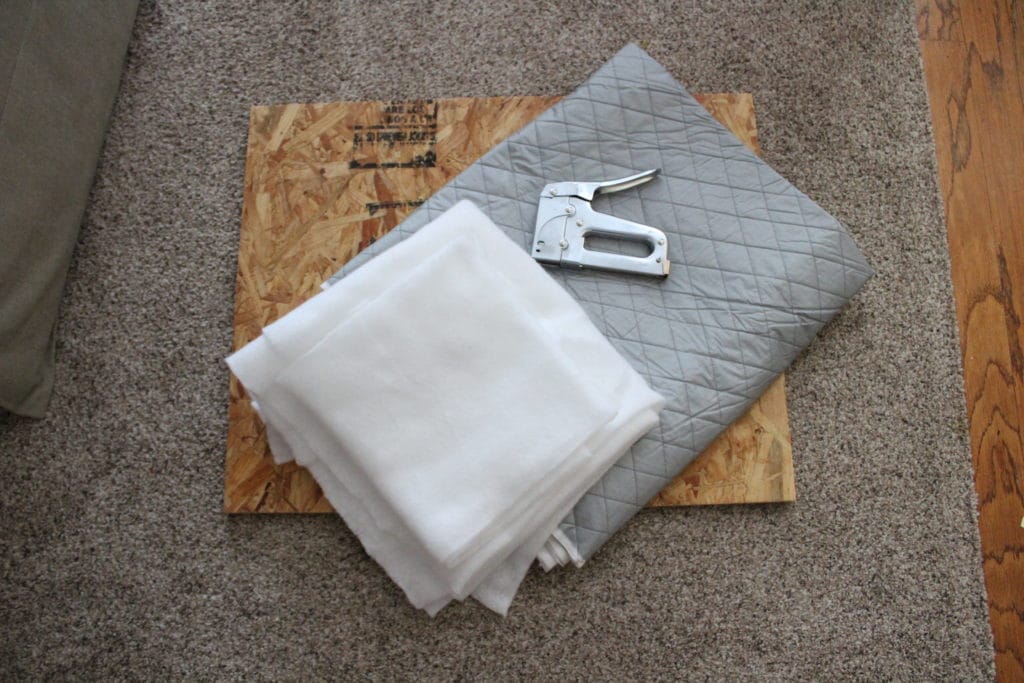
Here are the supplies I used to make my pressing board:
- Wood. I used 23/32 CAT PS2-10 OSB board I had gotten from Lowe’s a few years ago when we had to put a new floor in our shed. My dad cut the wood to size, but I know sometimes you can also get wood cut at Home Depot or Lowe’s if you ask.
- Quilted ironing board cover fabric. I purchased this from JOANN and love the quality! They also have ironing board cover fabric that is flat with no quilted effect.
- Batting. I used 2 layers of medium loft polyester batting.
- Staple gun with staples
- Scissors
- Temporary adhesive spray (Consider this if you briefly want to adhere the batting to your wood or fabric while you are manipulating things.)
- Felt for back, if desired
Things to Consider Before Starting
I chatted for a long time with my Dad (much more of a woodworking expert than my husband or me!) about the right type of wood to use.
We researched how certain types of treated woods might emit chemicals when heated or may also warp when heated.
Using the 23/32″ wood made for a thick board, but we thought it would be the best thickness to allow the board to keep its shape during pressing and ironing while not being too heavy.
If you’re planning to make a humongous pressing board and want it to also be portable, just know it will be very heavy if you use a lot of thick wood!
I also wanted my ironing board soft and squishy since my sewing projects don’t really require a firm board, and I wanted to protect the wood from any sort of heat getting to it.
You can omit the batting if you want a firmer board or use the flat ironing board cover fabric from JOANN.
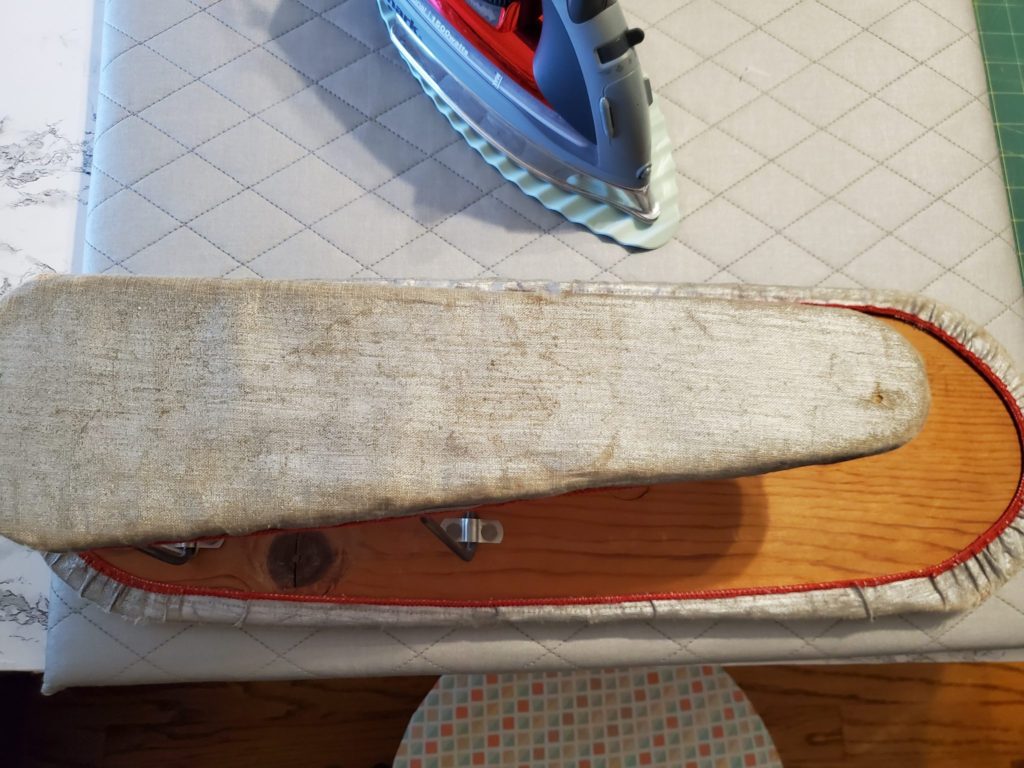
I have a small sleeve ironing board made with just wood and this flat fabric and what seems like a very low loft batting that got passed down to me from my grandmother.
The wood gets hotter when pressing, but it still serves its function!
How to Make a Pressing Board for Sewing
First, cut your wood to your desired size.
Mine was around 24″ x 30″, which was the perfect size to fit on my sewing table next to my sewing mat.
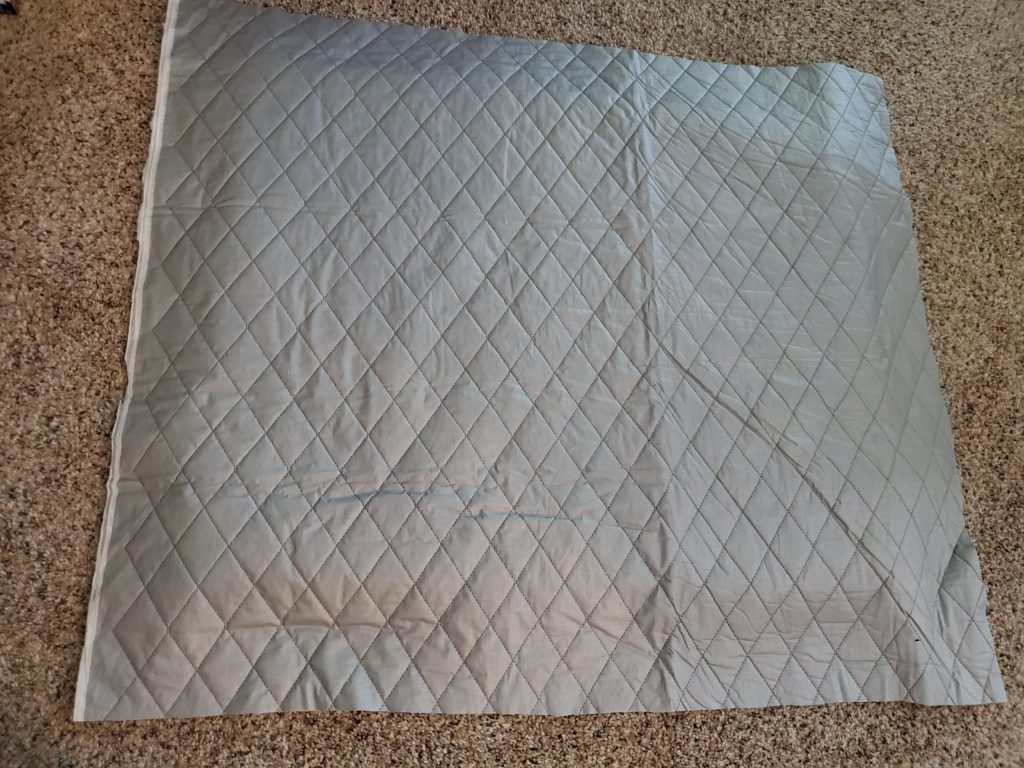
Then, cut your ironing board cover fabric.
I added an extra 6 inches to each side of the fabric so there would be plenty of overlap on the back of the board.
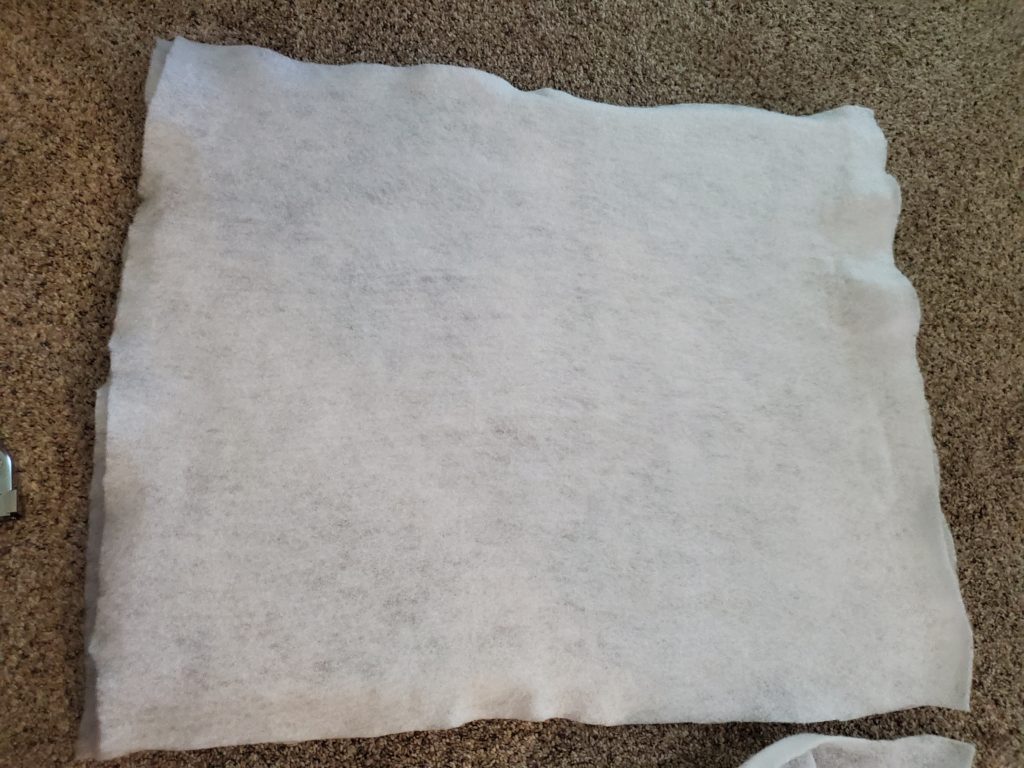
Next, cut your two pieces of batting, if desired.
Each piece was long enough on the sides to wrap around the wood top and bottom.
This was a way for me to make sure the hard edges of the wood corners and sides would be softened and not cause my daughters injury if they were to run into it if the board hangs off the table.
Then, on top of the wood, place the two pieces of batting and then the quilted cover fabric.
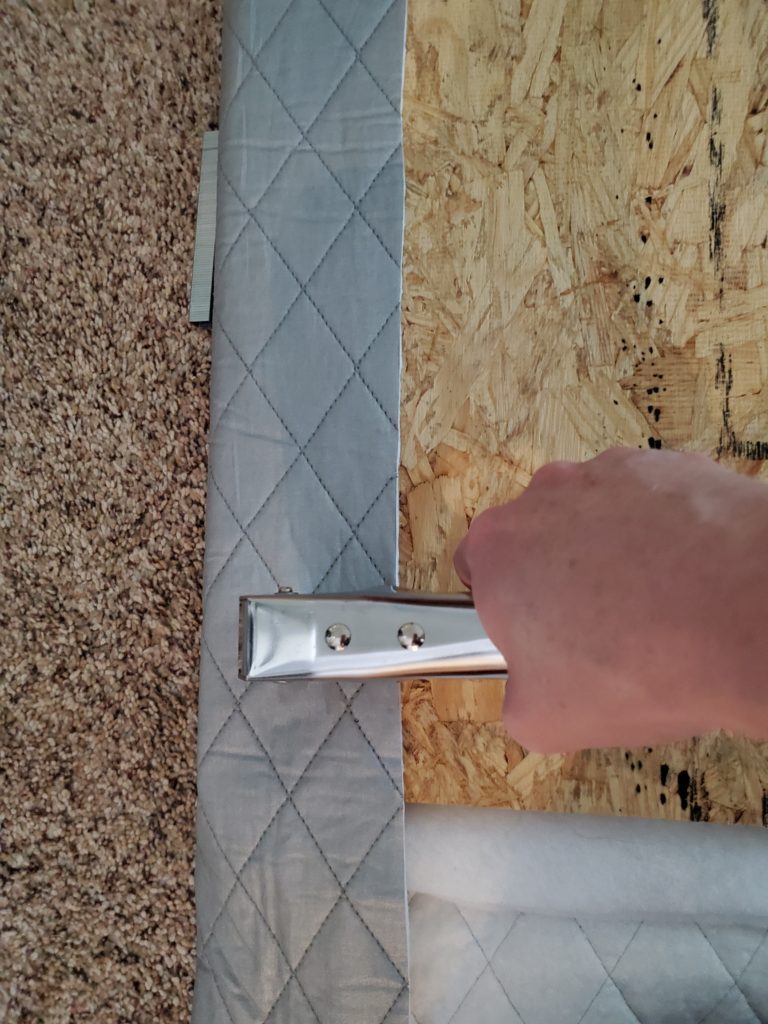
Stretch it very tight on all four sides and turn the board over.
Wrap the fabric over and start stapling the fabric to the wood. Make sure to keep the fabric tight!
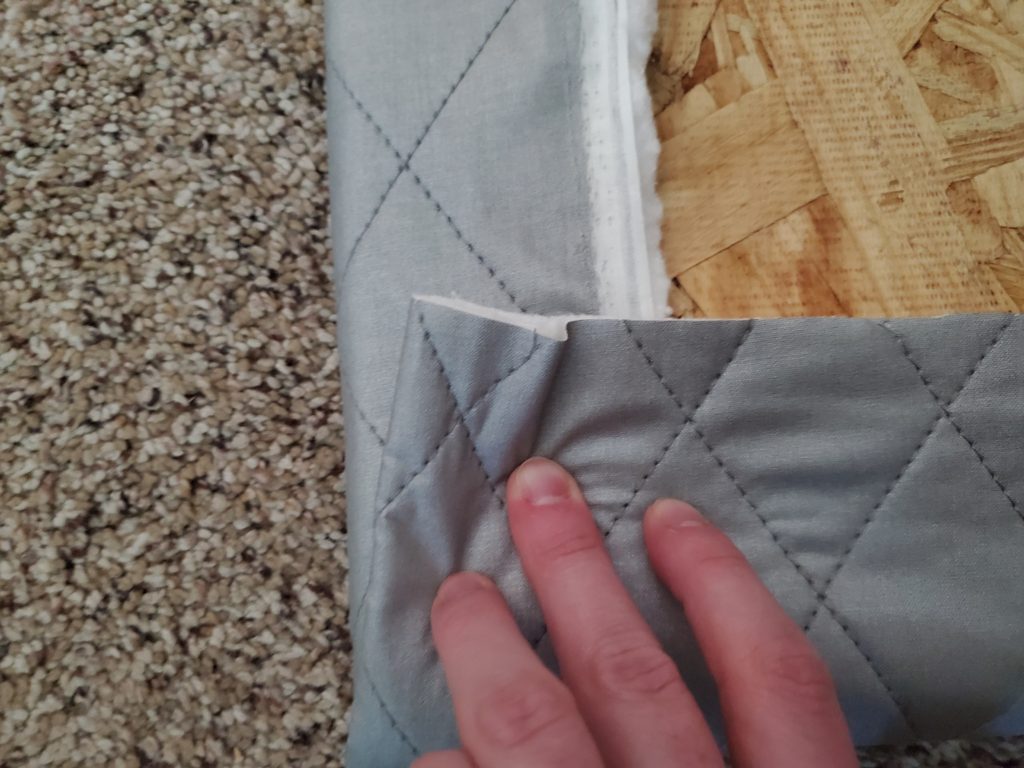
At the corners, I folded the extra fabric a little bit in so I wouldn’t have a huge bulk hanging out.
I stapled several times on each corner to make sure nothing was coming out.
After a lot of stapling, everything was done! The staples may scrape your table or ironing surface, so you can cover the back with a layer of felt that you’ve glued on
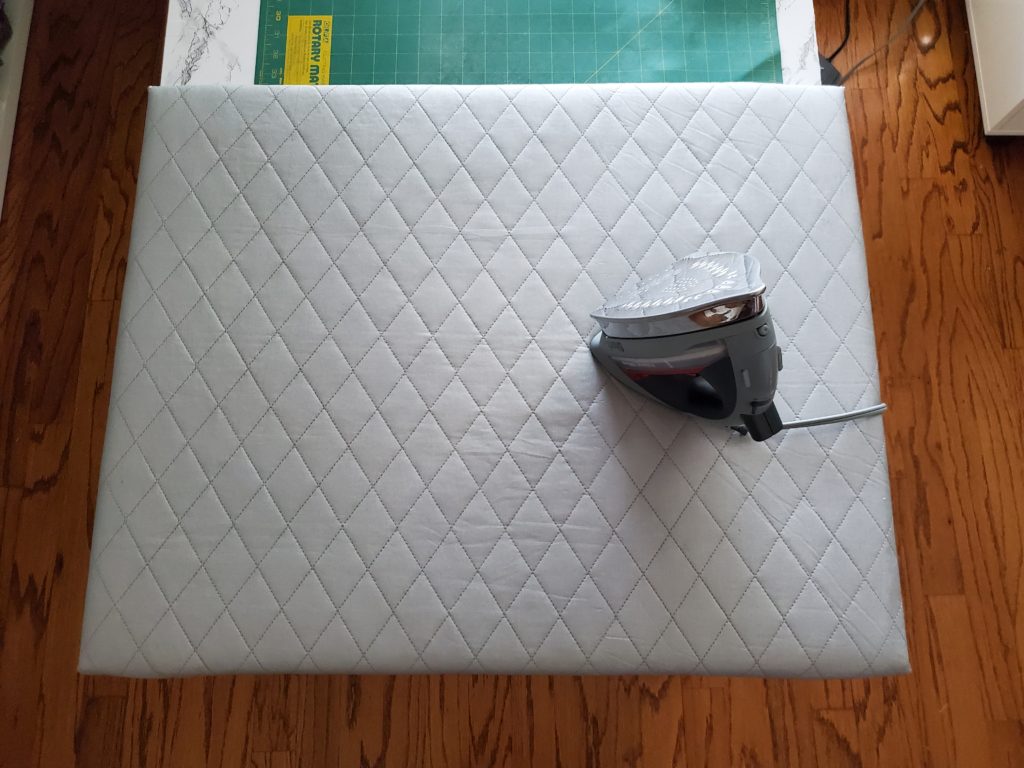
Here’s my ironing board in all its glory from the top view!
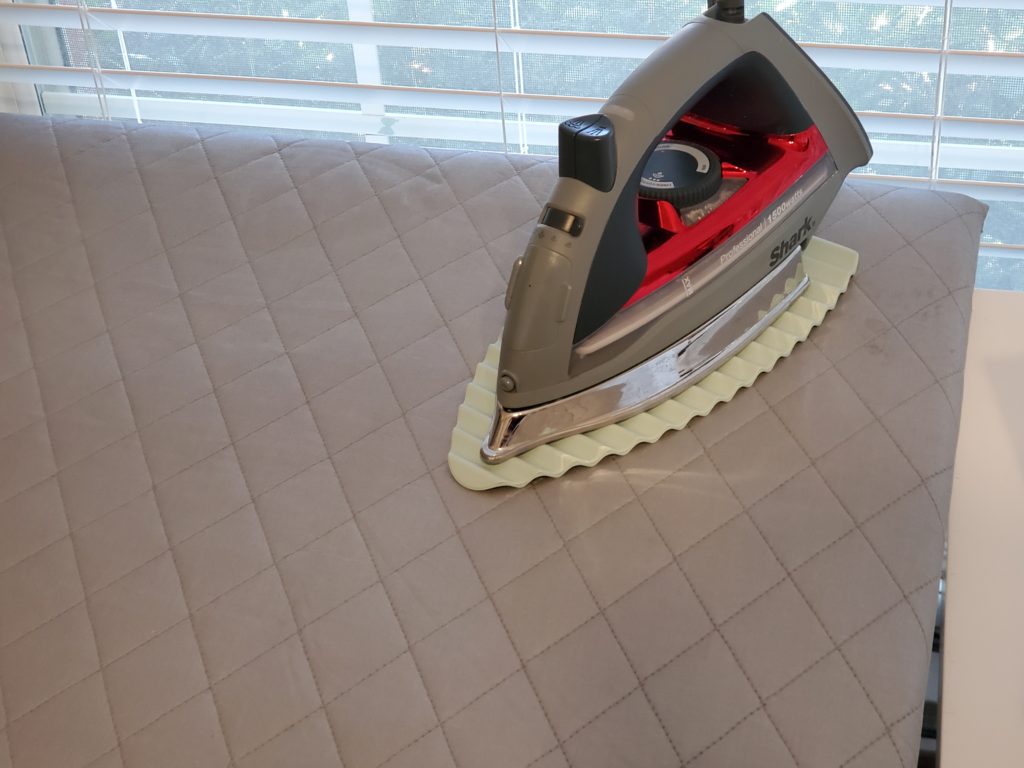
And here’s the side view.
I have a silicone iron rest that I’ve been using lately to hold my iron down when I’m not actively using it. After I got used to it, it came in pretty handy!
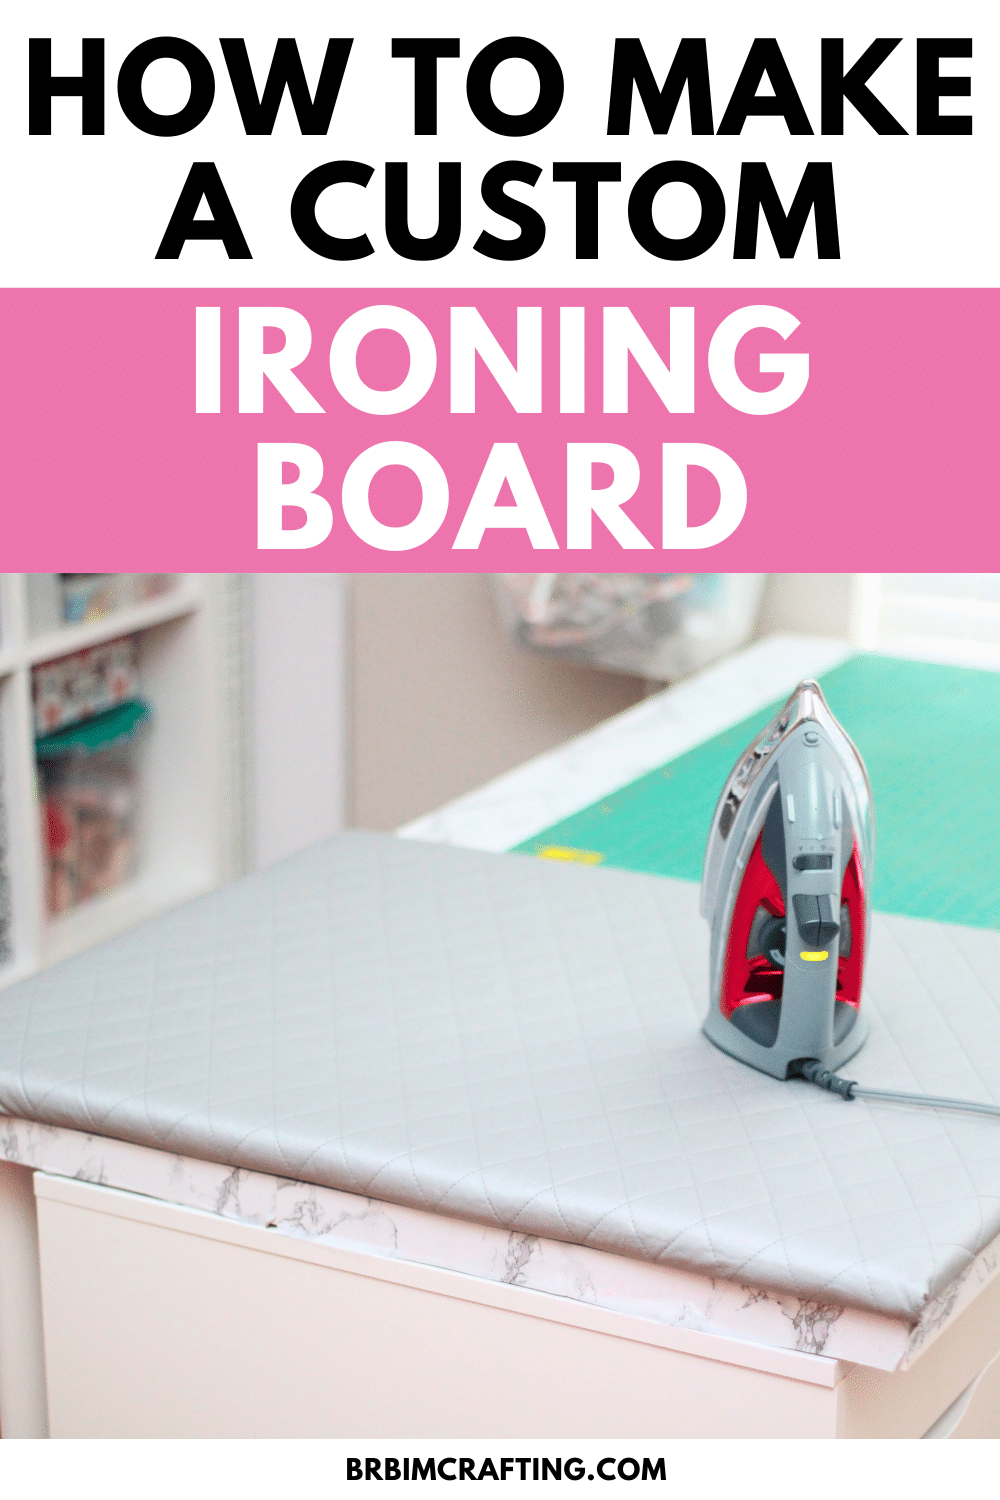
And that’s it for this DIY ironing board tutorial. Let me know if you have any questions!
