How to Set Up a Cricut Maker (Step-by-Step!)
This post may contain affiliate links, which means I’ll receive a commission if you purchase through my links, at no extra cost to you. Please read full disclosure for more information.
When I first got my new Cricut Maker in the mail, I was SO excited. I could hardly wait to get started making fun projects! However, before I dove into crafting, I needed to figure out how to set up my Cricut Maker.
If you’re new to the Cricut universe and Cricut Design Space, opening your Cricut Maker box might be a little intimidating. How do you even start to set it up when you have no idea what all the pieces are called or even do?
Luckily, the process is very easy to follow! As I was setting up my Cricut Maker, I put together this tutorial. There are instructions included with the Maker, but there are a few steps they assume users know but may not be self-explanatory to newbies. So, follow along with this detailed tutorial as you set up your new Cricut Maker too!

Cricut Maker Setup
Here’s how to set up your Cricut Maker step-by-step with pictures as I went through the process myself.
First, What You’ll Need:
Go ahead and make sure you have a nice, wide space to work with. You’ll want to set your Cricut Maker on a surface that has at least 10-12 inches in front and 10-12 inches in the back of the machine. If you don’t have an appropriately sized table, use a large space on the floor.
You also need your computer with an Internet connection to access the Cricut Design Space.
Setup Preparation

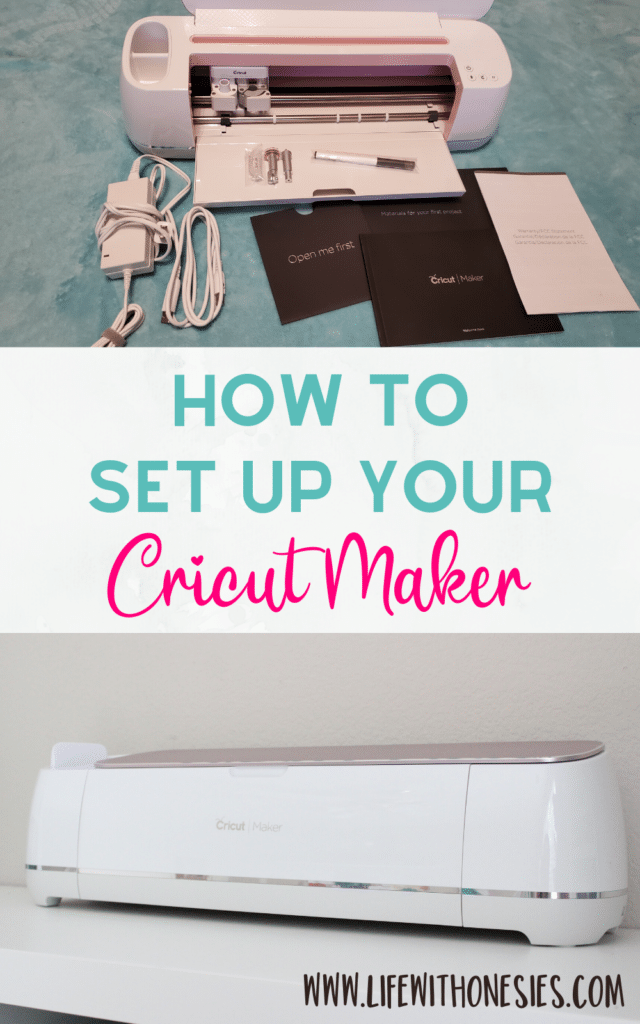
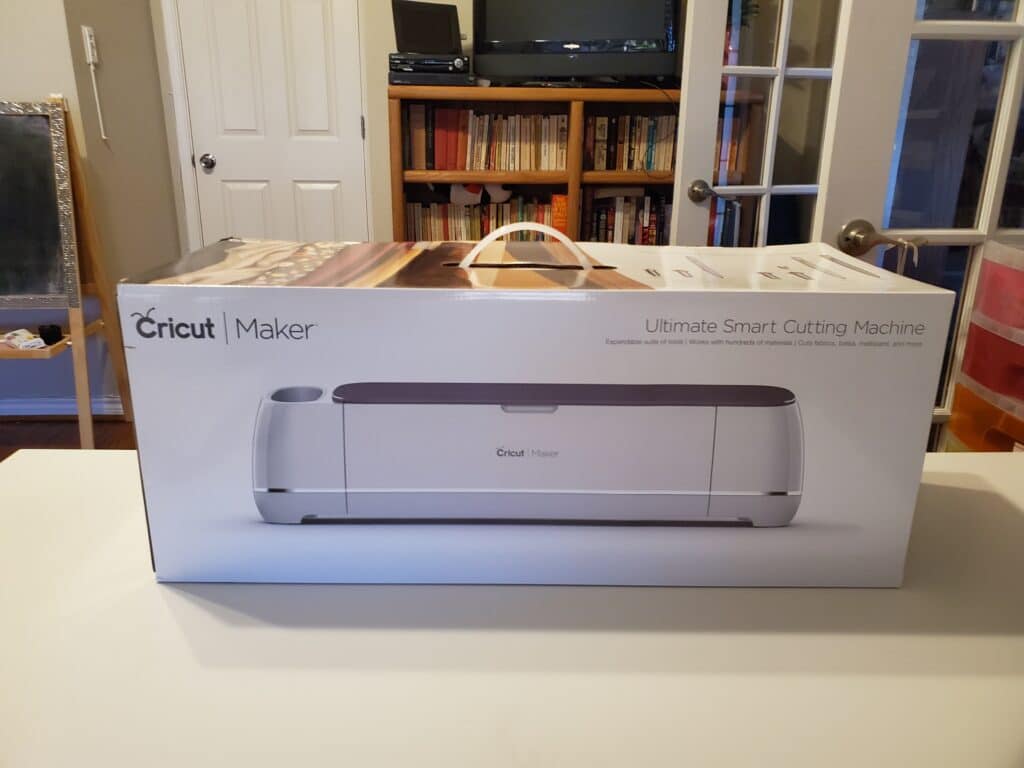
First, remove everything from the box. And, take everything out of the plastic wrap: the cords, the Cricut machine itself, and the pen.
If you open the body of the Cricut machine (just start pulling open the top with your hand, and it will then open itself), you’ll find a piece of styrofoam inside that you need to remove.
Inside the rectangular cardboard box labeled “Let’s get started,” you’ll find a small black envelope that says “Open Me First.” Open it.
Inside, there are a set of 4 cards detailing the process you’ll follow to start setting up your Cricut Maker. Set these aside as you’ll be using them soon!
Plug in Your Cricut Maker and Connect It To Your Computer

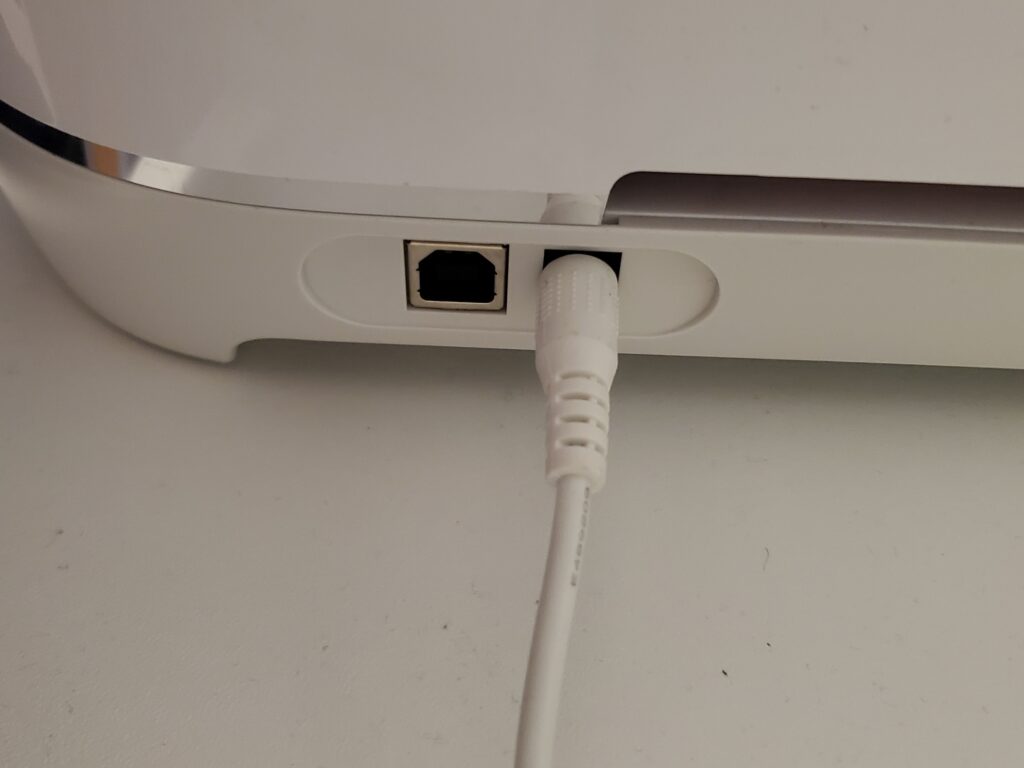
First, plug in your Cricut Maker. One side of the power cord goes into the outlet. The round side of the cord goes into the rouund connection on the back right of your Maker.
The other cord included with the Maker has a USB on one side that needs to be plugged into your computer. The other side is going to fit into the back of the Maker next to the power cord.

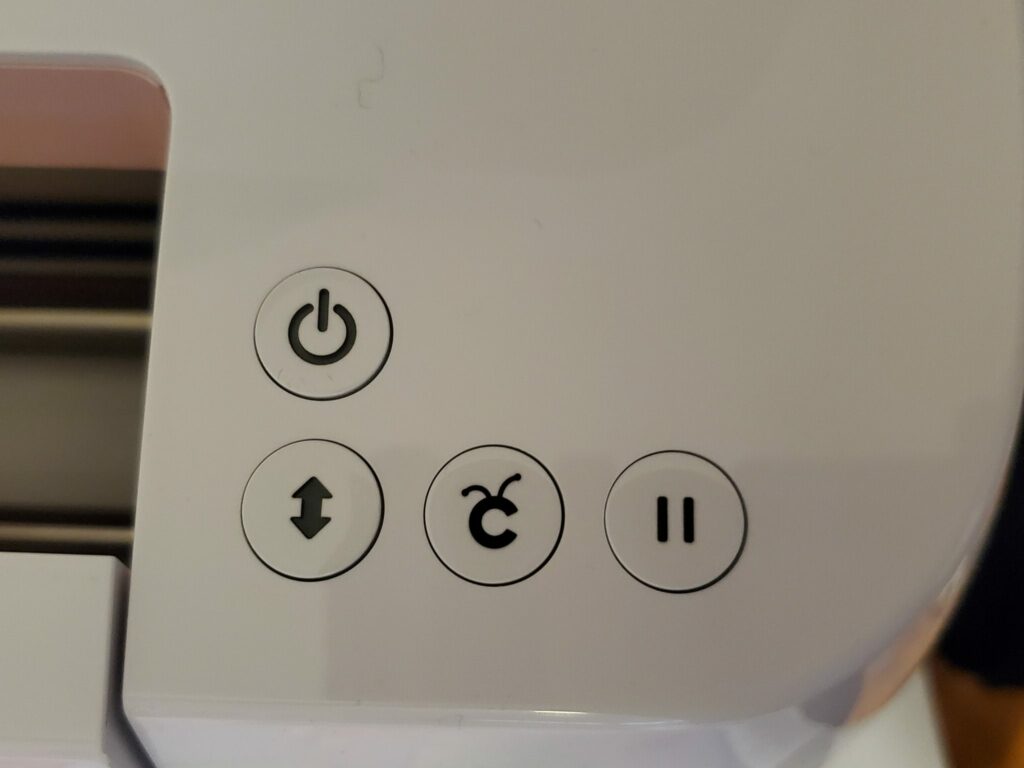
Turn the Cricut on using the power button on the front right of the machine. It will light on if you’ve connected everything correctly.
How to Set Up the Cricut Maker After Connecting It
After the Maker is plugged in and turned on, access the Cricut setup website (www.cricut.com/setup). Setting up the Maker is easy now following the instructions.
First, select the machine you want to set up, and then click to download the Cricut plugin to automatically detect and set up your Cricut Maker.
Open this download and then select Next to begin setup. Cricut Design Space will then be set up on your computer.
You may be asked to update firmware on your device before the set up is complete.
Once installed, it will be time to open the Design Space and create your first project!
Opting for Cricut Access Membership
During the setup, you’ll be asked if you want a free 1-month trial of Cricut Access. This is Cricut’s premium service, which gives access to a ton of designs for free. I personally don’t subscribe to Access because there are so many free designs online already, and I can make my own designs easily. However, you have nothing to lose with a free month trial, so try it out if you want! Just know you do have to give your credit card number, and you’ll want to cancel it before being charged the $9.99 monthly fee if you don’t want to continue with the service.
Making a Practice Project
The materials to make a cute “Smile” card are contained inside the big black envelope titled “Materials for your first project.” There is a large white piece of cardstock, a blue piece of cardstock, and a piece of fabric.
The Cricut Design space should move you step-by-step through the practice project. You’ll use the pen to draw lines, the blade to cut paper, and then the rotary blade to cut fabric.
If you’ve never used a Cricut mat before, make sure you remove the plastic cover to expose the sticky side of the mat before you stick on your fabric or paper. I’ve always saved the cover to replace when I’m not using the mat to keep it free from dust bunnies and dirty toddler fingers.
Cricut Maker Set-Up: Completed!
Now that you’ve finished reading this Cricut Maker setup tutorial, your awesome, smart cutting machine should be ready to go to begin crafting! Happy cutting!
