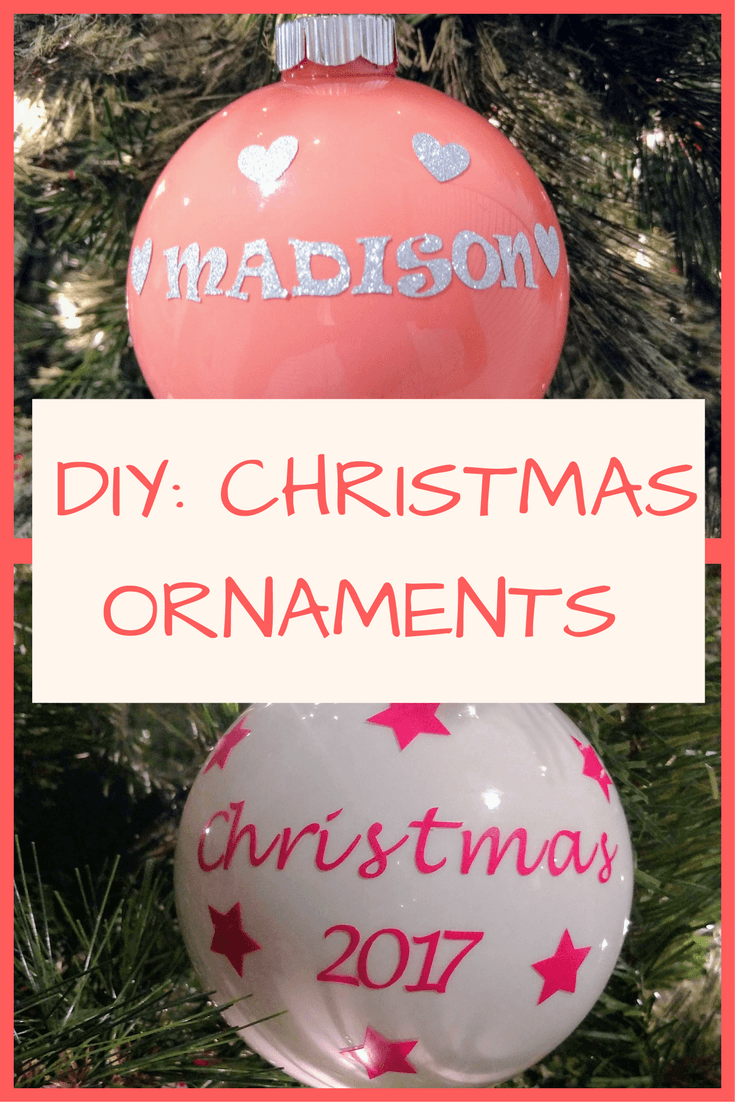
Easy DIY Christmas Ornaments Using Cricut and Paint
This post may contain affiliate links, which means I’ll receive a commission if you purchase through my links, at no extra cost to you. Please read full disclosure for more information.
A few years back, my mother-in-law bought my son this adorable Mickey Mouse Christmas ornament. That same year, she also bought a cute little pink “My First Christmas” ornament for my daughter. Both ornaments were perfect for my kids, but especially for my son since he was in love with Mickey at the time.
I asked her if she made them and her response was “No way. I bought them off Etsy.” Now, I completely understand her logic on it sometimes being easier to just buy something instead of making it. Trust me, I am the first person to pay the $4.95 surcharge at Kroger to do the Kroger Clicklist. I am all about convenience.
However, seeing these ornaments sparked the idea of finding a way to create my own Christmas ornaments using the Cricut. I figured I could make some adorable ornaments not only for my kids but also as Christmas gifts for the close teachers I work with. They will also be great Christmas gifts for the kids’ teachers at preschool. The cost is pretty low and the thought and effort put into it is definitely worth it.
I have also considered starting a yearly tradition of creating ornaments as a family. I always love coming up with fun things we can do together. Not to mention, the kids love it! (I’ve made kid’s fingerprint ornaments and we did an invitation to create kid’s ornament craft as well.)
Thankfully, Mary bought me a few ornaments after Christmas last year because she knew I wanted to make these. Yes, it has taken me almost a year to follow through with my idea, but I FINALLY did and I think they turned out pretty great! If you plan on making them, plan ahead and buy them when they are on sale or after Christmas.

Materials
- Clear Ornaments- large or small (I found mine at Hobby Lobby)
- Paint
- Cricut
- Vinyl
- Optional: Glitter
How to Make Christmas Ornaments with the Cricut
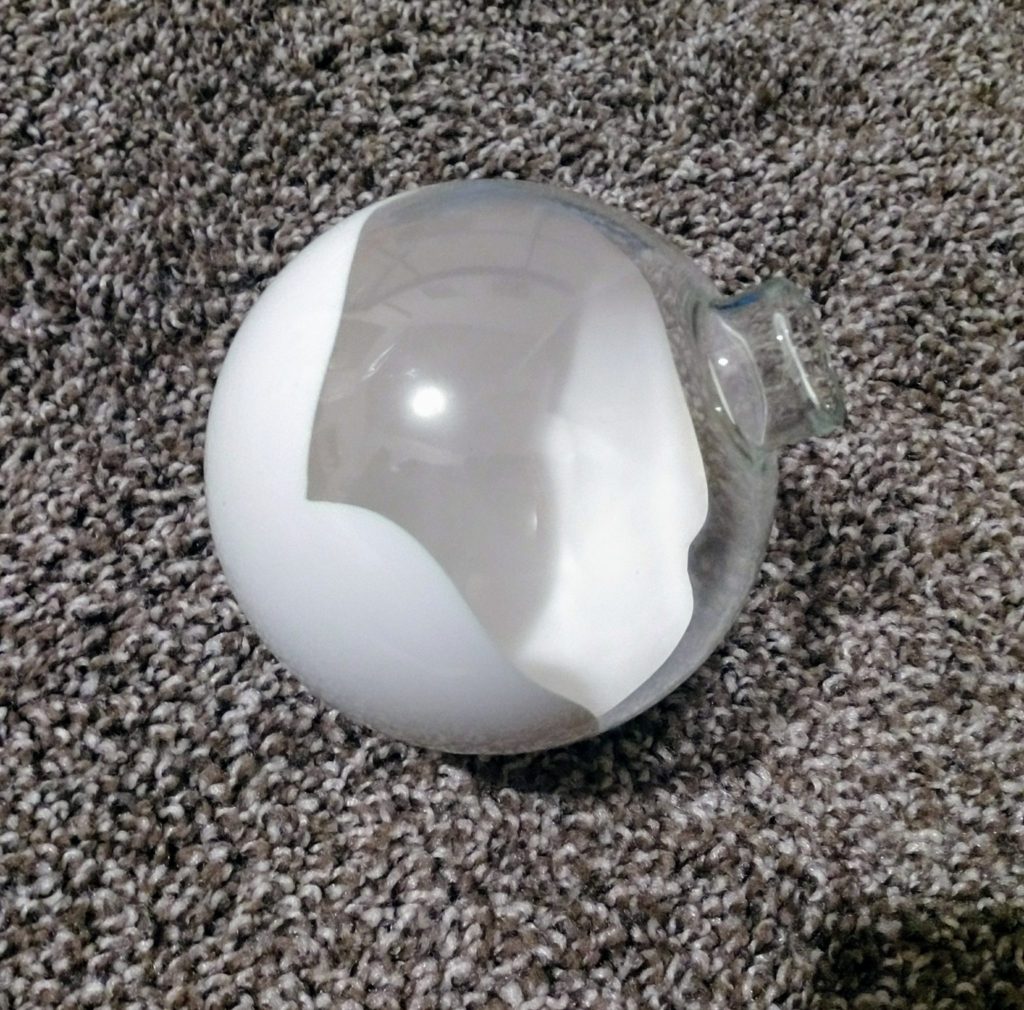
First, remove the head of the ornament and begin by pouring your paint of choice into the inside of the ornament. Then, gently move and swirl the ornament around until you have coated its entire inside. On one of the ornaments I created, I poured glitter into the paint bottle, shook it up, and then poured it into the inside. It added a little bit of sparkle that I loved.

Once dry, replace the head of the ornament, being careful to not break it. Using your design program of choice, create your design. If you are using a Cricut, there are so many different free images that you can pick and choose from to find what works best for you.
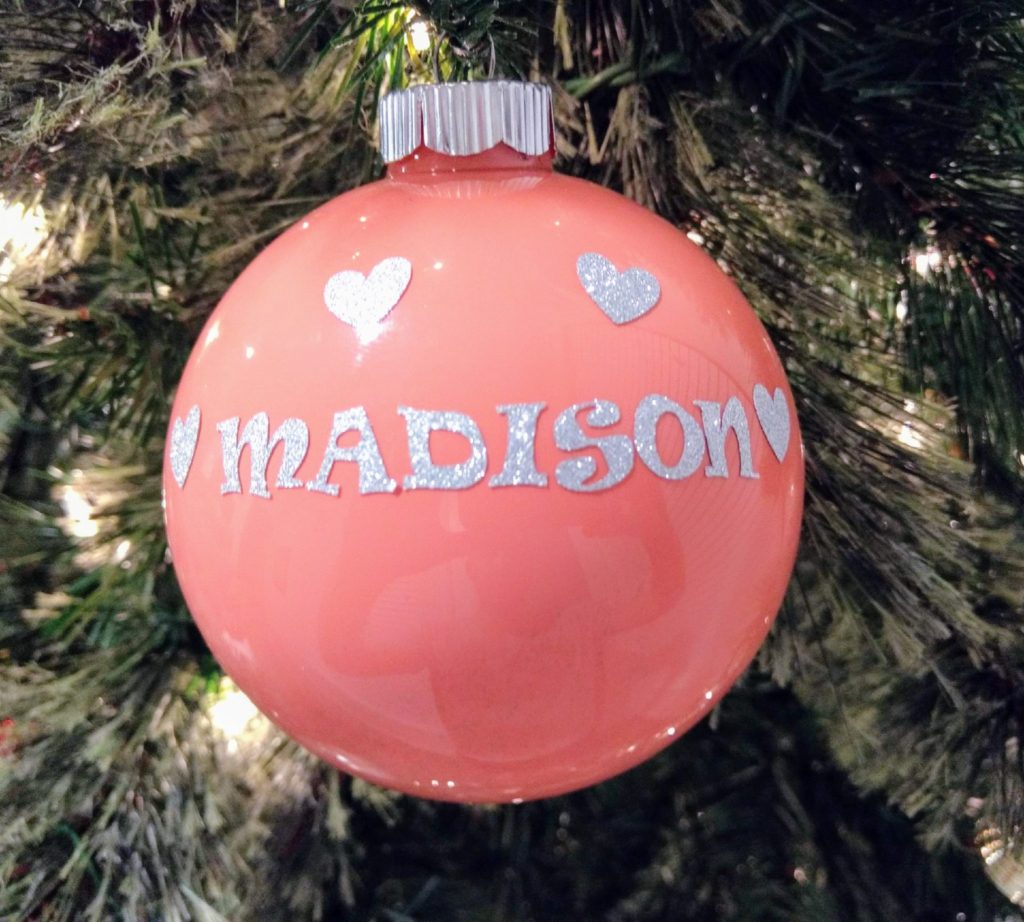
Once your design is completed, cut out your letters and place them on the center of the ornament. Add a ribbon at the top to hang on the tree and you now have the perfect personalized ornament!


