DIY Toddler Pillowcase for 13×18″ Toddler Pillow: Quick and Easy
This post may contain affiliate links, which means I’ll receive a commission if you purchase through my links, at no extra cost to you. Please read full disclosure for more information.
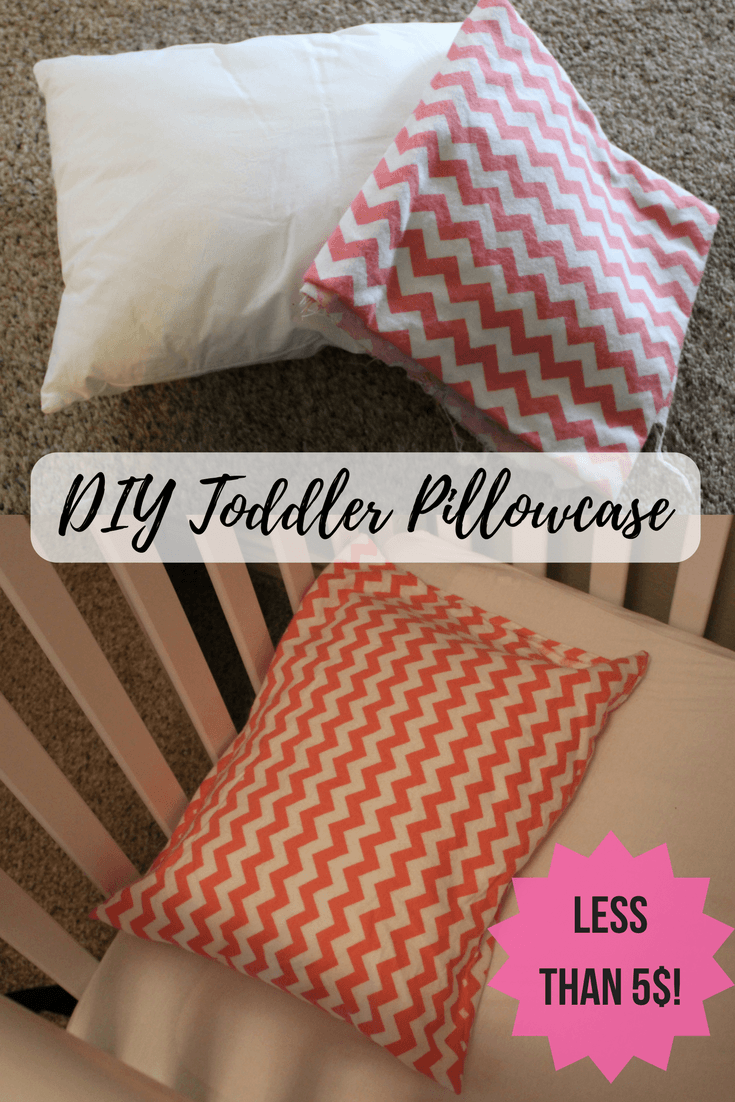
Check out today’s tutorial on how to sew a DIY toddler pillowcase!
Baby girl (who isn’t really much of a baby anymore) is finally to the point where we think she needs a toddler pillow.
She was starting to bunch up her stuffed animals she sleeps with to use as a pillow, or she would make a “hankie pillow” as we call it out of her DIY lovey.
We researched pillows forever and eventually decided on this toddler pillow from Amazon.
However, when I started looking for pillowcases, I found that they were almost as much as the pillow itself!
Sure, some of them were super cute, but with how much my daughter pukes, poops, pees, and slobbers in that crib, I wasn’t going to pay 20$ for her to ruin a pillowcase.
Hence, I made one myself with basic sewing skills.
The project took less than 15 minutes, and it cost me less than 5$.
Here’s all you need to know to make a toddler pillowcase yourself!
Pillowcase Supplies
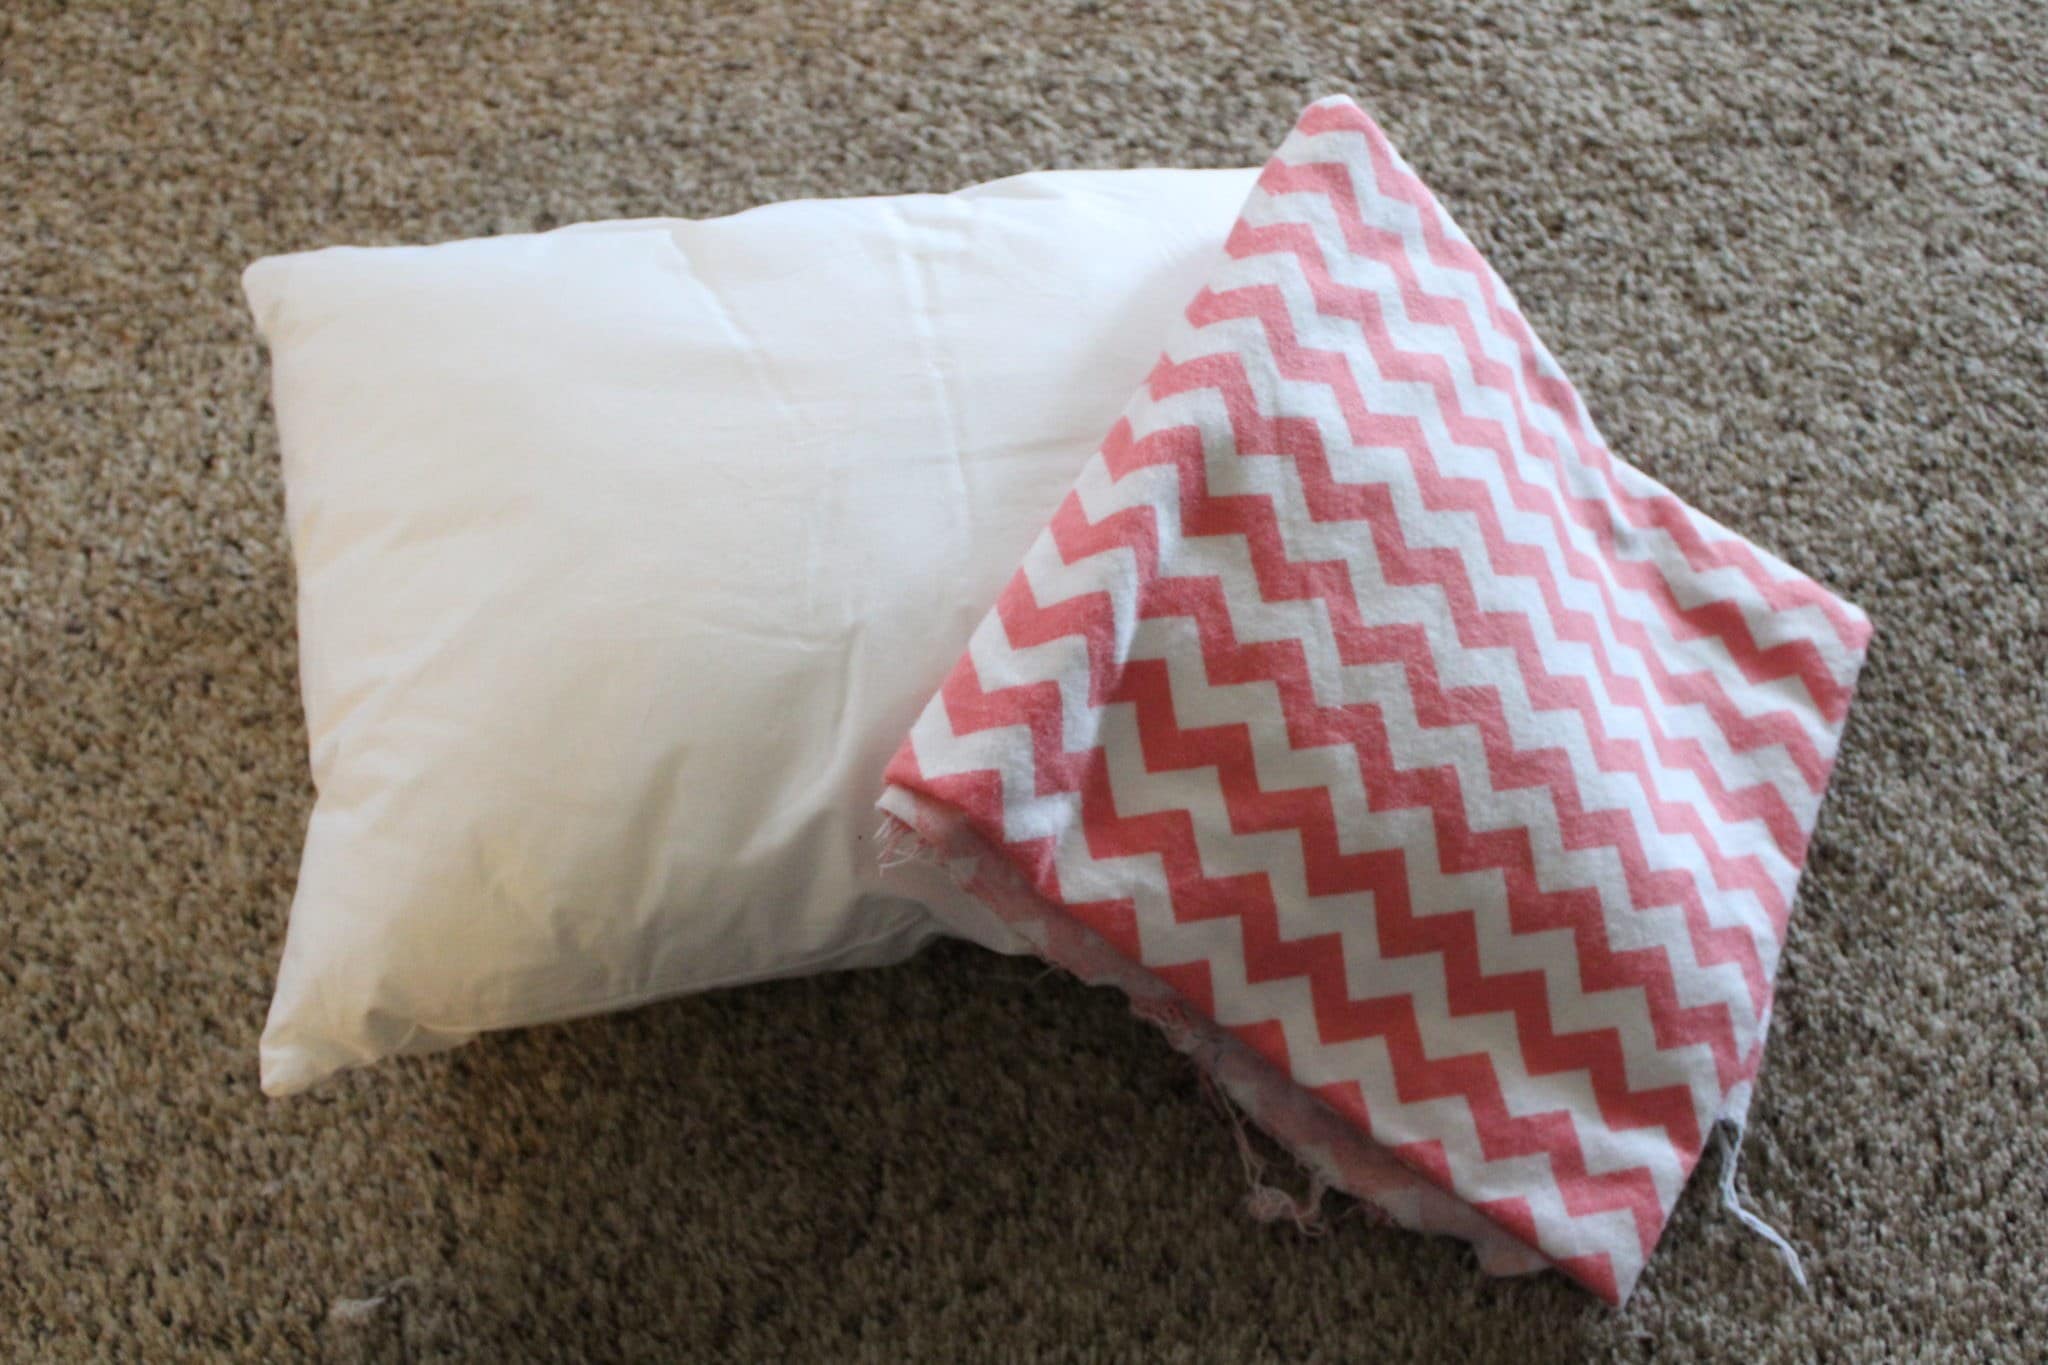
- Fabric (1/2 yd should work, mine was 15.75″ x 43″ wide), prewashed and ironed
- Thread and sewing machine (you could also sew by hand)
- Iron
- Scissors
- The pillow itself, of course, as a base. Our toddler pillow measures 13″ x 18″.
How To Make a Toddler Pillowcase
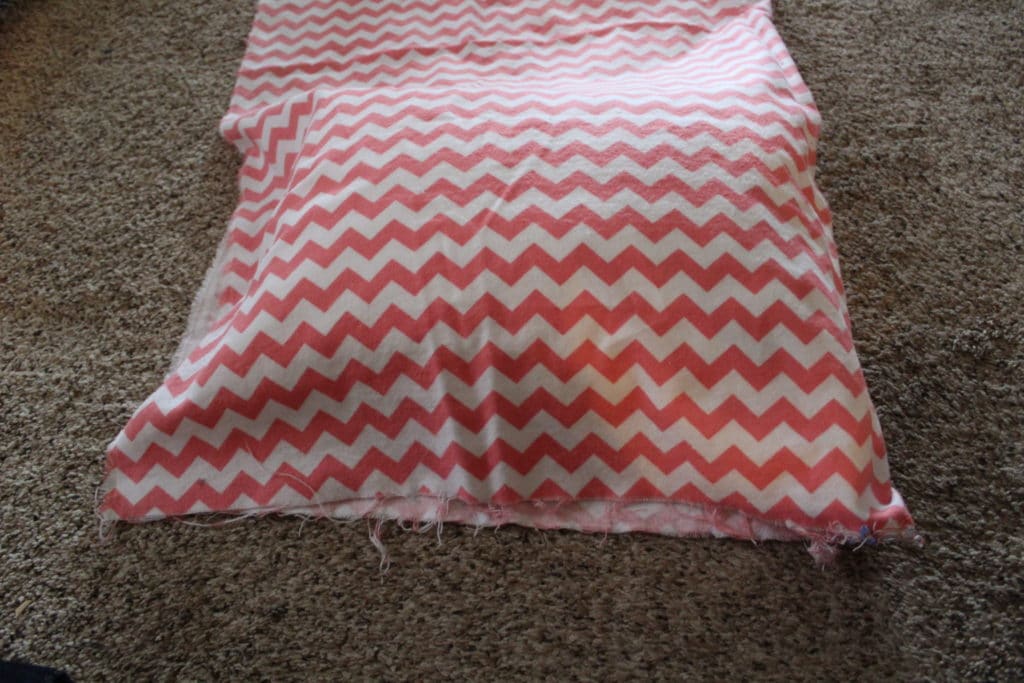
First, measure out your fabric by folding it over your pillow.
You can use the pillow as a guide for how much fabric you need if you don’t want to get out your tape measure.
Just remember, you want the pillowcase to be a little loose so you can get the pillow in and out.
For our 13×18″ pillow size, my piece of fabric ended up being around 15.75″ x 43″.
This took into account the seam allowance and hem allowance I was using of 1/2″. (A seam allowance is how much fabric you want as excess in the seam outside the line of stitching, and a hem allowance is how much you plan to turn up the fabric at the edge of the hem.)
You can use any allowances you want, but that amount must be added to the size of the fabric you cut.
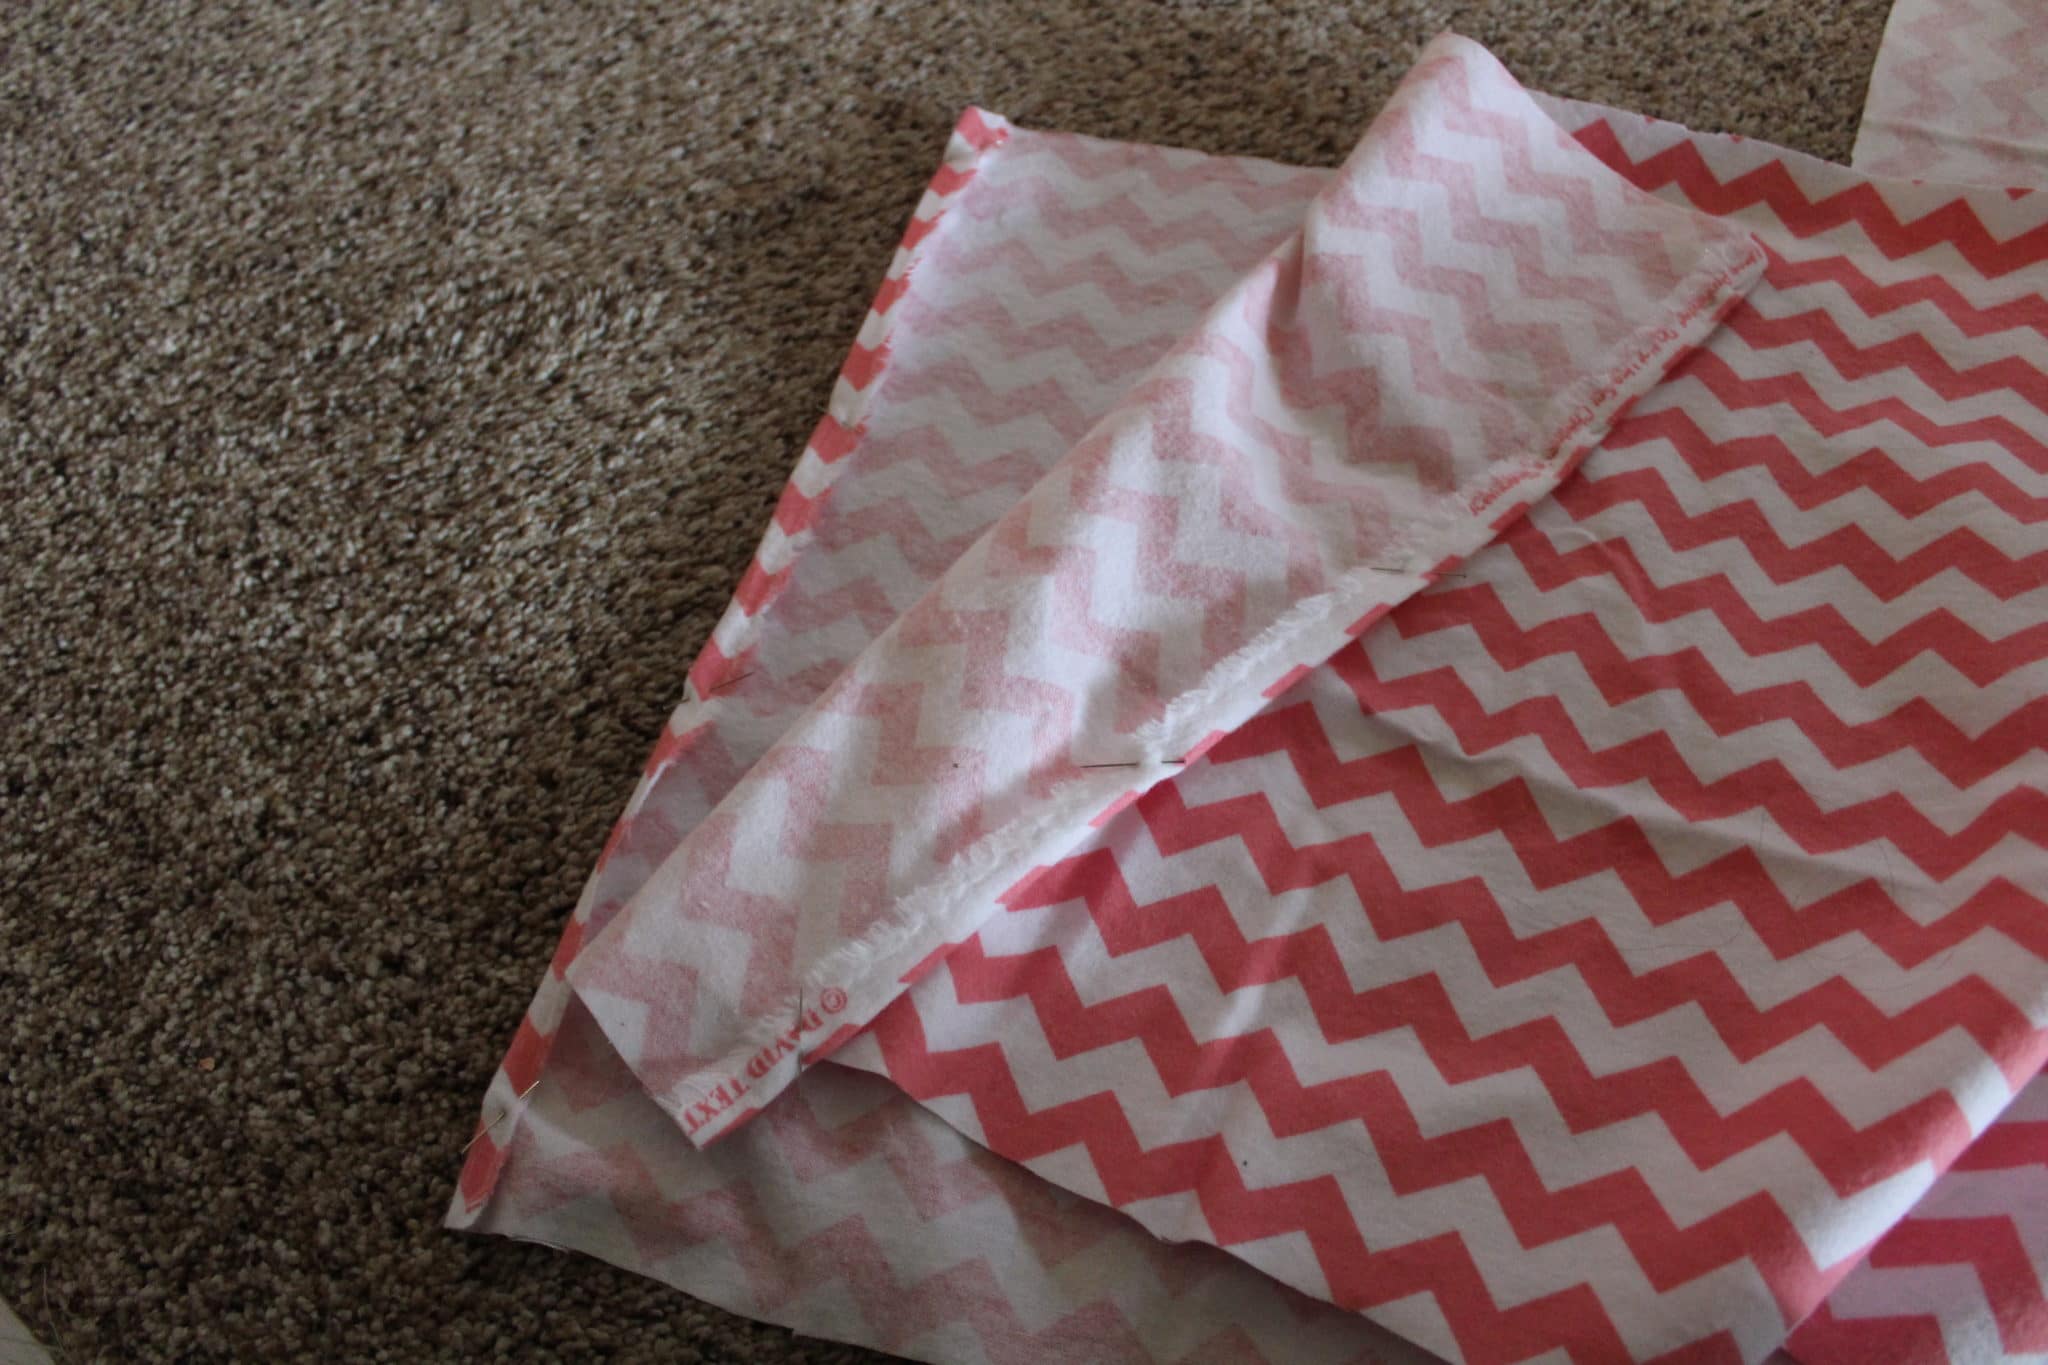
Next, sew the edges of the 15.75″ side with the 1/2″ hem allowance. This will be the opening of the pillowcase, and you are making the hem.
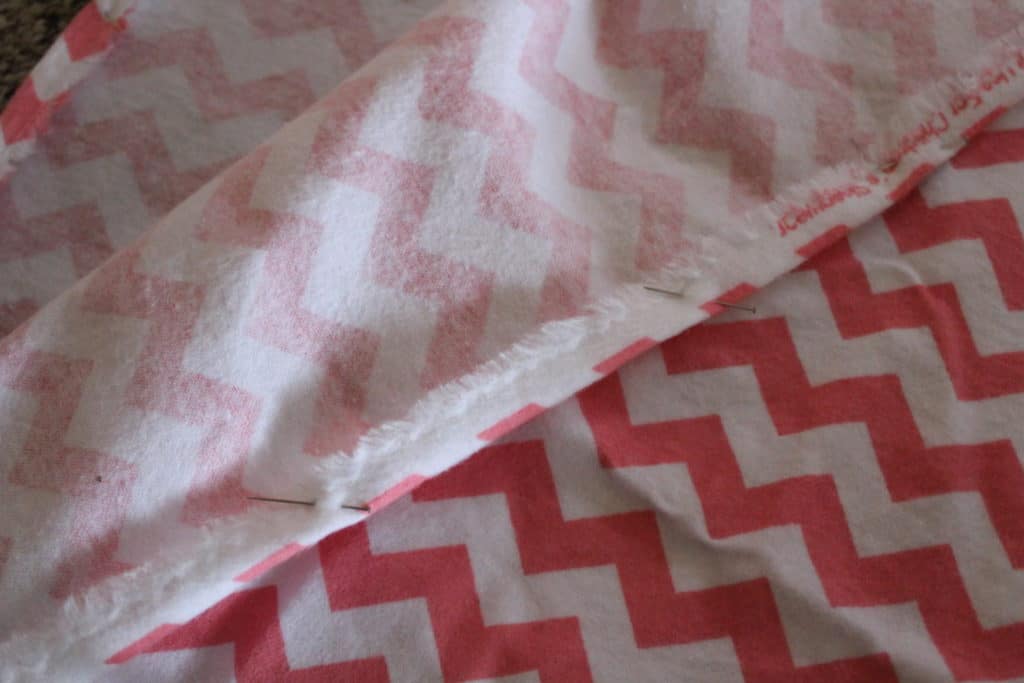
Don’t forget to pin or press first to make a nice crease.
(At this point you could do a snazzier hem (double fold, for example) or finish your fabric edges with a zigzag stitch or serger overlock stitch, but I just wanted a quick and easy pillow!)
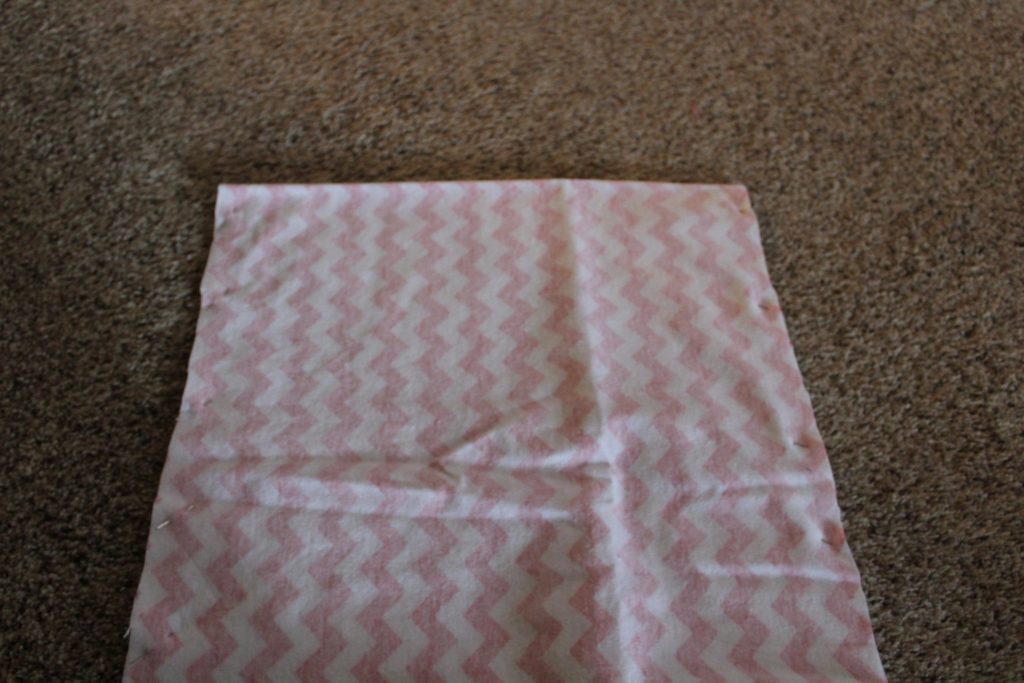
Next, fold the fabric in half with the two newly sewn hem edges touching.
The fabric will need to be with the wrong sides facing out and right sides together.
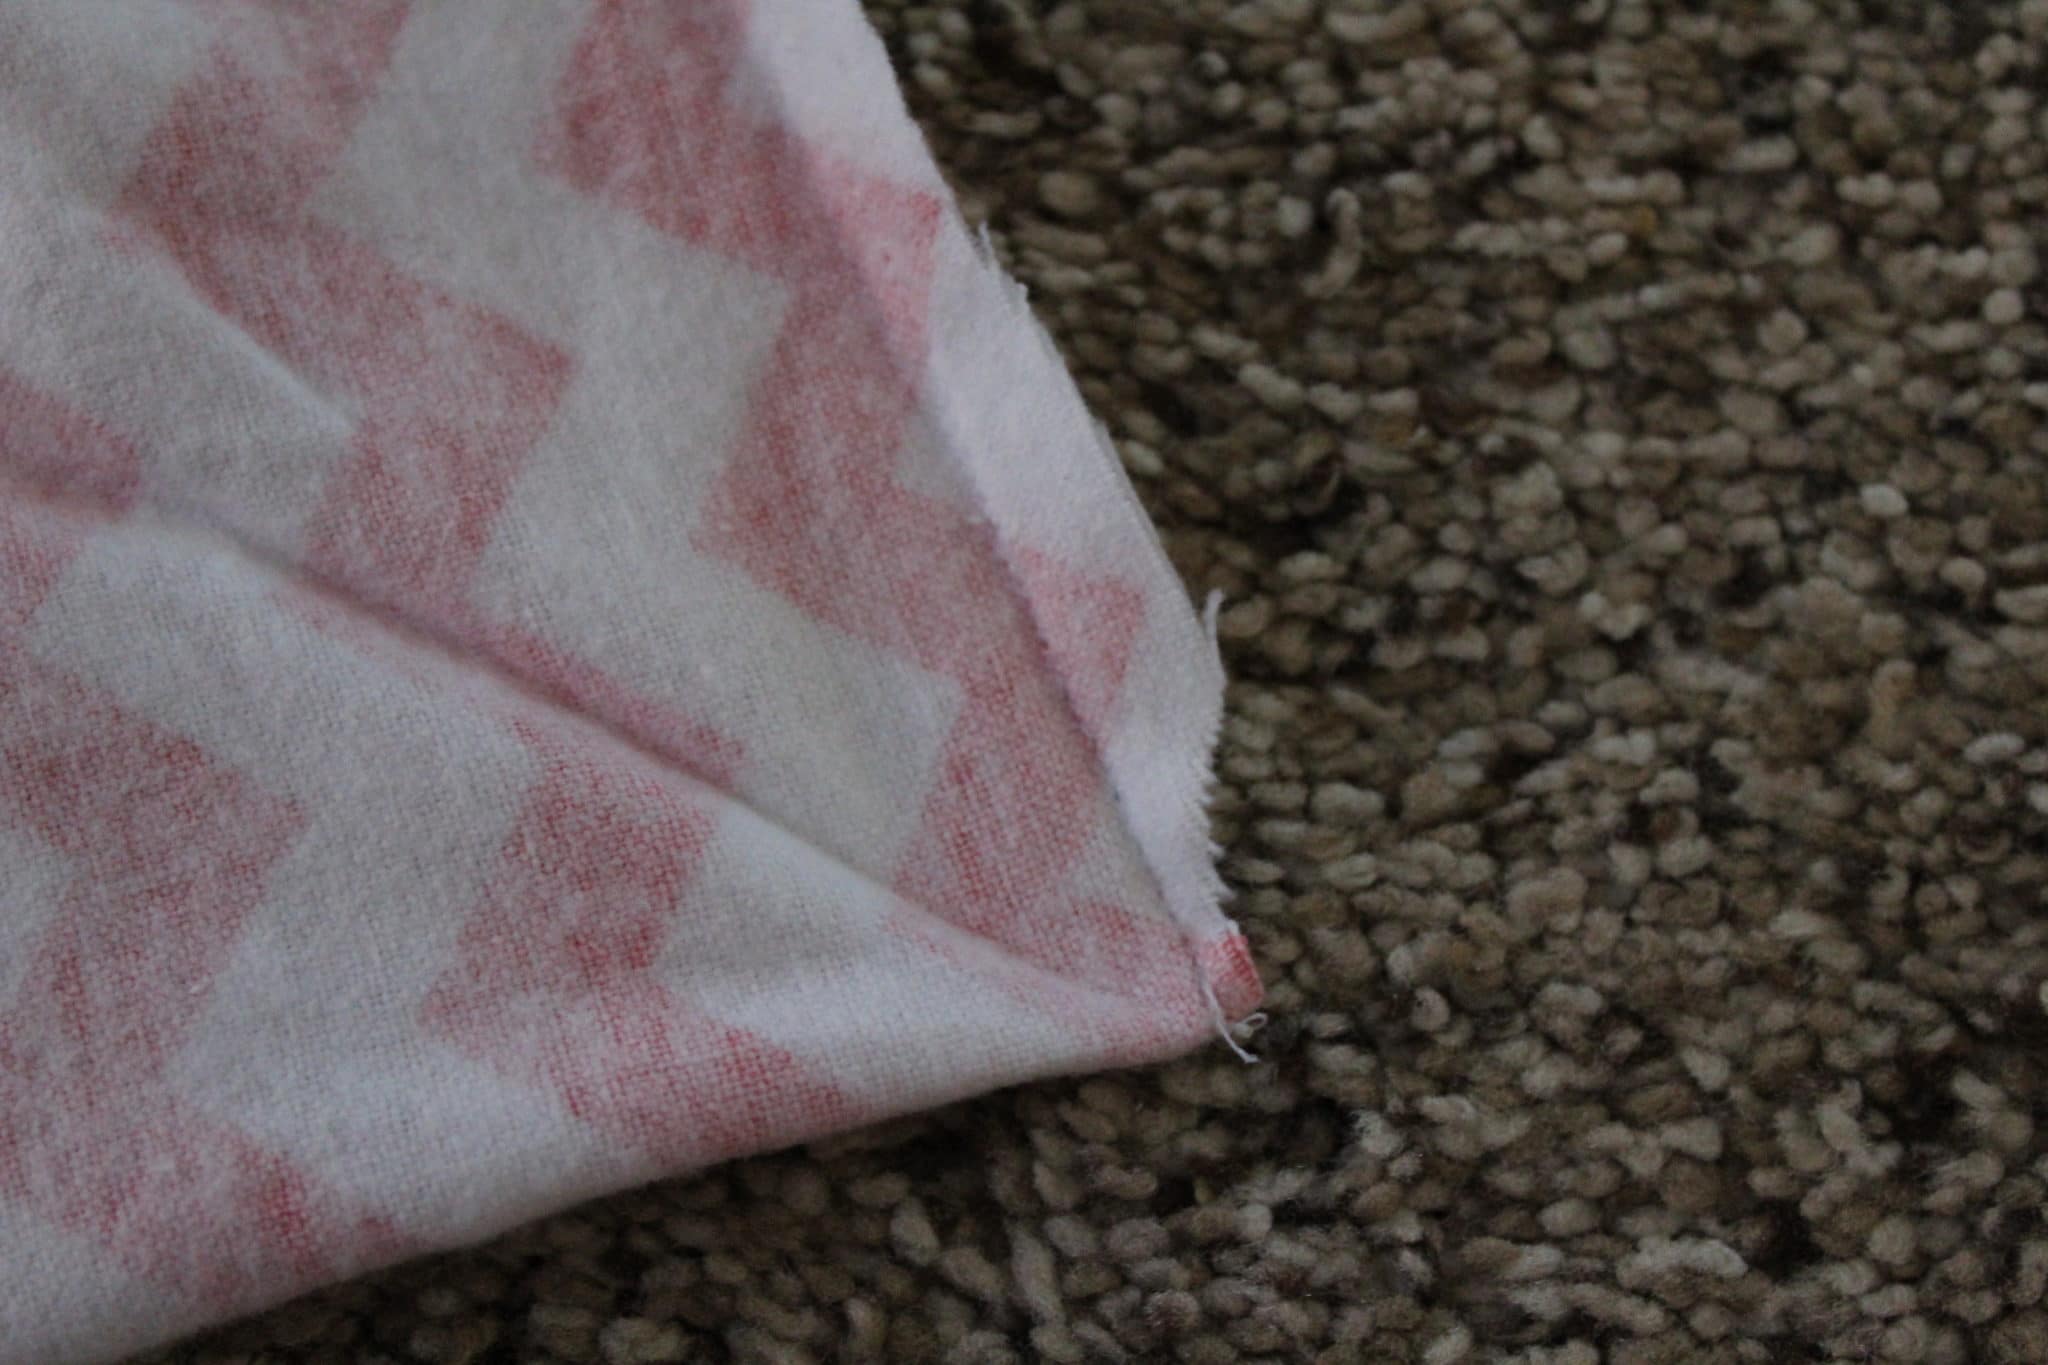
Then, sew with 1/2″ seam allowance on the two sides of the fabric.
Then, cut the corners off to make turning out easier at the corners.
Again, at this point, you could finish your fabric edges with a serged stitch or zigzag stitch, but I just wasn’t feeling it, and my flannel didn’t unravel much.
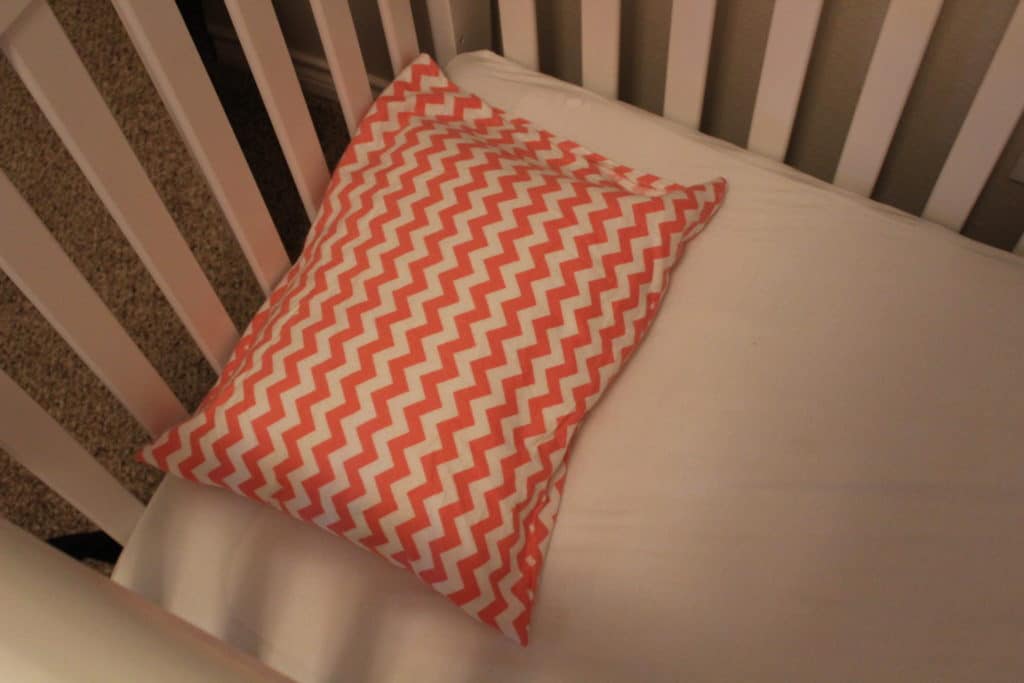
Last, turn the right sides out, iron the seams, and put in the toddler pillow!
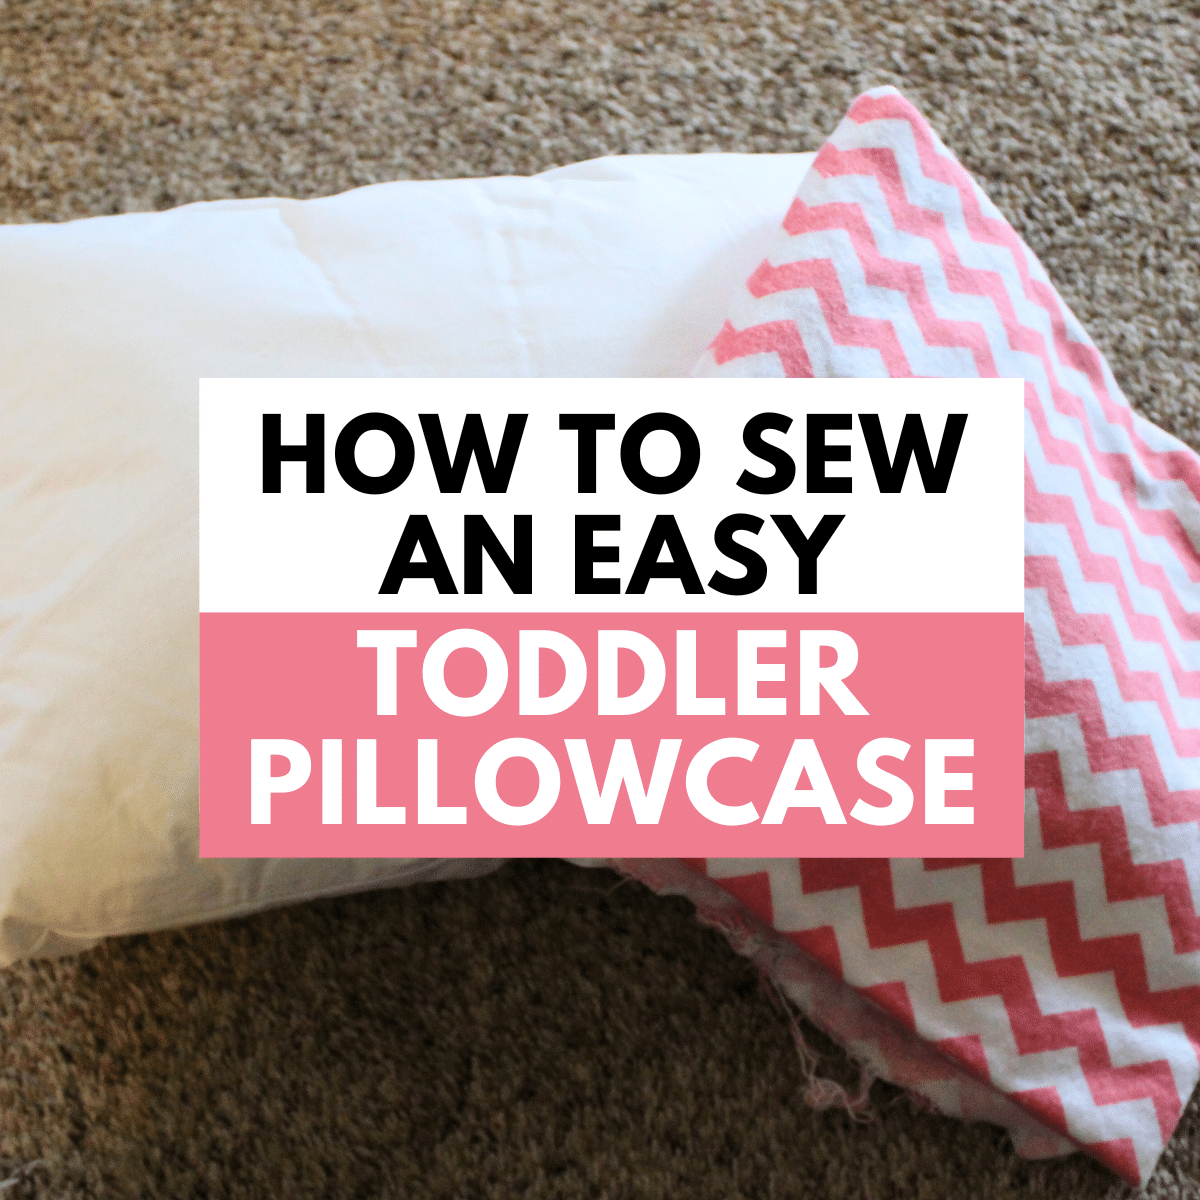
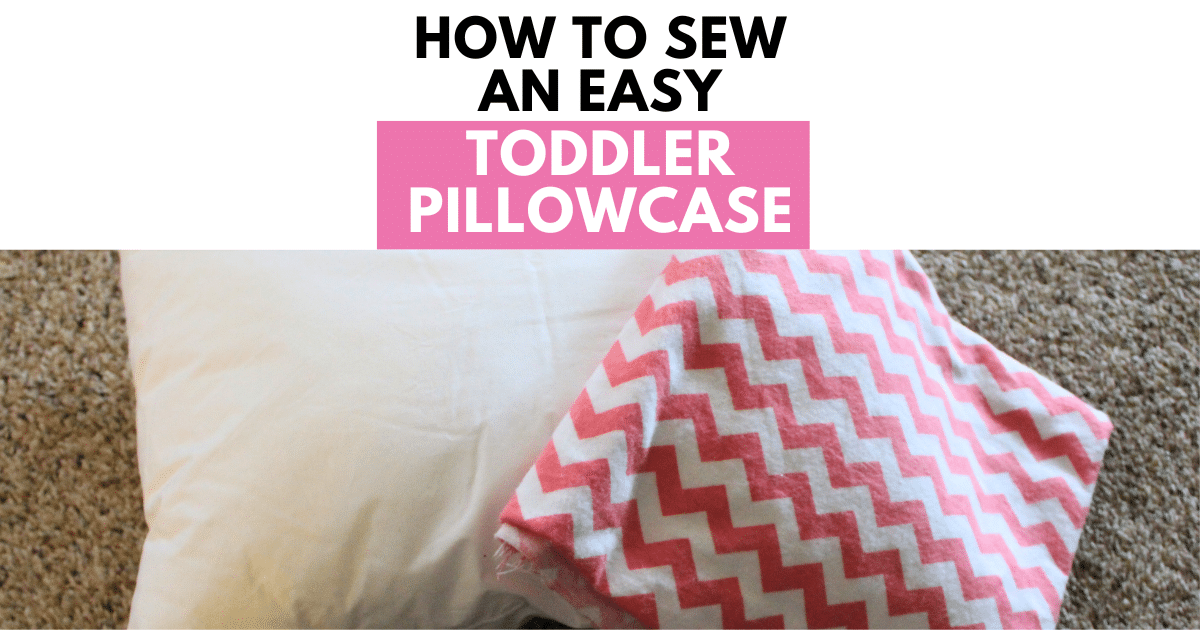
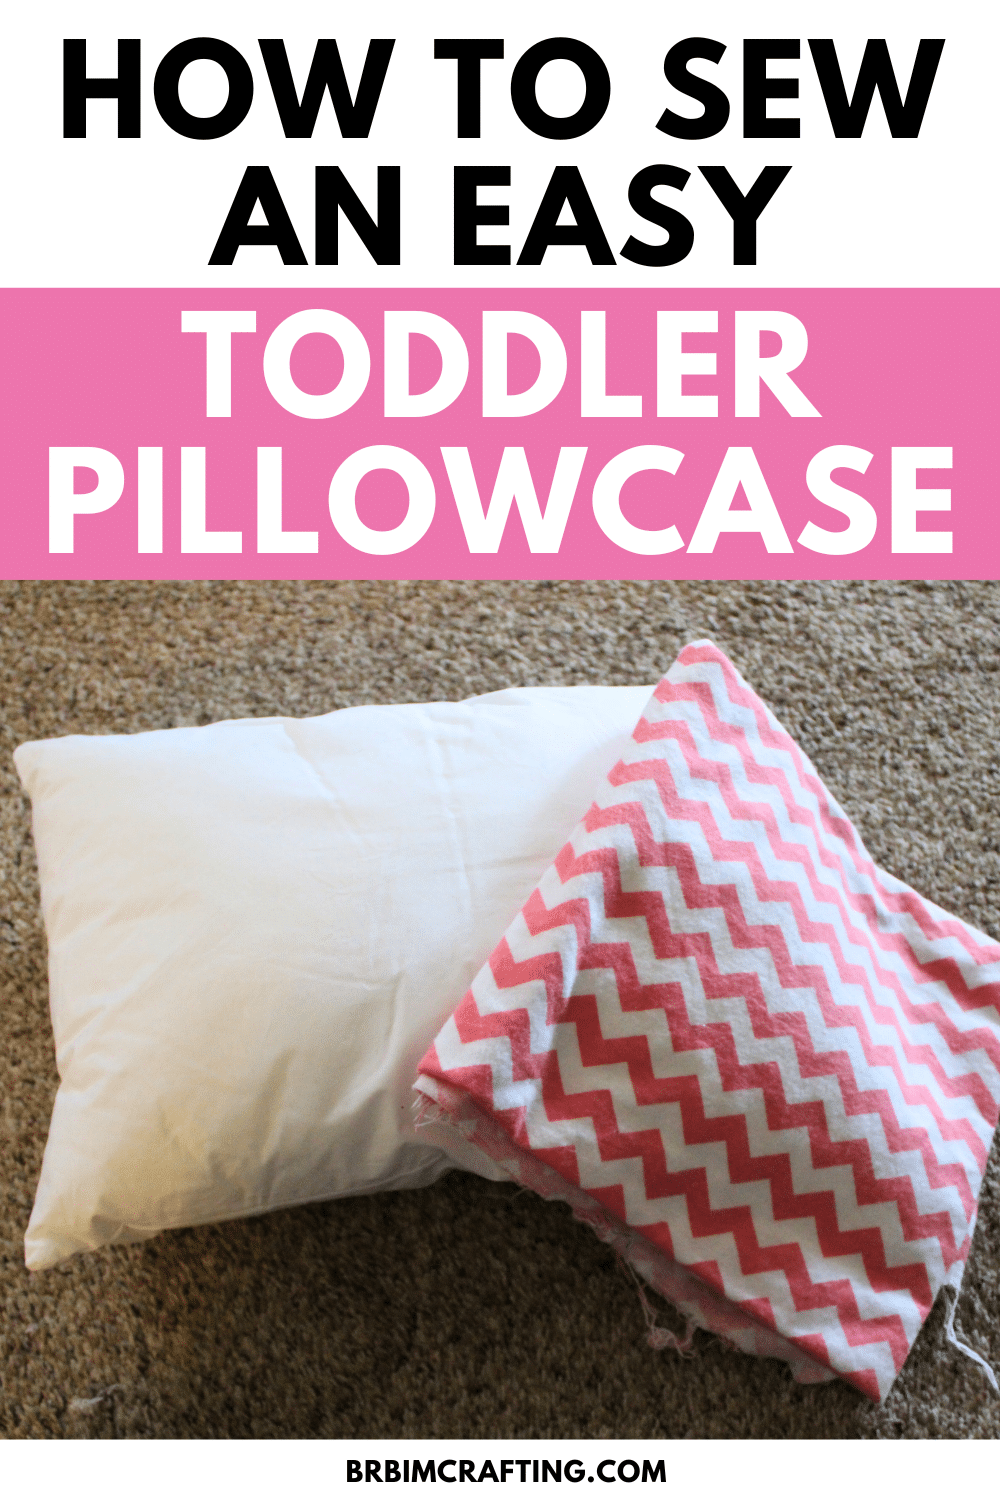
And that’s my DIY toddler pillowcase!
Could you make this fancier with 2 fabrics or other embellishments? Sure!
This is just meant to be a super simple toddler pillowcase made in a short time with a small amount of money!
Also, I’ve washed and dried this thing a ton, and thankfully it has held up great.
