DIY Rag Wreath for Breast Cancer Awareness – Pink Ribbon Gift Idea
This post may contain affiliate links, which means I’ll receive a commission if you purchase through my links, at no extra cost to you. Please read full disclosure for more information.
Today I want to share with you a quick rag wreath tutorial and show you the finished project I made for my Mom.
She’s a three times breast cancer survivor, soI like to make her pink ribbon-themed gifts whenever the inspiration strikes. Recently, I made her some pink ribbon faux leather Cricut earrings that went over well if you want to check out that tutorial, too.
I also love to repurpose anything and everything. I have a whole section of the blog dedicated to my repurposed projects, and I love spending time figuring out how to make treasures out of discarded clothes and other household items. For this rag wreath, I repurposed old pink and white t-shirts.
Making this t-shirt rag wreath took a bit more time than expected, but I think the finished project turned out great! Here’s how I did it.

T-Shirt Wreath Materials:
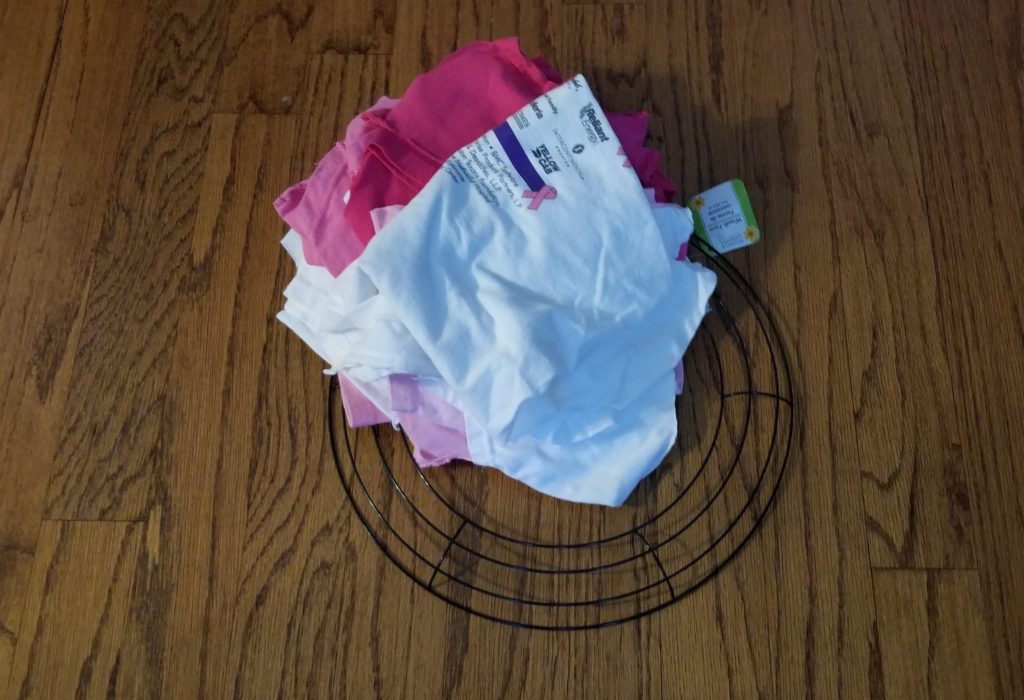
First, you need a wire metal wreath form. Mine was 14″ and came from Dollar Tree. You can see one like it on Amazon here. You can choose any size of wreath you want as long as it has several layers of wire allowing you to tie the t-shirts on.
Then, you need to collect old t-shirts. Since my Mom runs the Susan G. Komen 5K walk each year, she had a TON of old shirts. She was making a t-shirt quilt out of the fronts of the shirts themselves, but there were probably 100 leftover sleeves and bottoms of shirts available for me. About 1/2 of the pink ribbon shirts were white, but I lucked out with the other 1/2 being all sorts of different variations of pink.
Also, go ahead and get some nice, sharp fabric scissors to cut your shirts with.
Lastly, if you want a little extra bling to hang on it, you’ll want to buy or make some extra decor. I used my Cricut Maker to make the add-on. I’ll show it to you up close later.
How to Make a DIY Rag Wreath Out of Old T-Shirts
Cutting the T-Shirt Strips
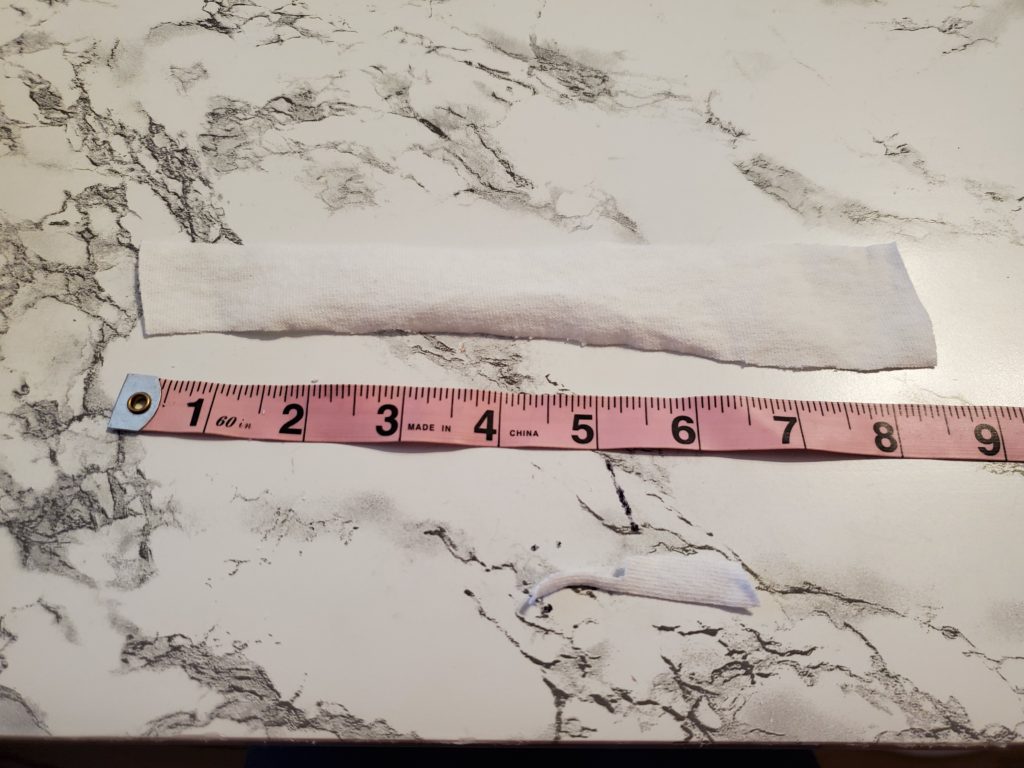
The first thing you need to do is cut your strips of t-shirts. The good thing about this project is because it’s shabby chic, the lengths and widths of the strips don’t need to be uniform. My widths were all within about an inch of each other, and the lengths varied up to 2-3 inches! To determine the best length of strip you need, you will really need to play around with what looks best with your size of wreath and take into account the stretchiness of your t-shirts.
It turns out that some of the stretchier and thinner shirts stretched when they were tied, and some of the thicker shirts did not have much give at all. After some trial and error, the thin fabrics got cut a little shorter than the thicker fabrics.
On average, though, my strips were 8.5″ wide and 1″ thick to give you an idea of a starting point.
Tying the T-Shirt Scraps to the Wire Wreath Frame
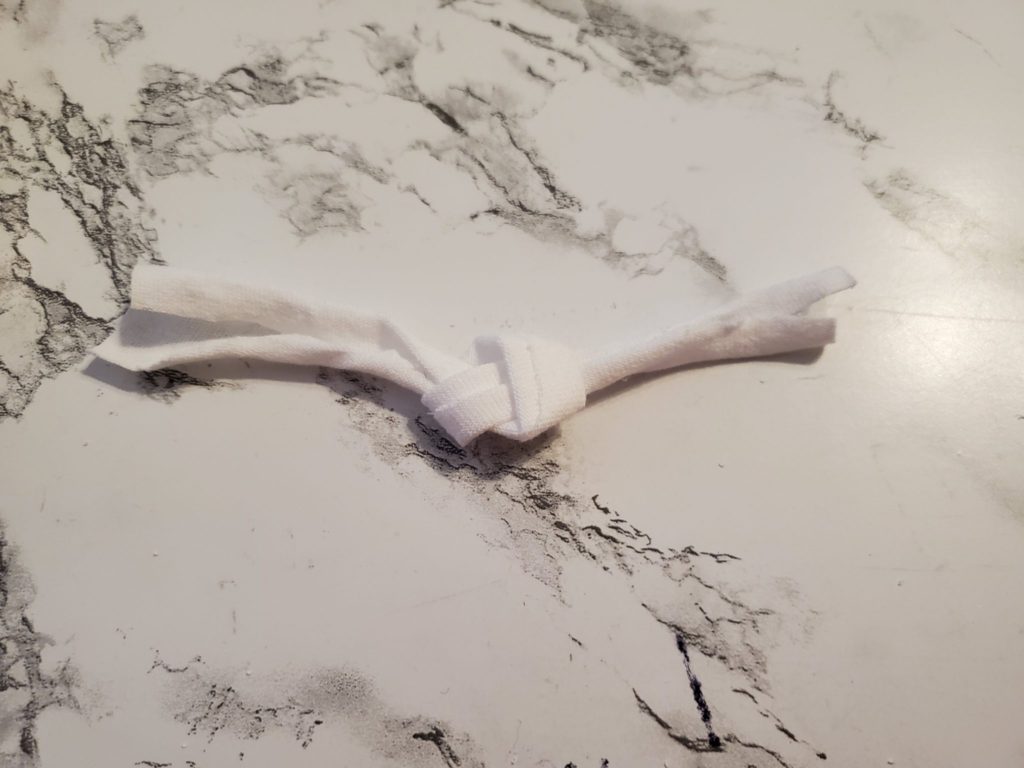
By far the most tedious portion of this DIY rag wreath was tying the strips on the frame. It took me at least a couple hours to get things just so.
When it comes to tying, start on the innermost metal ring on the wreath first and then work your way out to the largest, outer ring. Start at one side of each ring section and work your way from left to right. Some of the thinner strips I tied in two knots and the thicker scraps I tied using just one knot. As you can see from the photo above, I just made a simple knot.
To keep up with the shabby chic style of the wreath, I alternated colors in a semi-random way. I didn’t want it to be perfect, so I would change things up here and there so there wasn’t an exact color pattern.
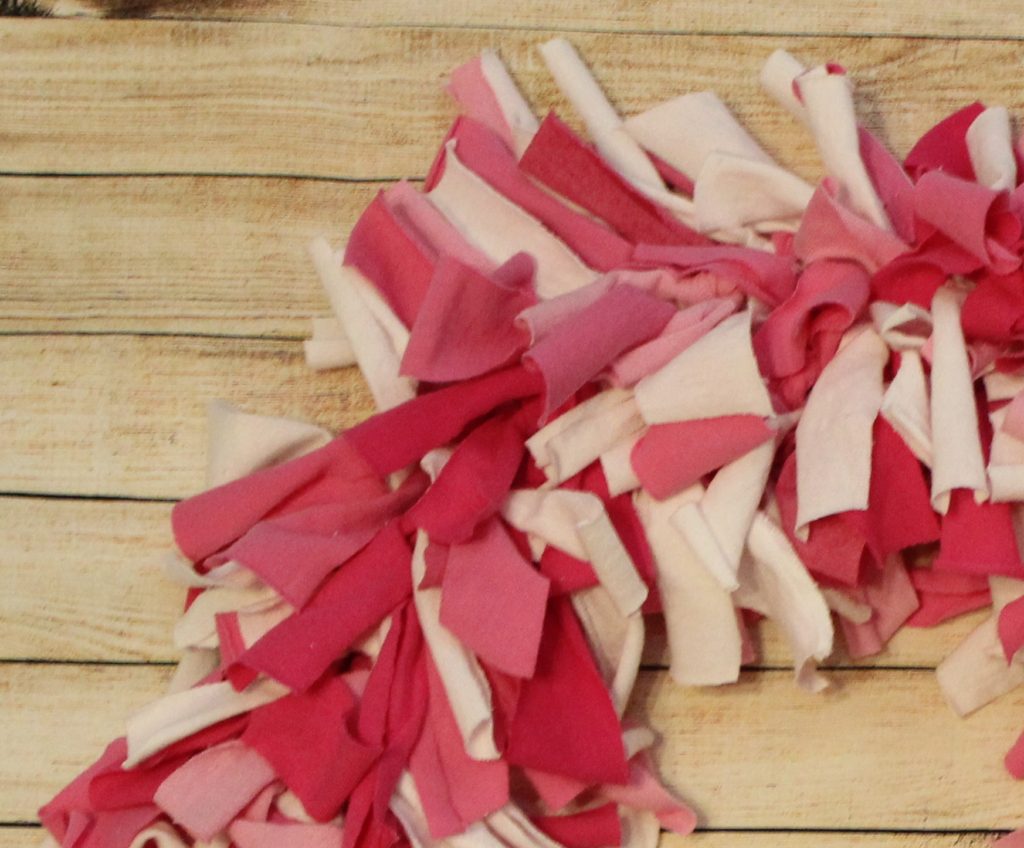
Once all the strips were finally tied on, I gave it a little fluff with my hands to even things out. I also went back and trimmed some of the longer strips that hung funny. This made it look a lot better in some places!
Adding Some Decor
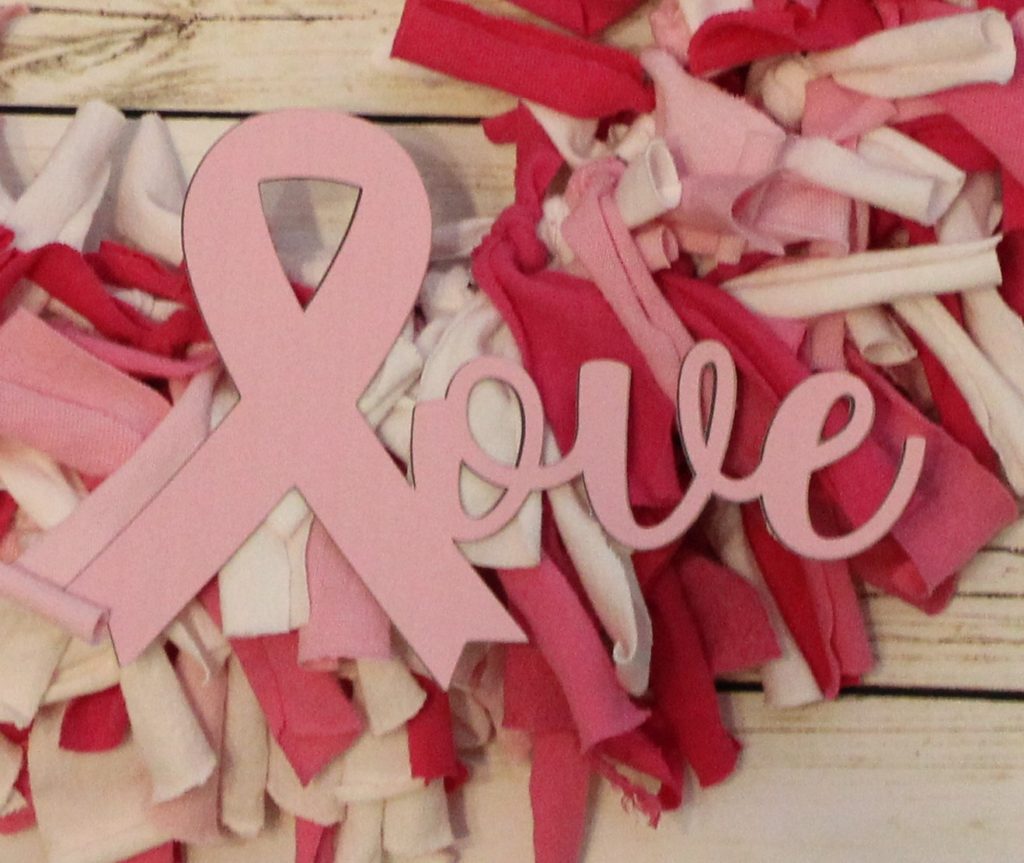
I wanted to add some sort of pink ribbon design to the wreath for outsiders to know this rag wreath was for Breast Cancer Awareness. Since we’re on COVID-19 lockdown now, I wasn’t able to go browsing craft stores for anything!
However, I was able to use a cereal box, pink cardstock, and my Cricut Maker to make this super cute LOVE pink ribbon add-on. I had to temporarily attach it with double-sided tape until I am able to replace it with something more permanent to hold it on.
Final Notes
I’m so pleased with how this pink ribbon wreath turned out. It’s the perfect mix of girly pinks. I can’t wait to gift it to my Mom! If you have any questions about this tutorial, let me know!
Also, we’ve written a tutorial for how to create a girl’s initial wreath as well. We like wreaths!
