DIY Wooden Growth Chart: Wall Ruler for Baby Girl’s Nursery
This post may contain affiliate links, which means I’ll receive a commission if you purchase through my links, at no extra cost to you. Please read full disclosure for more information.
Recently, I made these great Mod Podge letters from the fabric that matched the theme of my daughter’s nursery. I’ve been wanting to make her a DIY wooden growth chart for a while, so I finally made time to take on the project.
I’d seen many different growth charts online made out of wooden fence posts. When I went to buy a fence post at Lowe’s, though, the guy who helped me told me it wasn’t safe to use pressure-treated wood in the house. I thus ended up deciding just to use a 6 foot long wooden plank.
Making this DIY wooden growth chart was really easy after figuring out a way to get that huge piece of wood home in my car! Read on for my full tutorial.
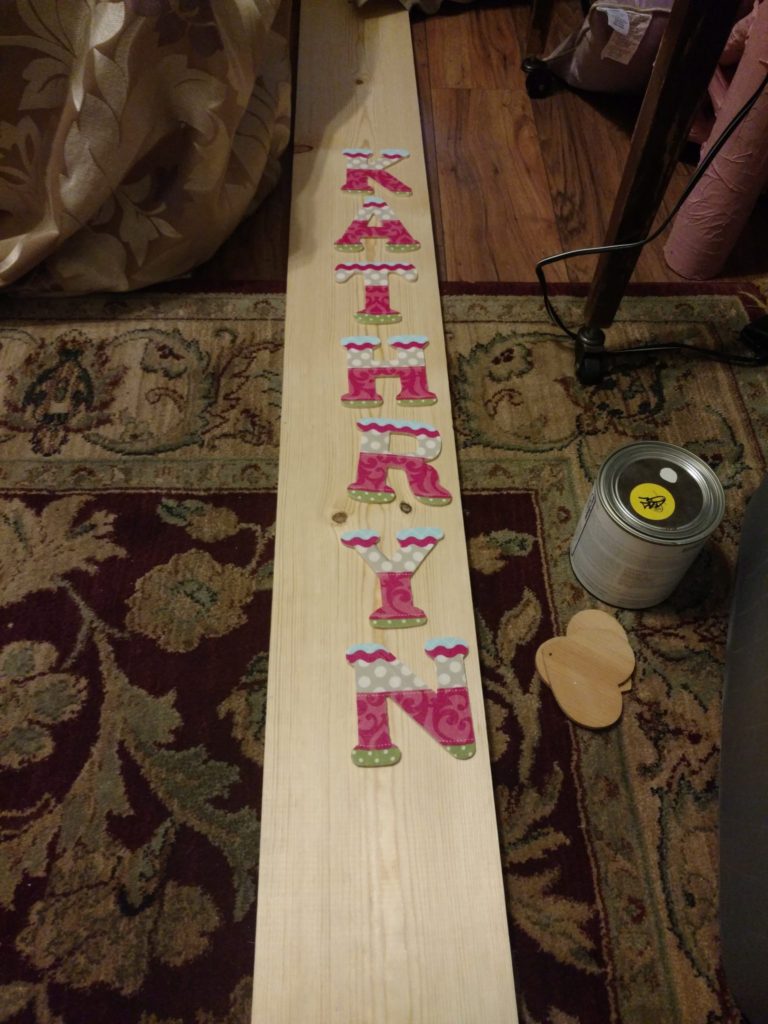
Growth Chart Supplies
- 6 foot wood plank (or really any height you want depending how far you want it off the ground)
- Paint for the wooden plank and paint for the number hash marks
- Mod Podge fabric + wooden letters (my tutorial on how I made mine)
- Glue
- Numbers for foot measurements (I glued on scrapbook letters)
How I Made My DIY Wooden Growth Chart
I first painted the wood with white paint. It took a couple coats to get the opacity that I desired.
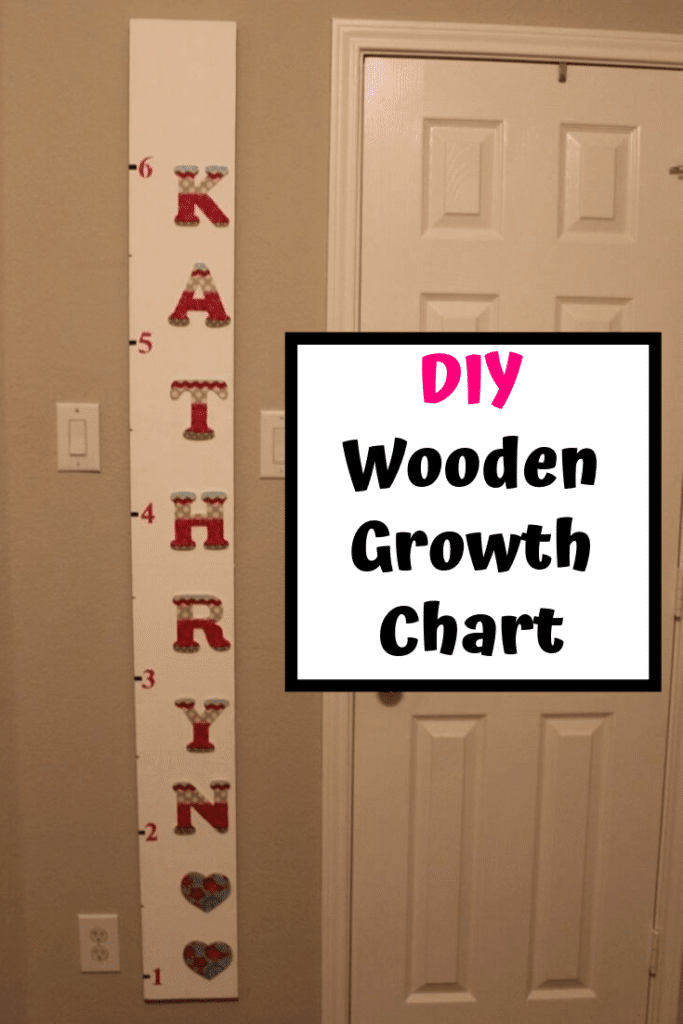
Once the paint was dry, then I glued on the Mod Podge letters. Make sure you are using glue that will adhere to both paint and wood or your letters may fall off. I also have two little wooden hearts I glued on the bottom as well.
Then, I used black craft paint to make the 6 inch and 1 foot hashmarks. The foot marks were wider than the 6 inch marks. After that, I glued on scrapbook number stickers at each foot marking. They have a little bit of elevation, which I like! Again, make sure you’re using a good glue or the numbers will fall off.
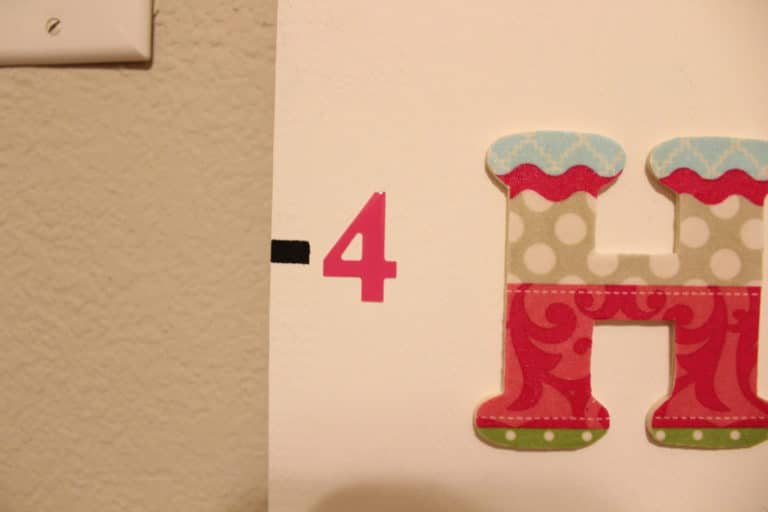
I liked the idea of lining up the top of the board with the top of our doorway. That meant the board would be around 10 inches off the floor. We have a super tall family, so it’s not out of the question for our daughter to end up near 6 foot tall. That’s why our board is so long! If you want a shorter DIY growth chart, just cut your board shorter. You can also hang it farther off the ground if you prefer.
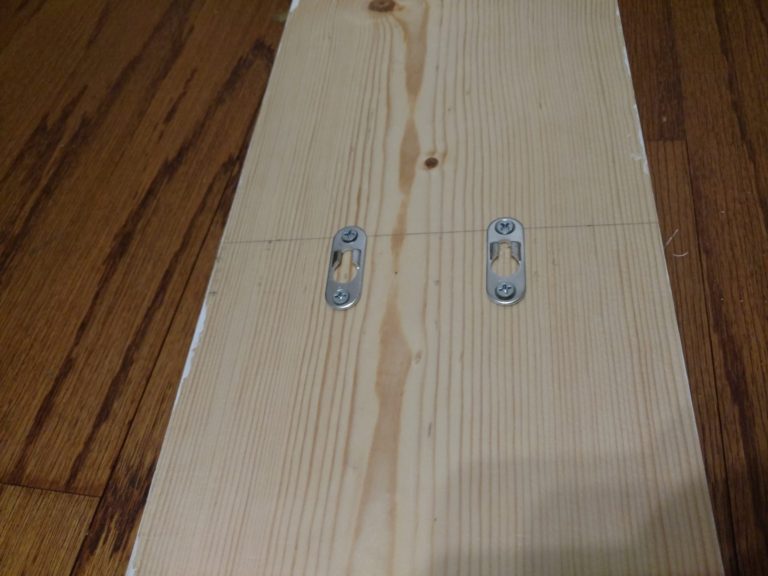
My husband made a hanger for the back of the board and took care of getting the growth chart stable on the wall.
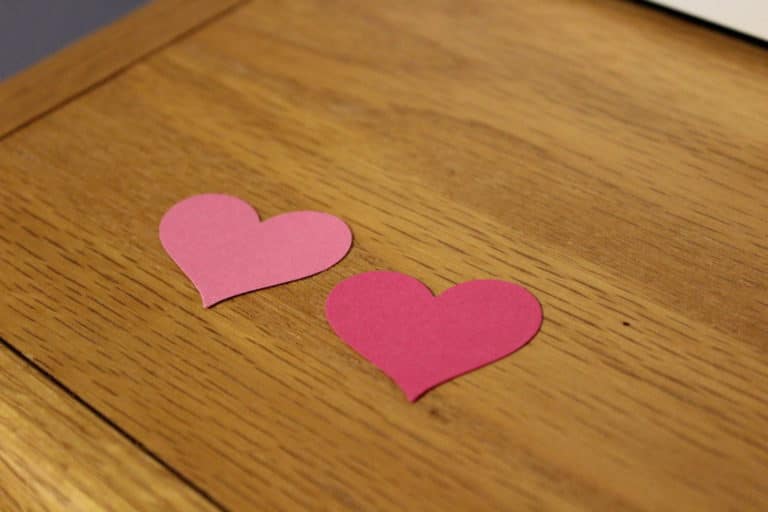
Once it was hung, we used cute little hearts to track baby girl’s growth. She just had her 18 month well-baby appointment, so we stood her up against the wall and put her first measurement! We wrote her date and weight on the heart and used glue to attach it. You have lots of options for what you want to use to mark your baby’s growth progress. It’s simple enough to use a marker, pen, or even pencil if you’d prefer.
The hearts were made with a heart paper punch I got from Hobby Lobby. It’s amazing how many projects I’ve found to use this heart punch for. (Like our IKEA mala easel redo as well as baby girl’s library themed birthday invitations.)
And here’s the finished DIY wooden growth chart hanging on her wall! What do you think?
Like DIY also? Check out some of our other crafts and DIY!
