Ikea Easel Hack: Mala Redo with Bling for a Girl’s Craft Room
This post may contain affiliate links, which means I’ll receive a commission if you purchase through my links, at no extra cost to you. Please read full disclosure for more information.
I went to college and grad school in a big city with an IKEA 20 minutes from where I lived.
I never knew the awesomeness of IKEA until my last year of grad school, and pretty much as soon as I had discovered its greatness, my husband and I moved to a new city.
Twice in the last five years though, we have ventured cross-state to our nearest IKEA, which is regrettably not 20 minutes from our house anymore.
On our last trip, we snagged this great easel that I’ve been working on sprucing up for our daughter when she is a little older.
It’s now a part of her new art room corner within our family study.
Here’s the MALA IKEA Easel
It looks like this on both sides:
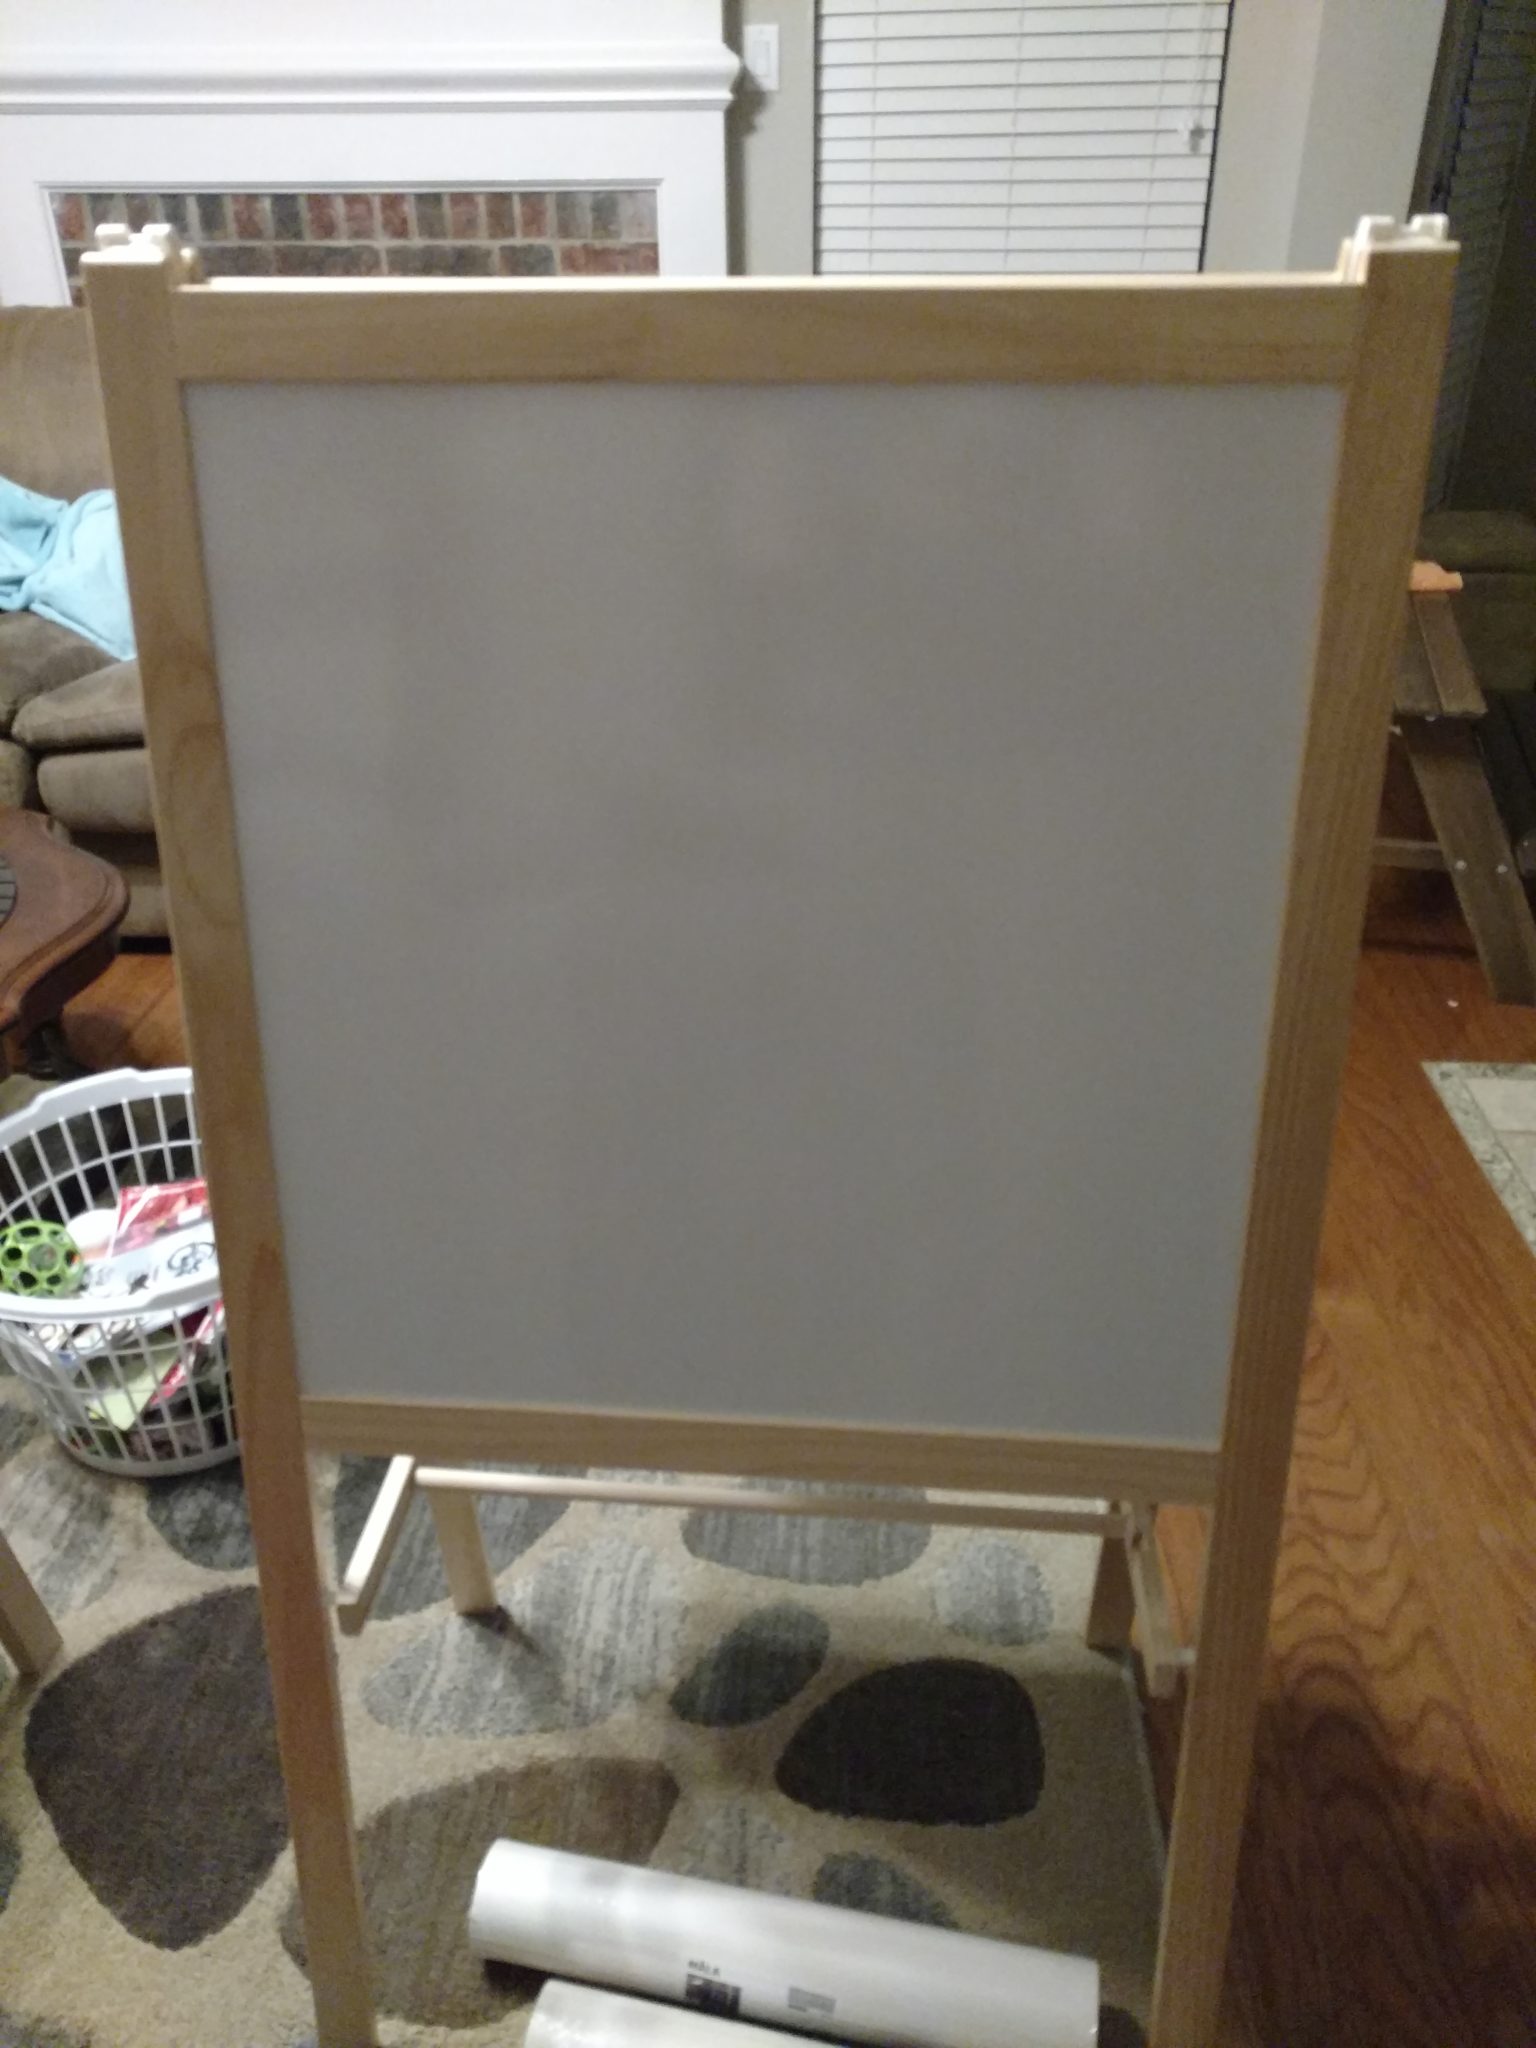
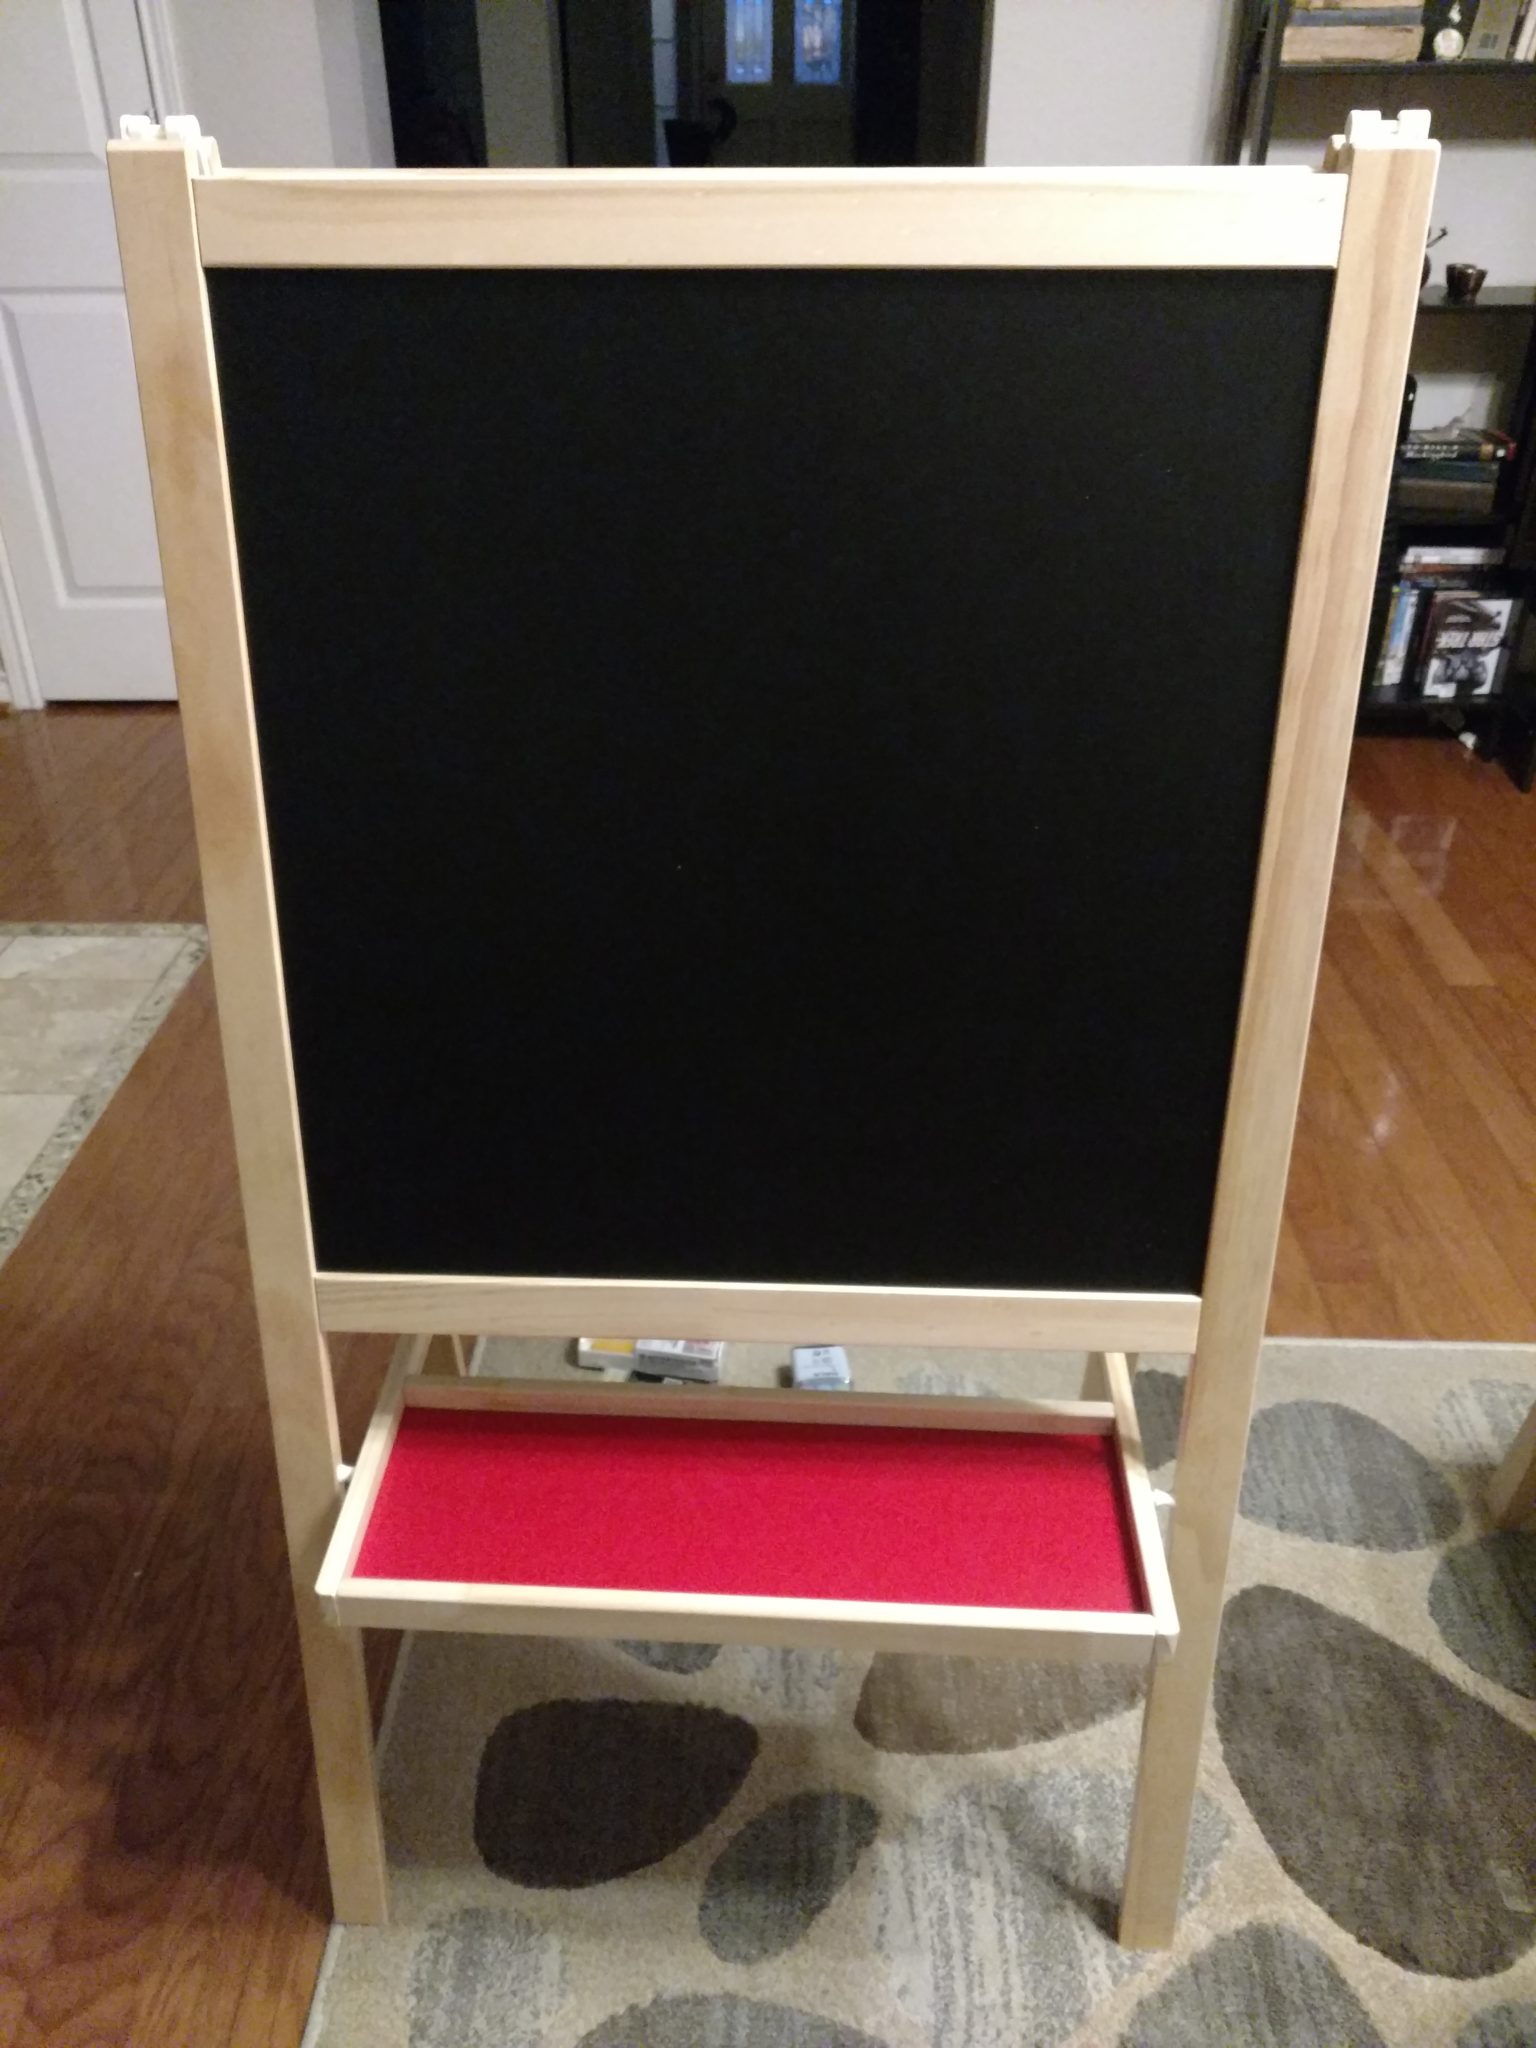
One side is a dry-erase board, and the other side is a chalkboard.
You can even buy a little butcher paper roll from Ikea to put in the center of the easel to use for marker, paint, and crayon drawings!
The easel was so not feminine and totally didn’t fit the decor of our daughter’s room or playroom, so I needed to give it a little personality and a little bit of bling.
Ikea Easel Hack, Side 1: Chalkboard
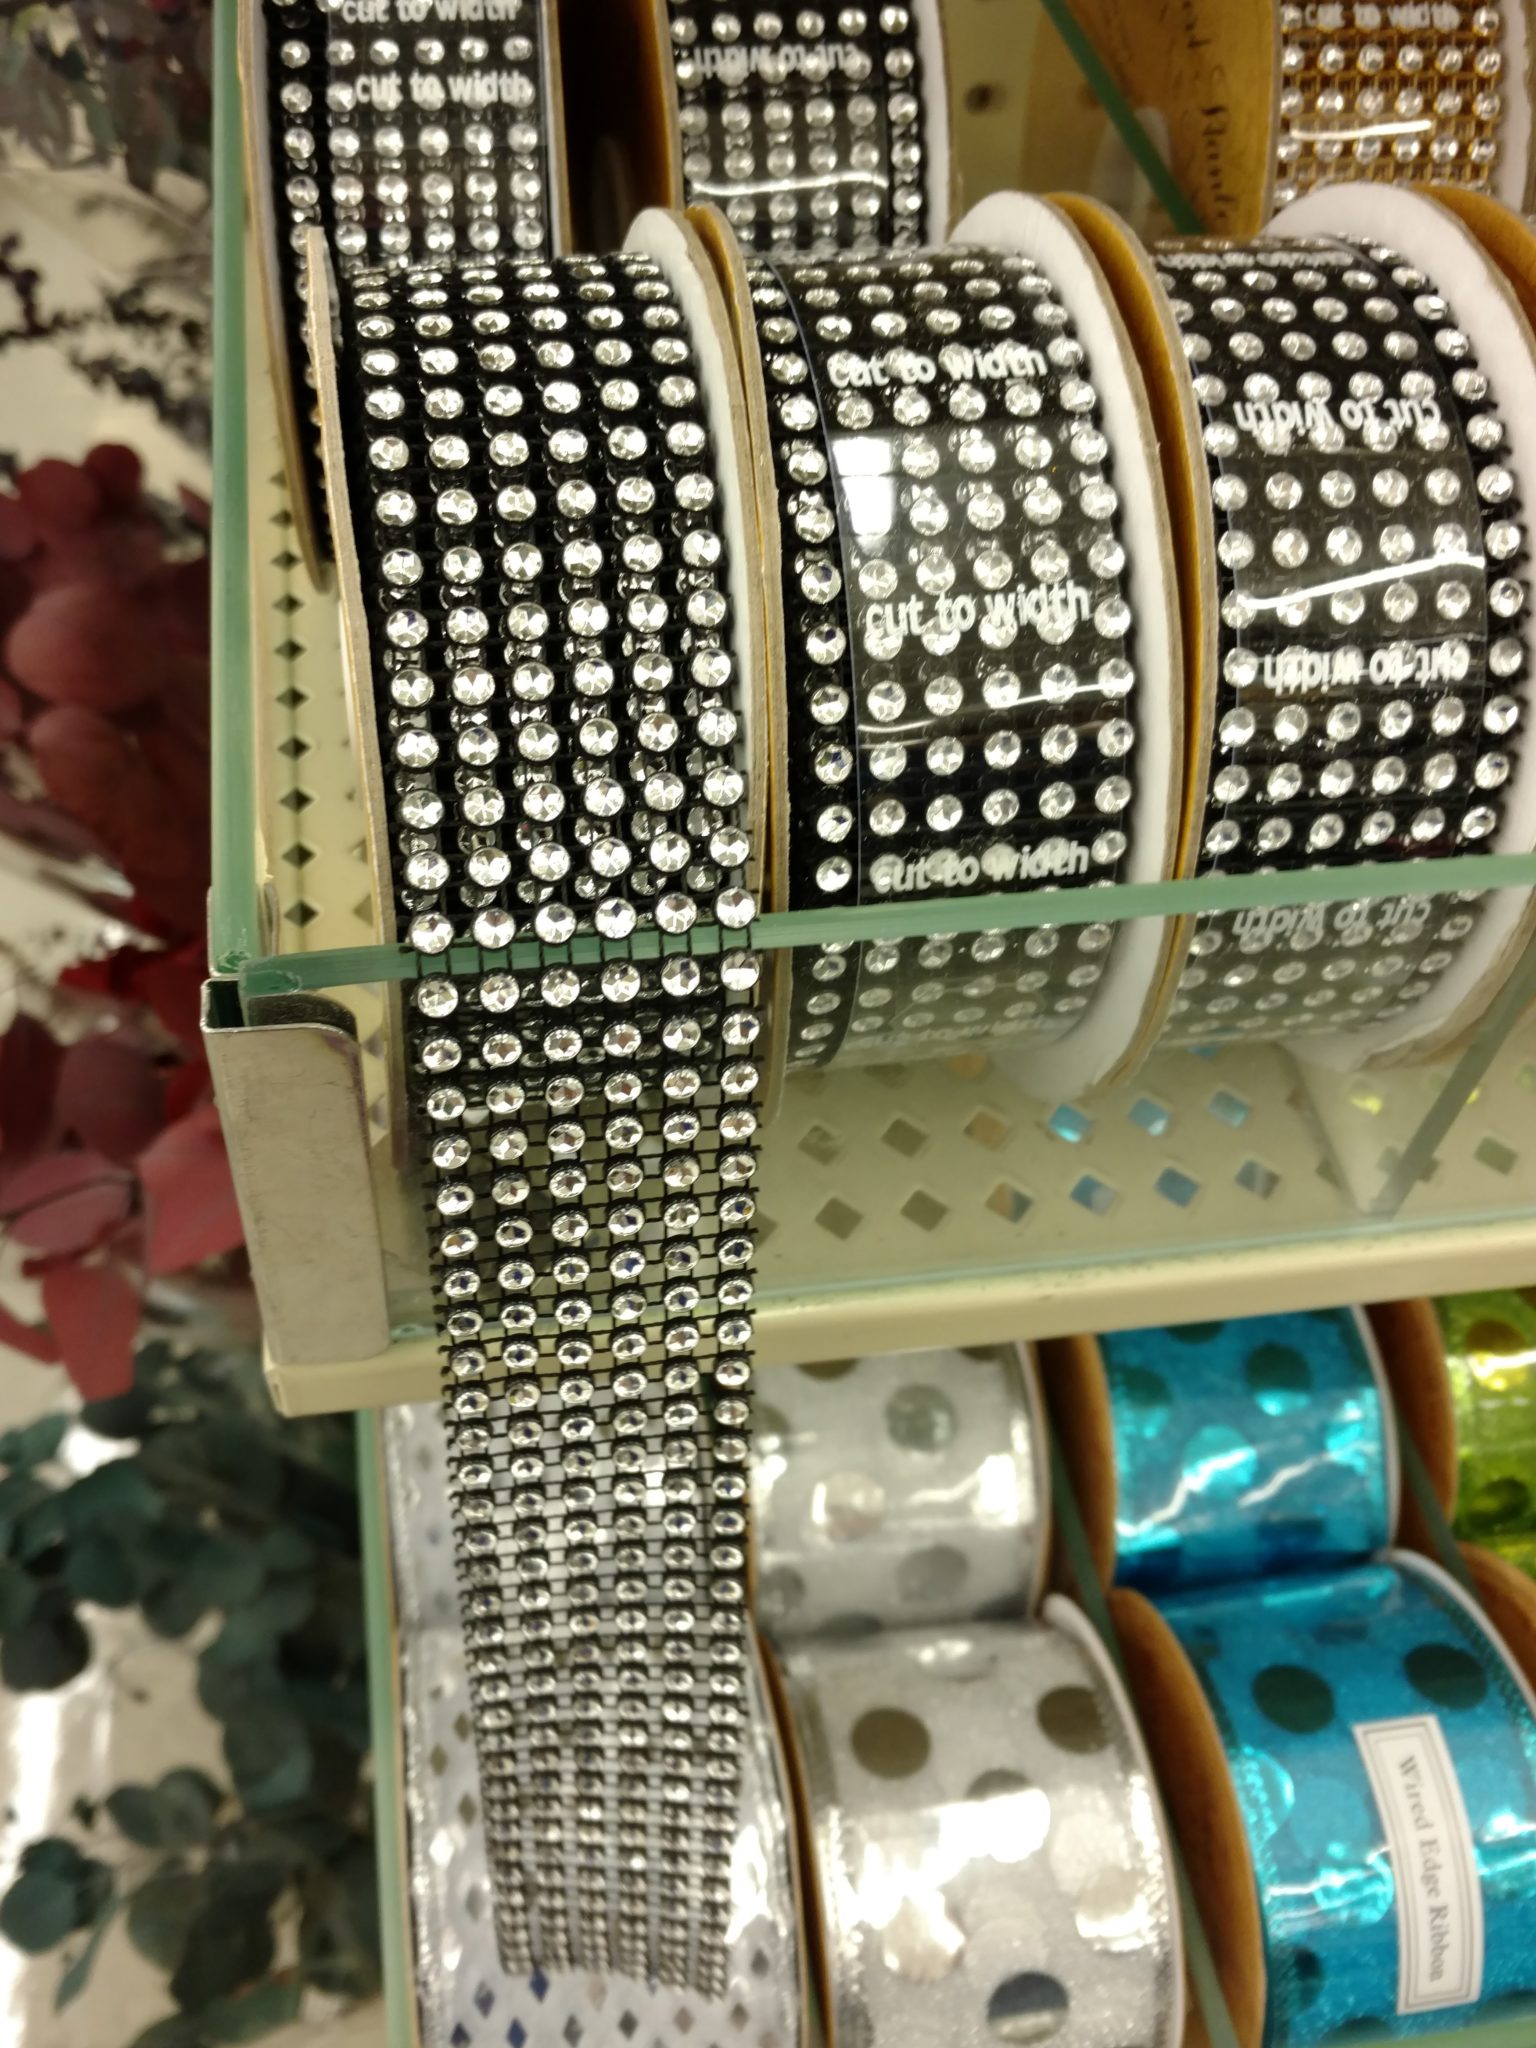
The inspiration for this side came from this great bling ribbon that I found at Michael’s.
The width of the wood border of the easel is 1.5”, so this 1 3/8” ribbon was a perfect size.
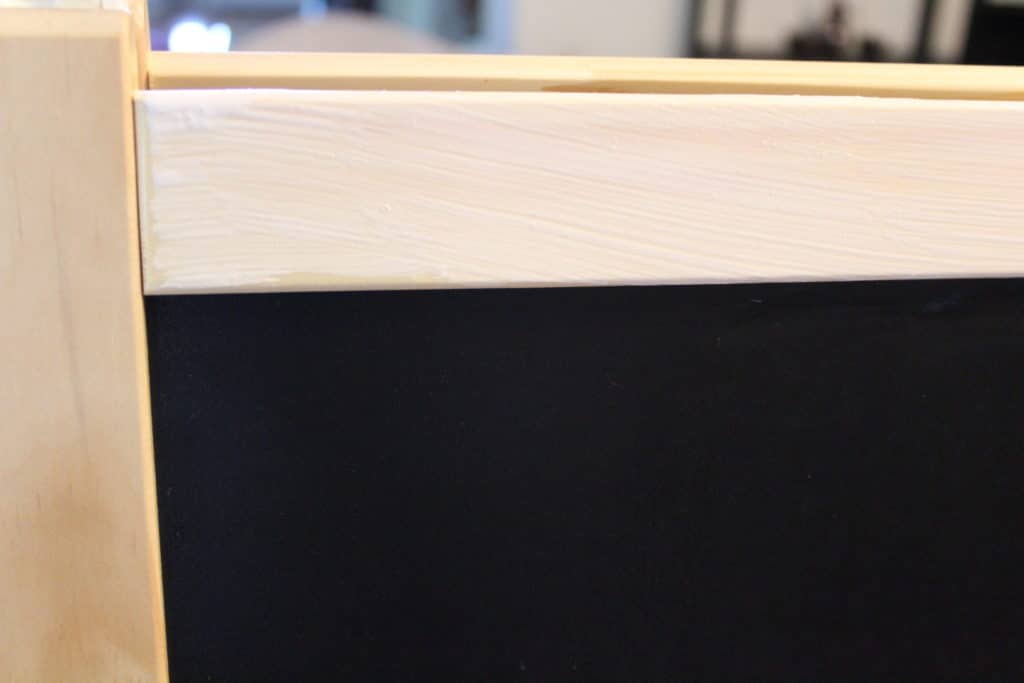
I started with a nice layer of Mod Podge first on the wooden part of the easel.
Then, I just stuck the ribbon on the Mod Podge and let it dry. Super easy.
For the tray of the easel, I used the same paint that I used to paint the knobs of the dresser my husband and I upcycled for my daughter’s nursery. I sealed the wood first, did two coats of paint, and then put a varnish on top to keep the paint from chipping. So far so good!
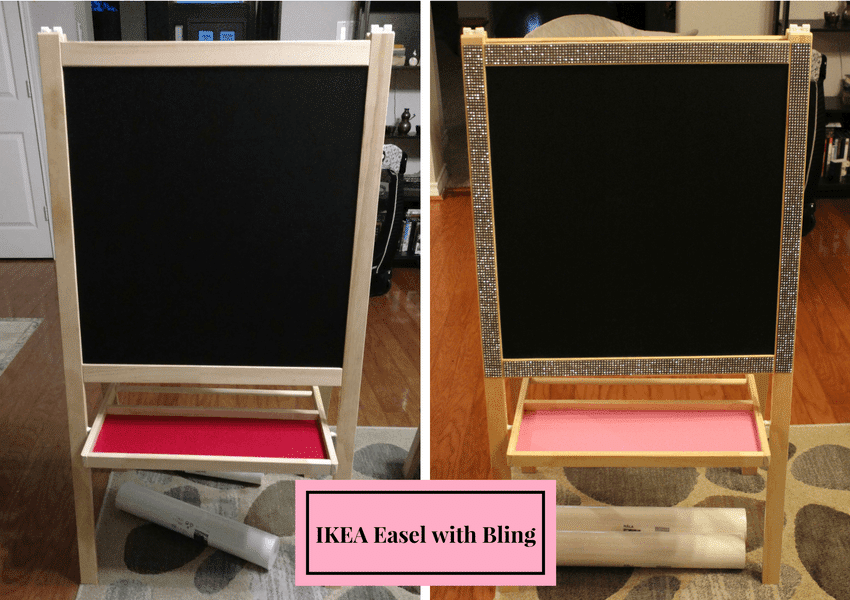
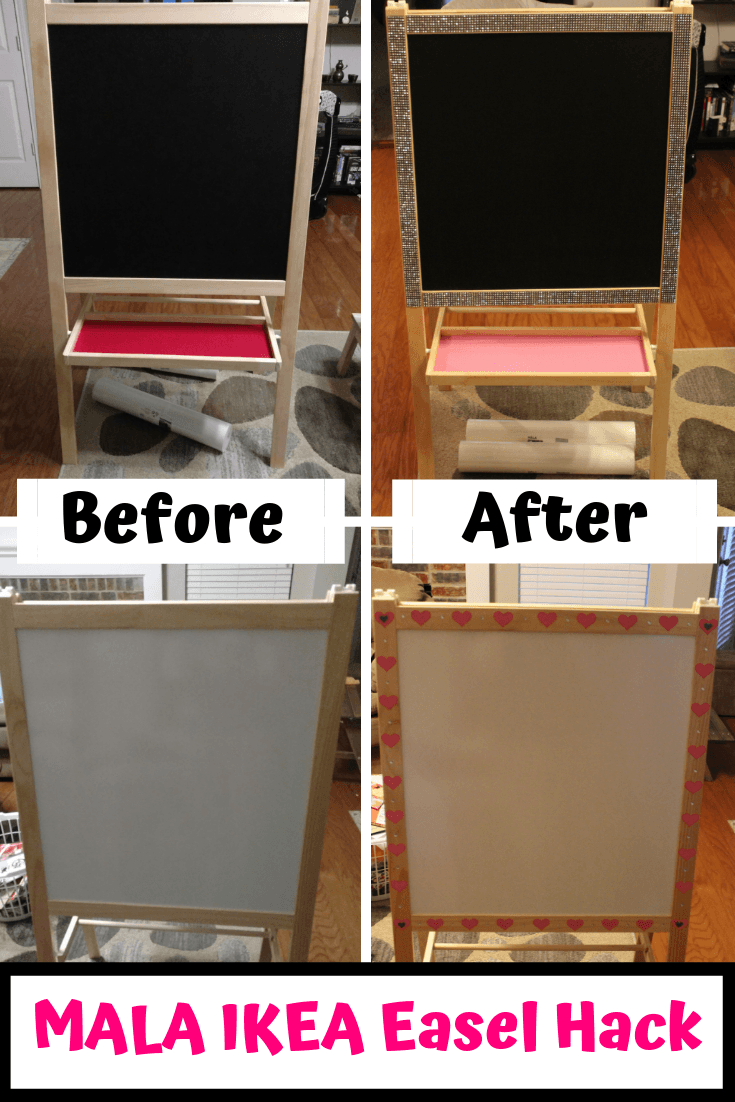
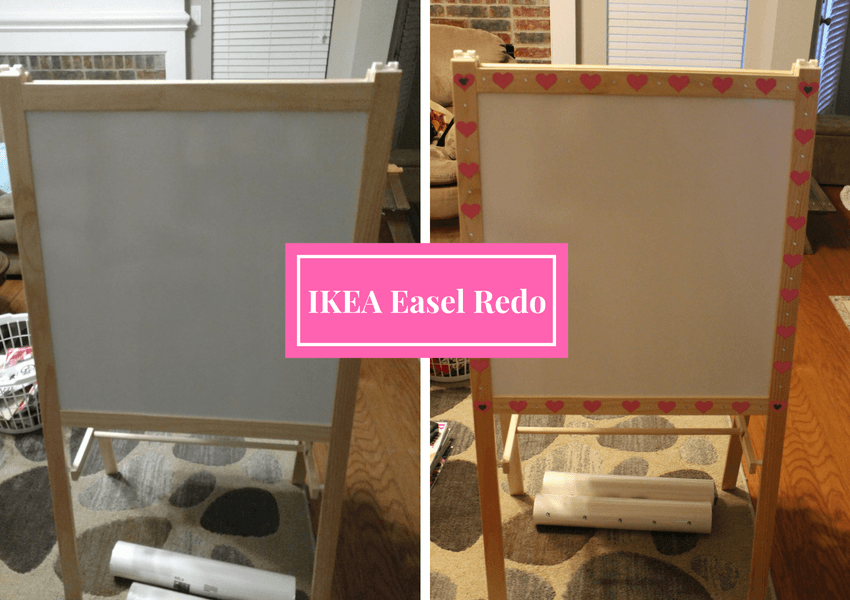
Check out the before and after!
Ikea Easel Hack, Side 2: Dry Erase Board
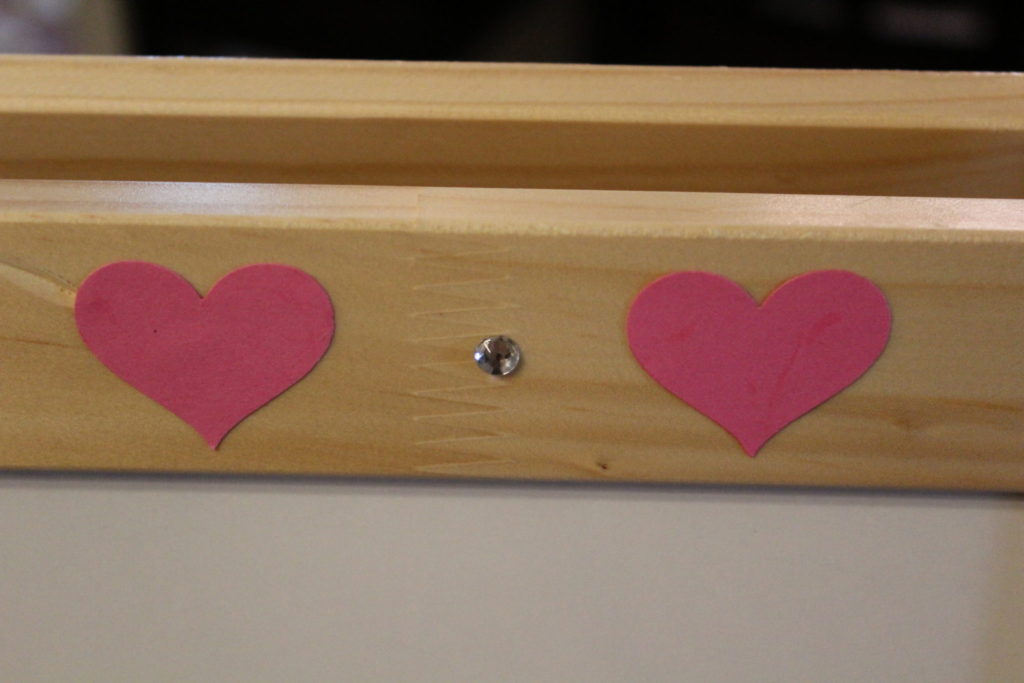
My initial idea was to use this great heart punch to punch heart shapes from fabric that was leftover from sewing her baby quilt. That was a fail, but I was able to use it to punch little hearts out of pink card stock.
I tried to use Mod Podge to stick the hearts to the easel, but they didn’t stick great when my daughter pulled at them. I ended up settling for using Super Glue for more permanence.
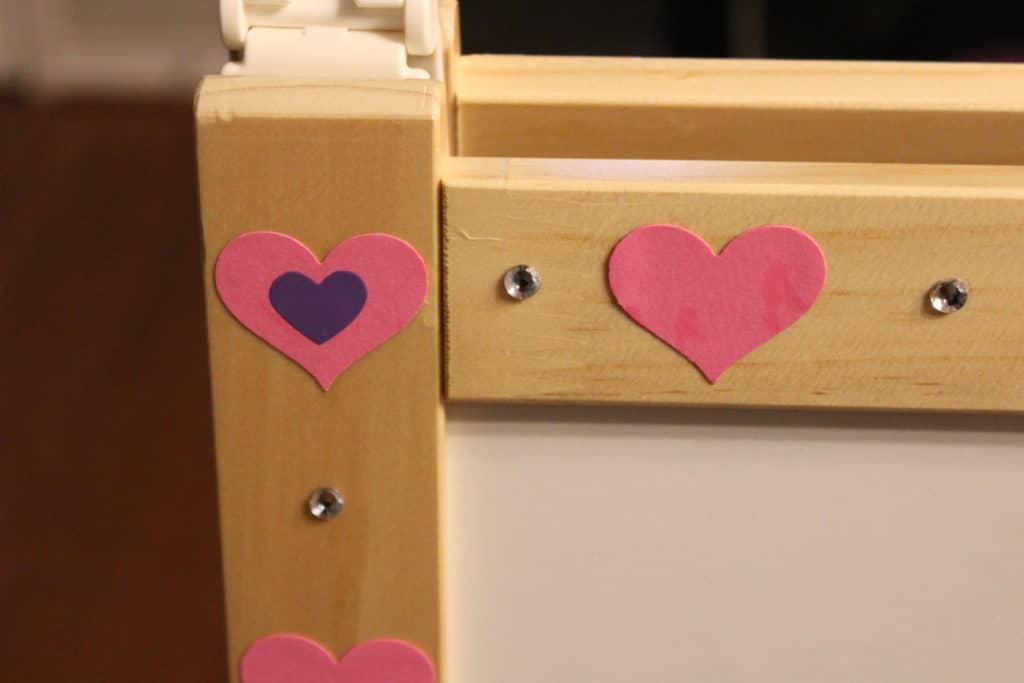
After gluing the hearts on, I felt like the board needed some more bling, so I super glued on some small rhinestones.
I also added 4 small purple stickers to the interior of the hearts on the four corners of the easel to allow for more “pop.”
Check out the final product! I really wish the lighting in the house was better when I took the after picture!
What do you think? Check out my other IKEA hacks and redo projects: Knagglig wooden crate redo, Mammut stool hack, Forsynt and Riktig art display, and Bekvam learning tower.
