How to Sew a Drawstring Bag – Repurpose a Flannel Shirt
This post may contain affiliate links, which means I’ll receive a commission if you purchase through my links, at no extra cost to you. Please read full disclosure for more information.
So remember that old flannel shirt of my husband’s that I repurposed the cuff to a keychain chapstick holder? Well, there was still a ton of that flannel shirt left, so I set around to sew a drawstring bag out of the sleeve as well.
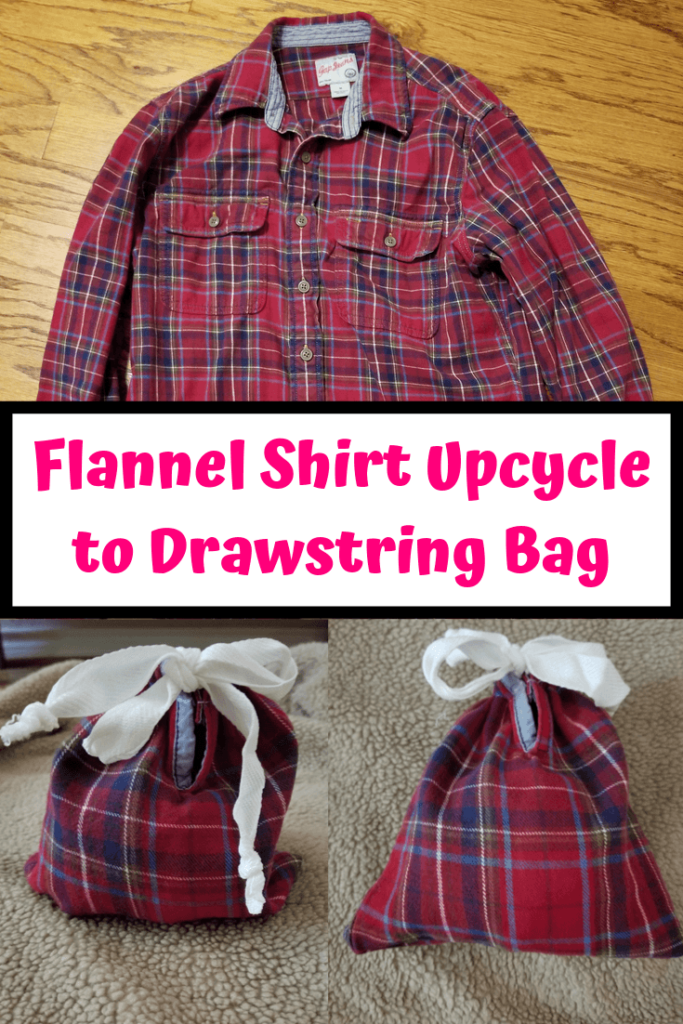
I don’t know about y’all, but it’s finally starting to feel like Fall down here in the very hot South. The weather is now into the 60’s, so we are pulling out our flannel shirts and cold weather gear! As such, I’ve been inspired to craft and sew more with flannel. It reminds me of the fun Fall and Winter holidays we have coming up!
In the spirit of the holidays, I thought this flannel drawstring bag would work great as a small gift bag. I’m thinking of stuffing it with candy or other fun holiday-themed items as part of a coworker gift.
Wanting to sew a small drawstring bag for yourself? This is a quick 5 minute project that even a beginner can learn to sew. It only requires straight seams. So, read on to figure out how to repurpose an old flannel shirt into this easy to sew DIY drawstring bag of your own!
Here’s what you’ll need to make a drawstring bag:
- Old flannel shirt or other shirt that has a sleeve
- Sewing machine with thread or needle and thread for hand sewing
- Rope or something else for the drawstring part
- Pins or Clover clips, if desired
- Scissors
How to sew a drawstring bag in minutes:
First, you need to gather your supplies. Make sure the flannel shirt is washed and pressed, or at least not super wrinkly.
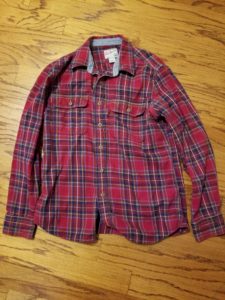
Next, remove the cuff of the shirt. (Follow this keychain chapstick holder tutorial to upcycle that cuff while you’re at it!)
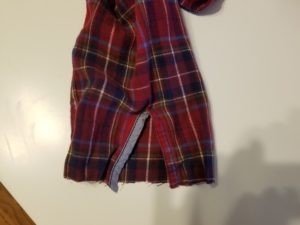
At this point, you’re in luck if your shirt has part of the wrist opening intact and already finished on the edges. That way you won’t have to finish the edges of the casing. If your shirt does not have this finished area already, you could cut out a V shape and finish the edges in a coordinating thread. This picture of the sleeve shows what I’m talking about, I hope:
Next, you’ll want to decide how tall you want your drawstring bag. My casing was going to be around an inch, and my bag would be around 6 inches tall. To make a 6 inch tall bag, you’ll thus need a 7 1/2″ inch tall piece of flannel sleeve. This is assuming a 1″ casing with a 1/4″ seam allowance for the each of the two seams you’ll need to make.
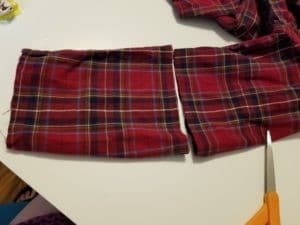
After you’ve cut out your length of sleeve, turn it inside out. At this point, pin or use Wonder clips to close the bottom of the sleeve piece. Then, fold down the casing 1.25″ (or whatever distance you calculated earlier) and clip as well. If you want to zigzag around you fabric edges for a better raw edge finish, you can. I chose not to since it seemed like my repurposed flannel shirt wouldn’t unravel much.
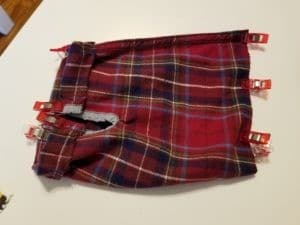
Sew a straight stitch 1/4″ from the edge of both of these clipped areas. Make sure not to sew over the V where the casing is. If you are wanting to make the bag a little less wide, you can sew a seam along one or both of the sides to take off some width.
Clip the corners, and then turn right side out again. At this point, all your DIY drawstring bag needs is a drawstring!
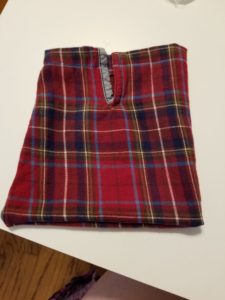
Cut a length of rope the size of the circumference of your bag plus a few inches (depending on how big you’ll want your bow.)
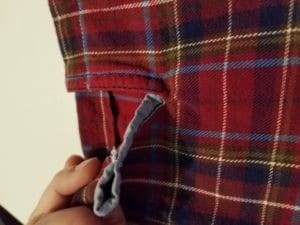
Thread the drawstring through the bag. I used a paperclip to get my string through.
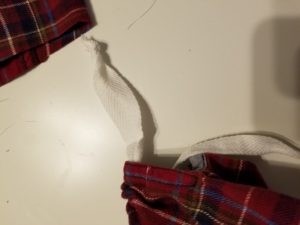
Once the drawstring is through, your DIY drawstring bag is complete!
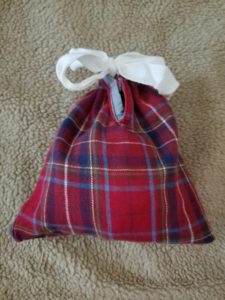
Here are a few pictures of the finished project!
Isn’t it just so cute?

Happy Fall, y’all!
