Fridge Pickers Wear Big Knickers – Free Printable + SVG for Cricut
This post may contain affiliate links, which means I’ll receive a commission if you purchase through my links, at no extra cost to you. Please read full disclosure for more information.
Well, guys, I don’t know about you, but I find myself in front of the fridge or the pantry every 5 minutes these days. Even though I’m not hungry, I’m just there browsing. Just checking it out to see if maybe something inside will break the monotony of working and parenting from home all day long.
And the longer I’ve been home for COVID-19 quarantine, the worse it’s gotten. And…my waistline has gotten bigger, too. Because even my stretchy everyday wear leggings are starting to be a little uncomfortable!
As a joke, I made myself a printable to put on the fridge. Then, I laminated it and put a magnet on the back. Later, I decided to take it a step further and make magnets with my Cricut Maker to stick to the fridge and gift to my family members. Because we all need a good laugh in these uncertain times.
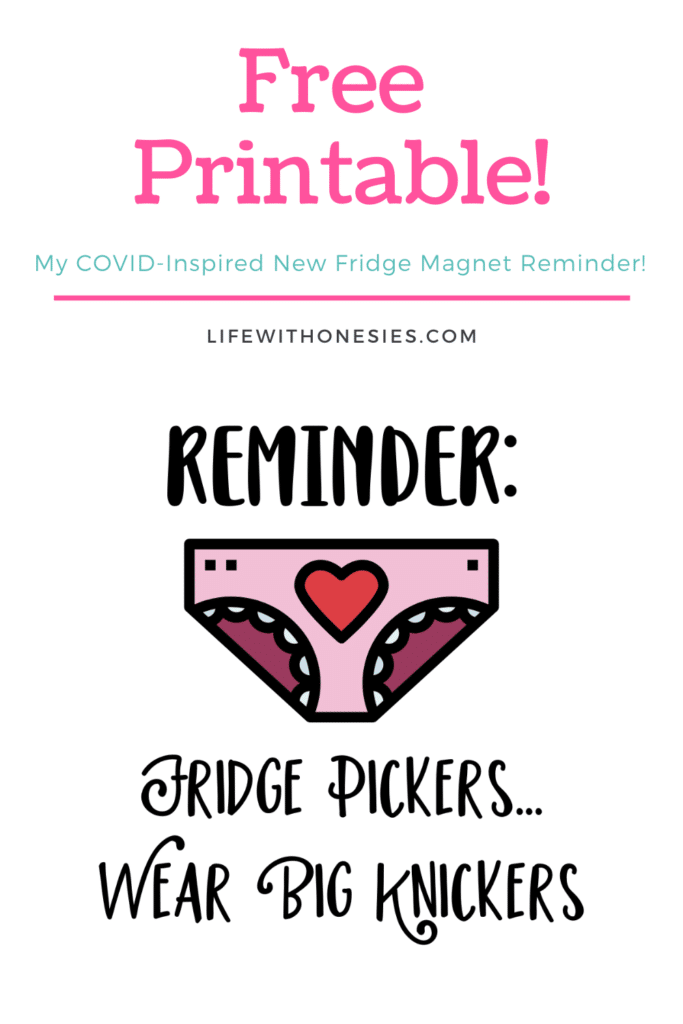
So, I have three different options to offer you here for my lovely COVID-19 sign to help you, too, stop grazing in the kitchen. Each option has a quick tutorial, so enjoy!
We’re a pretty fun-loving family, and if you’ve been reading along, you might recall my well-received “Have a Nice Poop” free printable. It’s gotten thousands of downloads. My mother-in-law gave me a major disapproving stare the first time she saw it, but that’s just how we roll over here.
Fridge Pickers Wear Big Knickers Free PDF Printable
If you don’t have a Cricut or other cutting machine or want the easy, quick route, here’s a PDF Fridge Pickers Wear Big Knickers printable.
It’s an 8.5″x11″ size file, so you can print it out on your printer. Make sure to print it full-size in landscape mode and adjust sizing as needed.
If you want to take it a step further, I love my small laminating machine. You can laminate your sign and then stick a magnet on the back of the laminated sign. So easy, too. This is what I did back when I made my daughter’s DIY magnet board and magnets.
If you want to stick it to your pantry or fridge door, you can also just tape it!
Free Black and White SVG Image
I’m also sharing my black and white SVG of this project right here. You can then upload the SVG file to Cricut Design Space or wherever you want and customize it to your desires. Make sure to group, attach, weld, and change colors as needed to fit your desires. Then cut or print it out in the shape you want.
If you have a Cricut machine and want to use the file premade just like I have it, you can get my Design Space file below.
How to Make a Print-Then-Cut Magnet Using Your Cricut
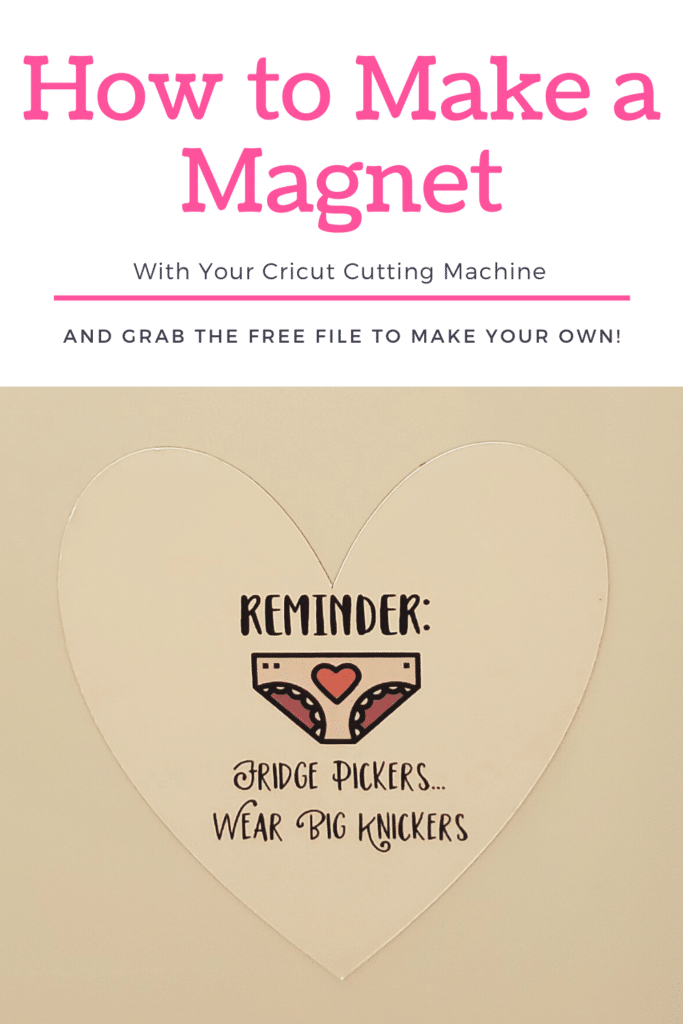
The easiest way to make magnets with the Cricut is to use printable magnet sheets. Of course, you can use magnet sheets and then attach printable vinyl or even glue on cardstock, but I’ll give a brief tutorial for how to use print then cut to make these cute magnets.
First, here are the supplies you’ll need.
- Cricut machine (I LOVE my Cricut Maker.)
- StandardGrip Cricut cutting mat
- Printable magnet sheets (I used AVERY printable magnet sheets, but you can use Cricut magnet sheets if you prefer name brand. I like the Avery ones because they are very thin and thus cut very easily with no shenanigans by my machine.)
- Inkjet printer
- Cricut Design Space file below
To access this project, HERE is my Cricut Design Space link. Open the link in your desktop app. It might take you to the online app first; you’ll just want to then open the desktop as it requests with prompts. If for some reason, you are having problems, let me know. Cricut has been kind of wonky for me over here these days, and I can’t get in touch with their customer service.
Once you’ve opened the file, resize the image to fit your fancy. My magnets are all 4-4.5 inches in length and width.
Then, click “Make It” in the top right corner.
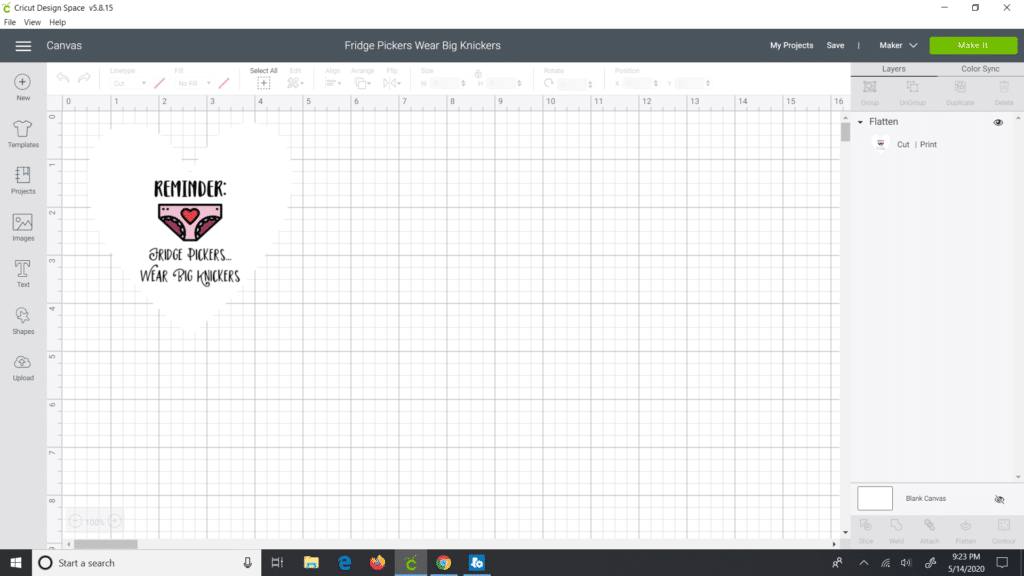
A screen that looks like this will show up. You won’t be able to see the heart printed out, but don’t worry, your machine will know to cut it. Click Continue on the bottom right.
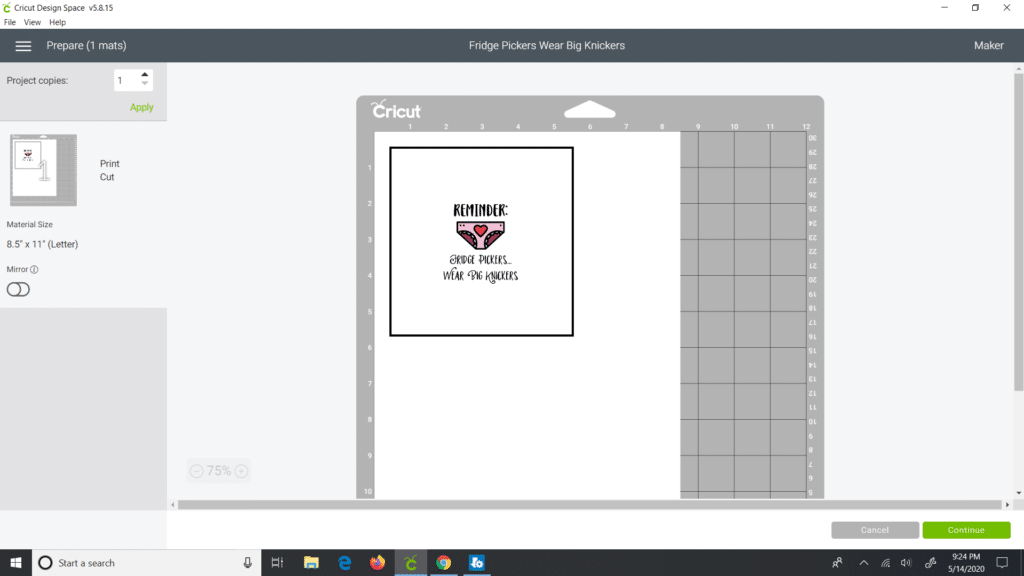
Load your printable magnet sheet in your printer. If you’re not sure the orientation you’ll need to put it, test this out first by putting a pencil mark on one side of a sheet of paper that’s loaded and seeing the orientation it comes out at. You want the design to be printed on the white, paper side of the magnet. Click “Send to Printer.” No need to worry about bleed or any of the functions; just go ahead and print it out. It took a few seconds for my ink to fully dry, so keep that in mind.
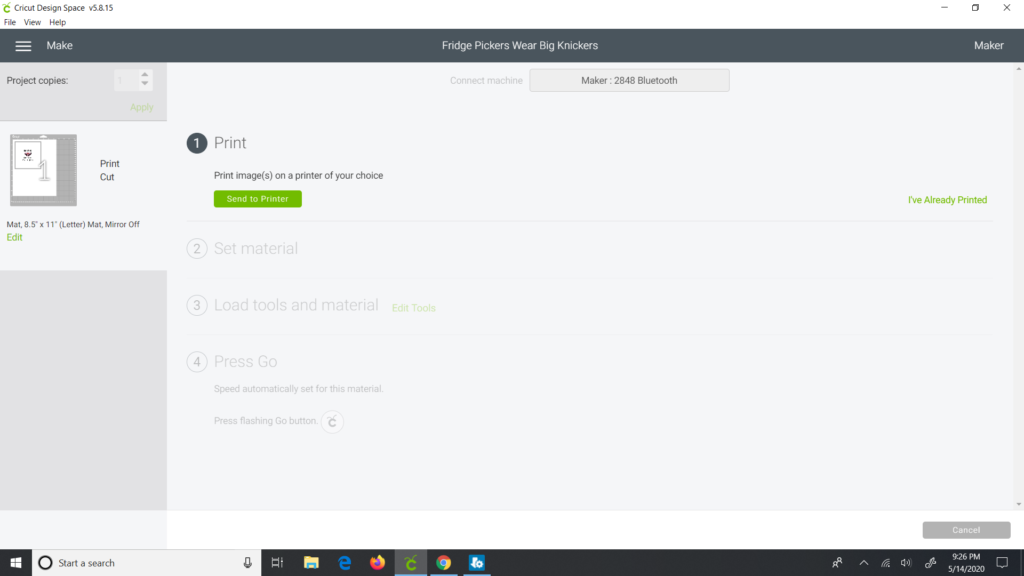
Next, select your material. If using the Cricut Maker, click “Browse all materials” on the right-hand side and search for magnet.
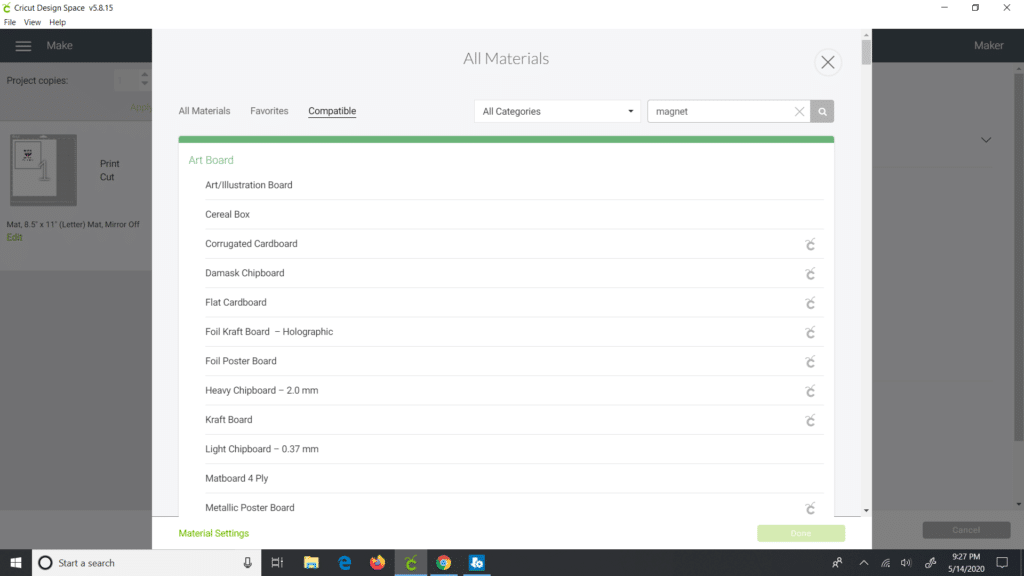
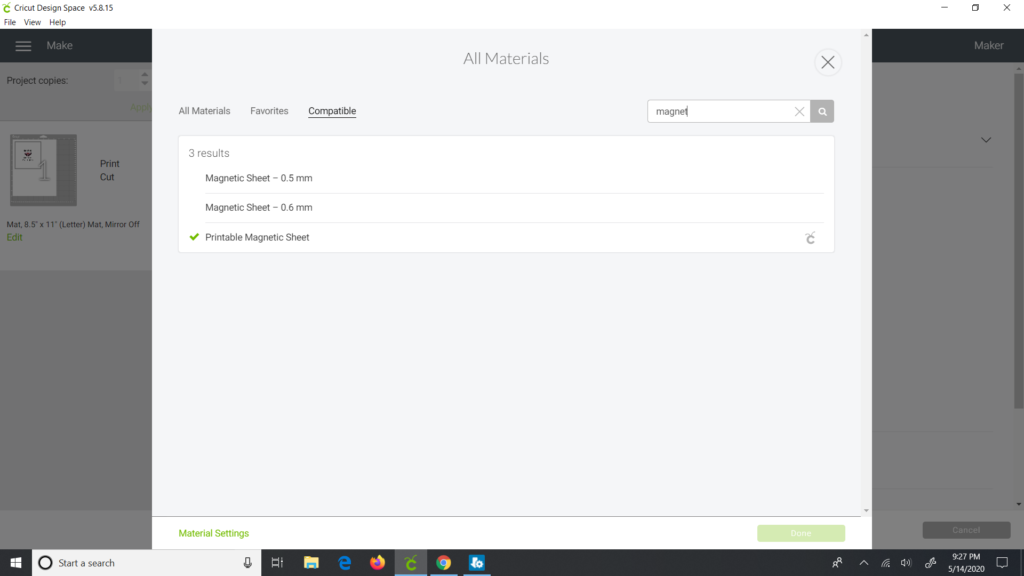
Select “Printable magnetic sheet.” If using a different Cricut, turn the dial to Custom and then choose “Printable magnetic sheet.”
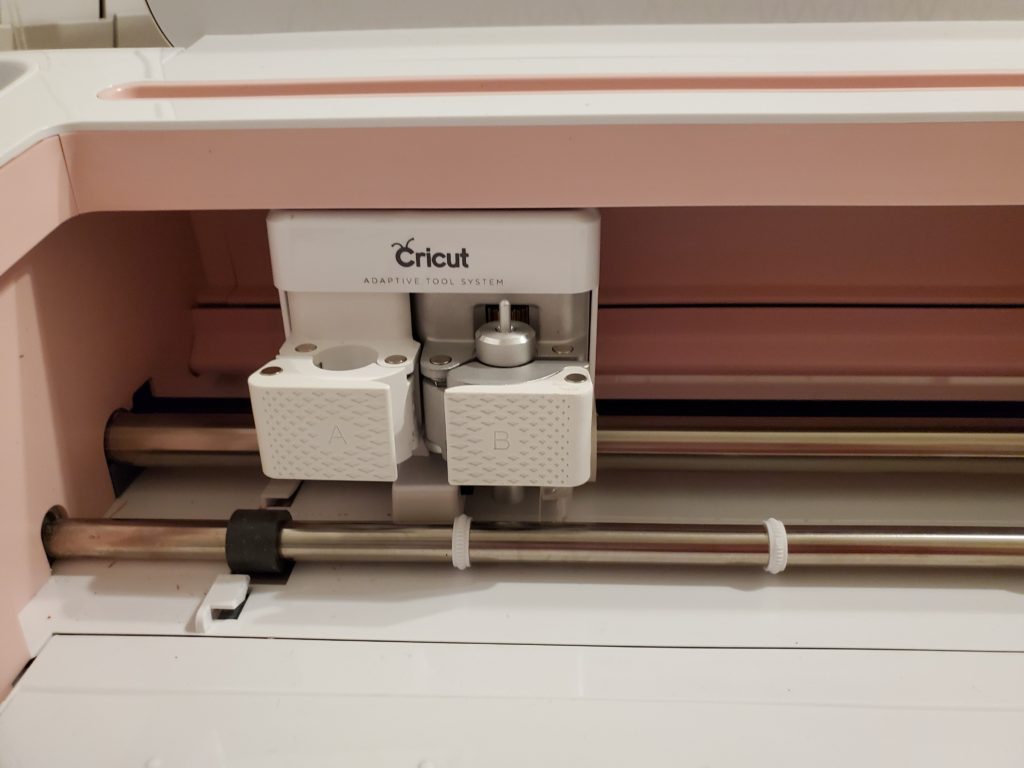
Make sure your blade is nice and fresh also, or you may not get a good cut. As for the blade, I used my regular fine-point blade.
Place your magnet sheet on your cutting mat. I used a standard cutting mat. (Mine’s pink just because it’s the paper studio brand; it’s not a Cricut fabric mat, don’t worry!) Make sure the sheet is nice and flat and stuck well.
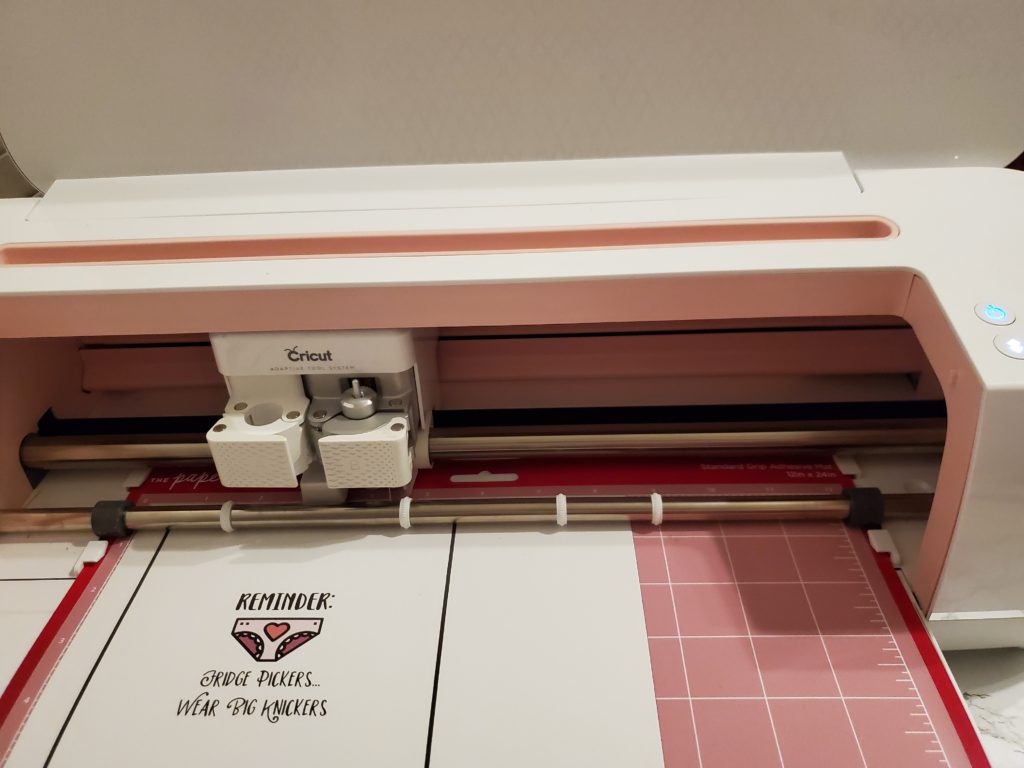
Then, load the sheet and start cutting! The machine will do its thing and find the laser marks from your printer so it knows exactly where to cut out the heart!
Once it’s done cutting, check to make sure the blade cut all the way through the magnet before you click to unload. If it didn’t cut through, make another pass with your machine.
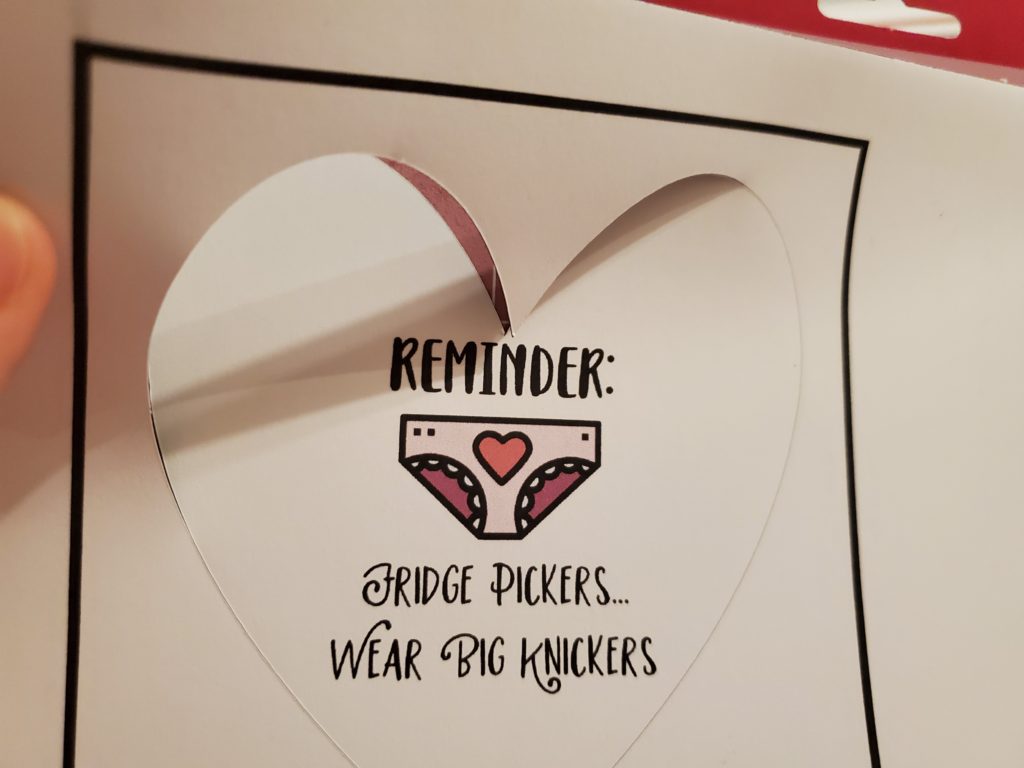
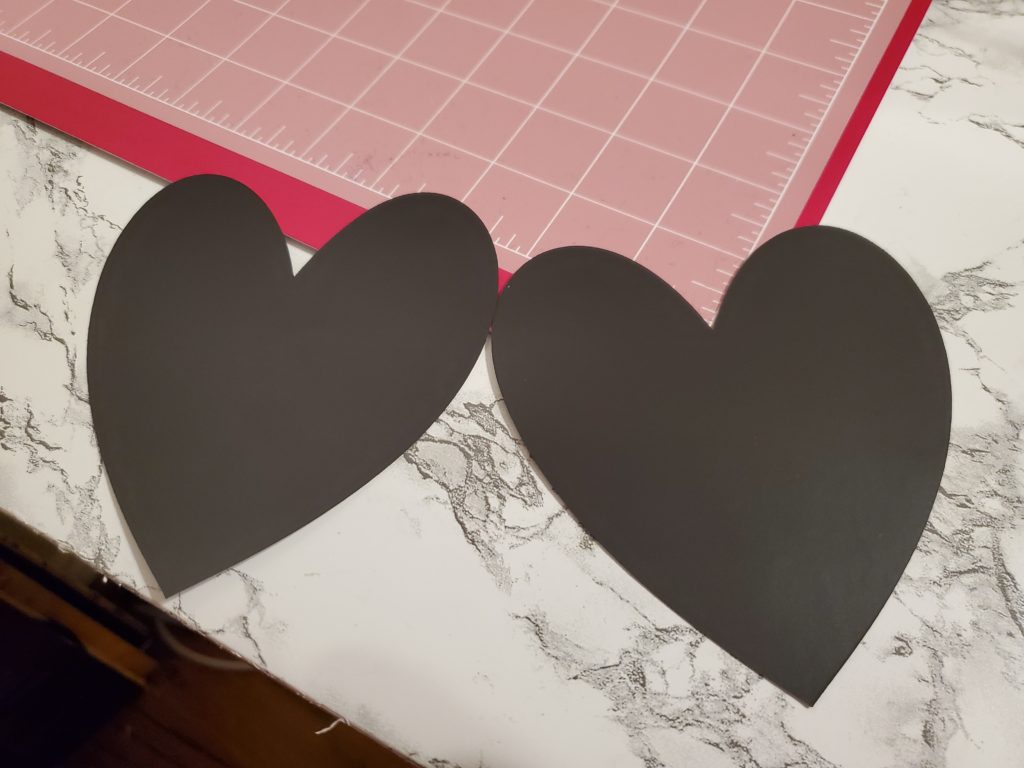
On the back, they’re just plain magnets!
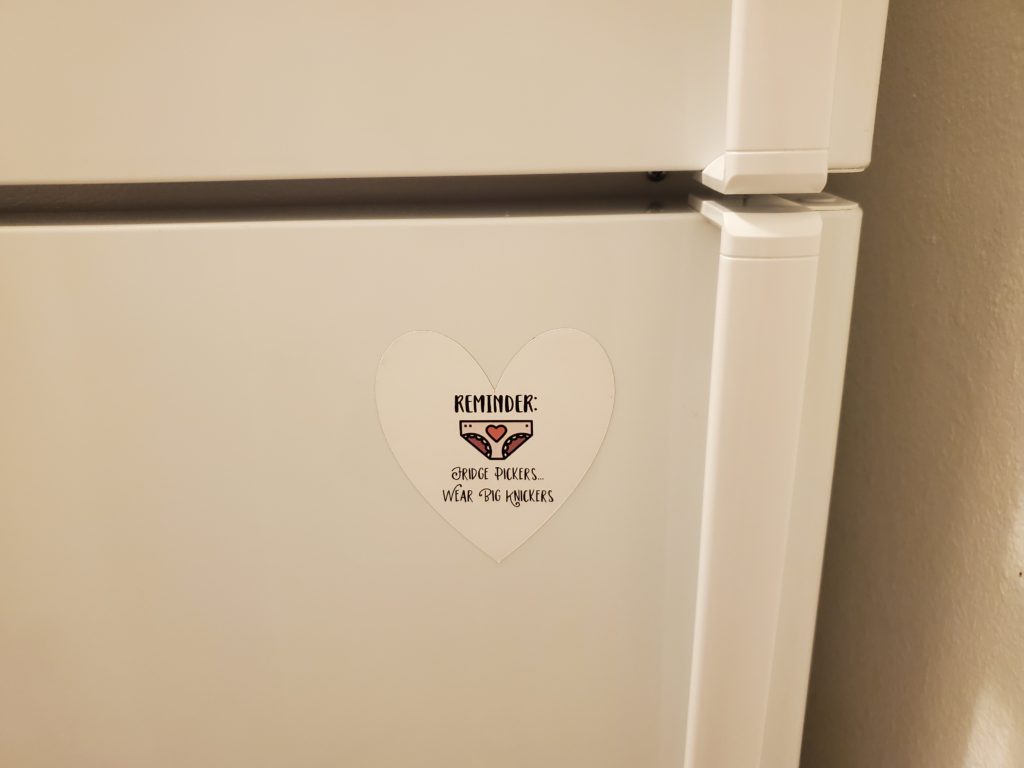
And here it is in all its glory stuck to the fridge as a reminder to me to stop eating every time I walk by out of boredom!
As always, this is for personal use. No commercial use allowed without prior written permission.
Hope you enjoy making your own magnet!
