How to Organize Fabric In An IKEA KALLAX Shelving System
This post may contain affiliate links, which means I’ll receive a commission if you purchase through my links, at no extra cost to you. Please read full disclosure for more information.
As part of my new craft room remodel, I claimed my husband’s desk space for my crafty purposes and gave him the formal dining room table for his computer. (He was okay with it–don’t worry!)
It’s been awesome planning and finding new ways to use this extra space!
One of the first things I did was figure out how to organize my fabric stash.
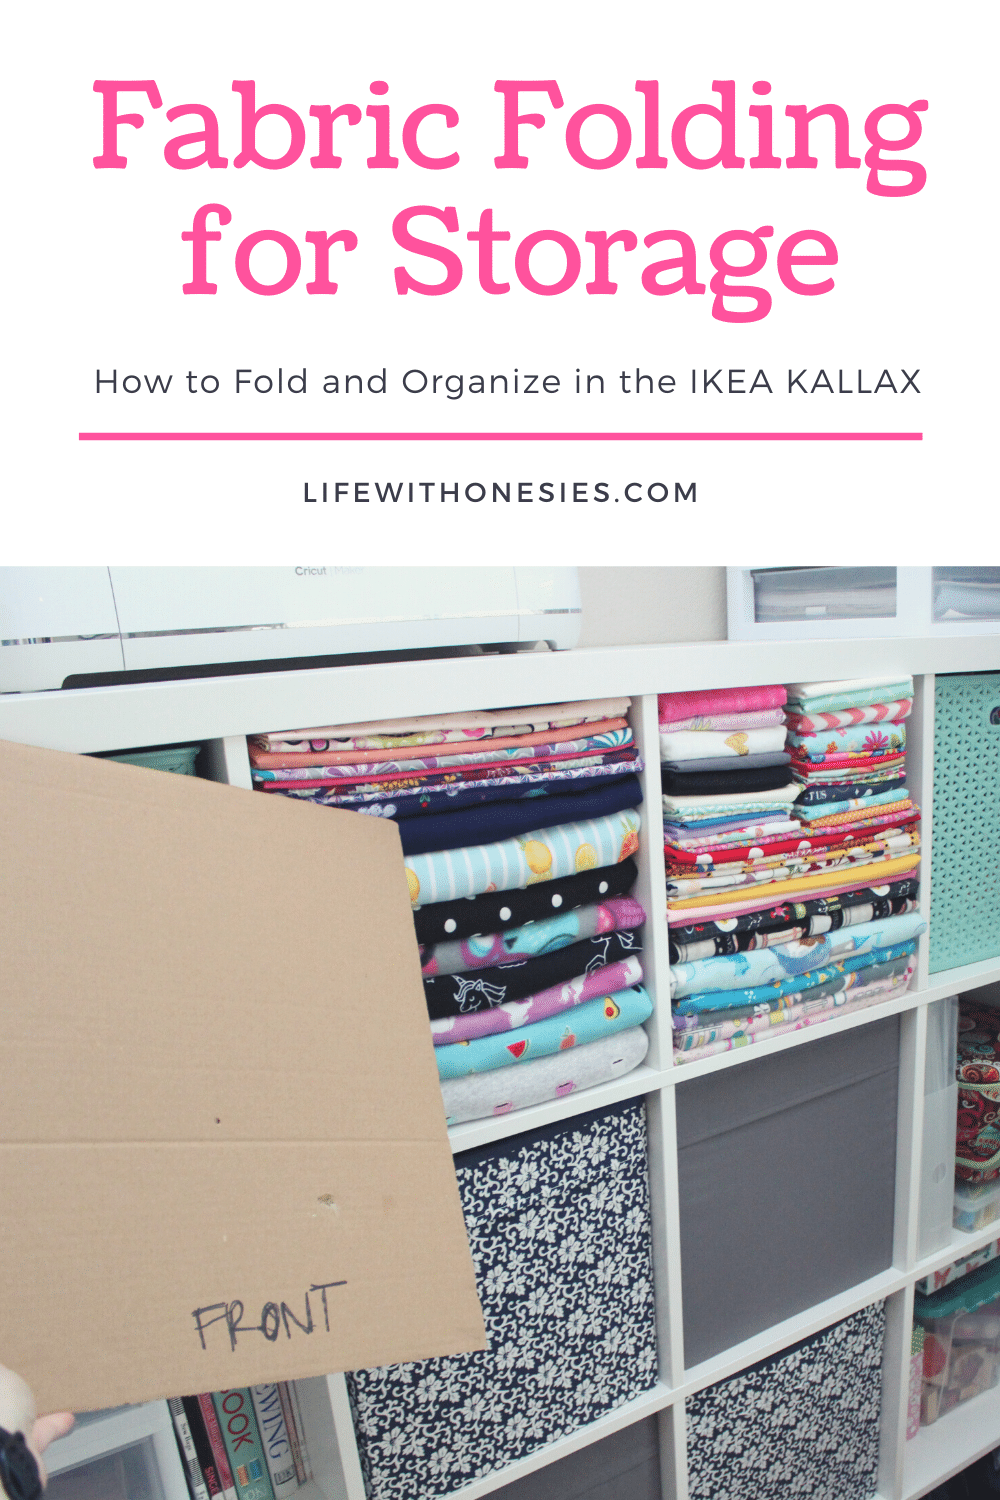
After much deliberation, I decided to fold my fabric and use the IKEA KALLAX system for storage.
I went from having HUGE Sterilite storage bins of haphazardly folded and shoved fabric to 8 neat and tidy KALLAX cubes.
It has now been SO awesome being able to see all my fabrics at a glance when I decide I want to sew new projects.
Check out how I organize my fabric and how I folded it also to get this perfect and lovely look!
Why I Love 13″ Cube Shelf Organizers for Craft Rooms
I’m a huge fan of the KALLAX, which is IKEA’s version of the shelving system with 13″x13″x13″ cubes or inserts.
Target has a similar shelf organizer as does Walmart, so you don’t have to find one only at IKEA if you like the idea.
And, each manufacturer has shelving with different numbers of cubes in different orientations–for example, 4×4, 3×3, 2×3, and more.
I’ve had one of Walmart’s Better Homes & Gardens 13″ shelving system for a few years, though, and I don’t think it’s as sturdy for heavy duty weight bearing, which is why I preferred the IKEA shelves for holding my fabric and other heavier scrapbooking supplies.
Not to mention, the rest of my craft room came from IKEA, so it’s nice to have a matching shade of white paint!
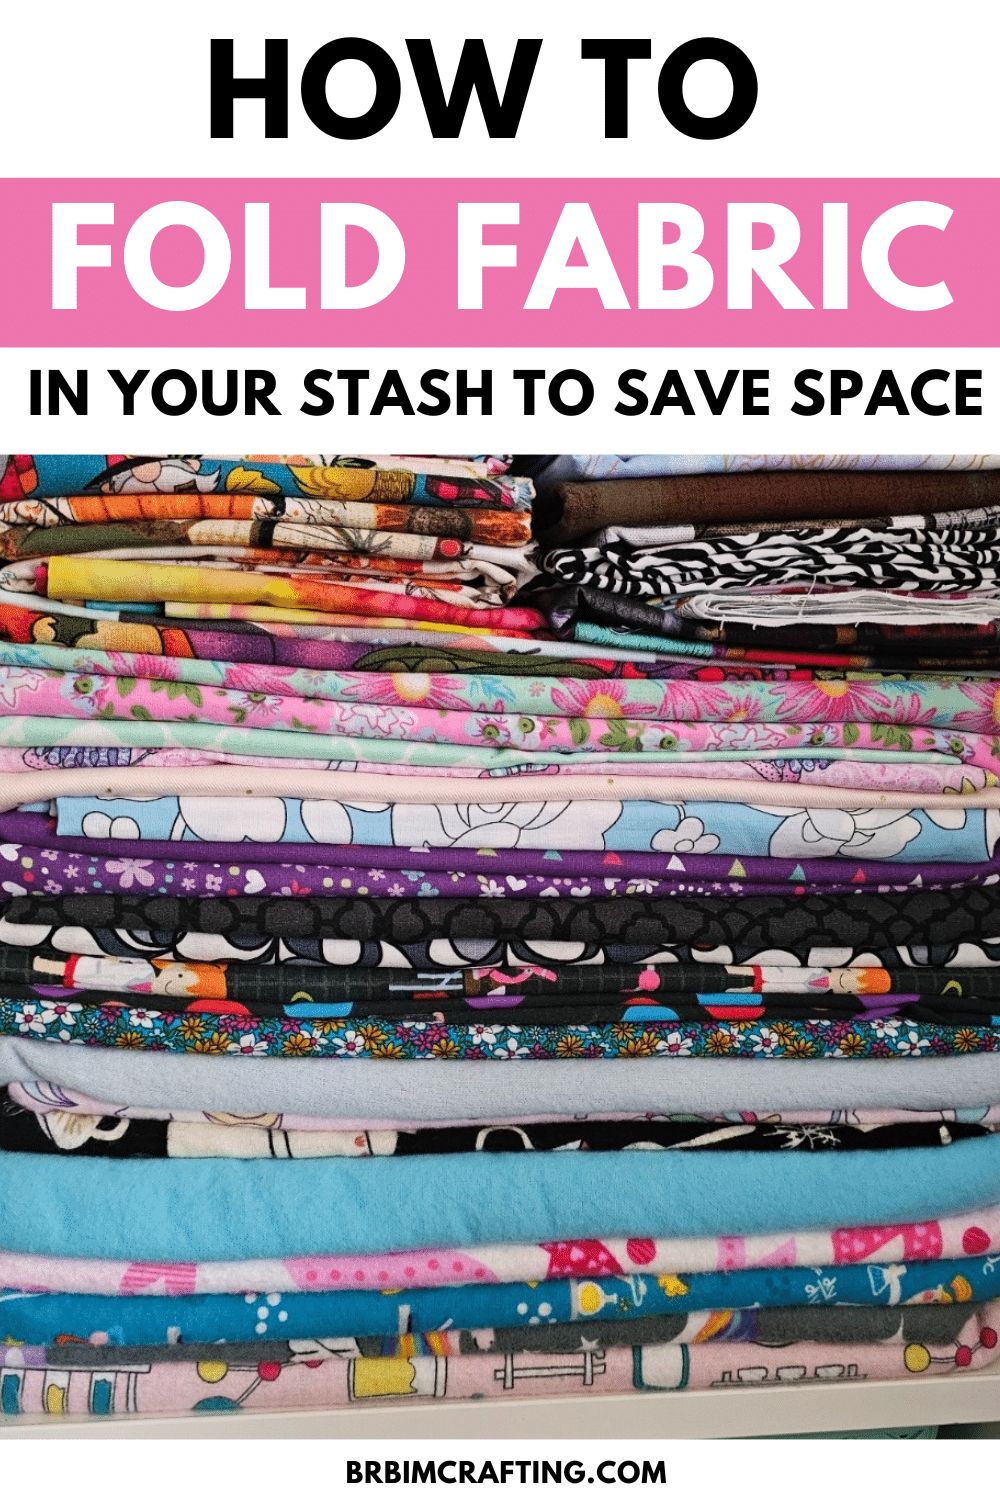
How To Fold Fabric In the Perfect Size
I can’t stand craft room clutter (hello, creativity stifler!), and I’m a huge perfectionist, so any fabric folding would have to be perfect if it was going to be visible while in my craft room.
I’m not going to lie and say this was a quick process, but the end results was SO worth it!
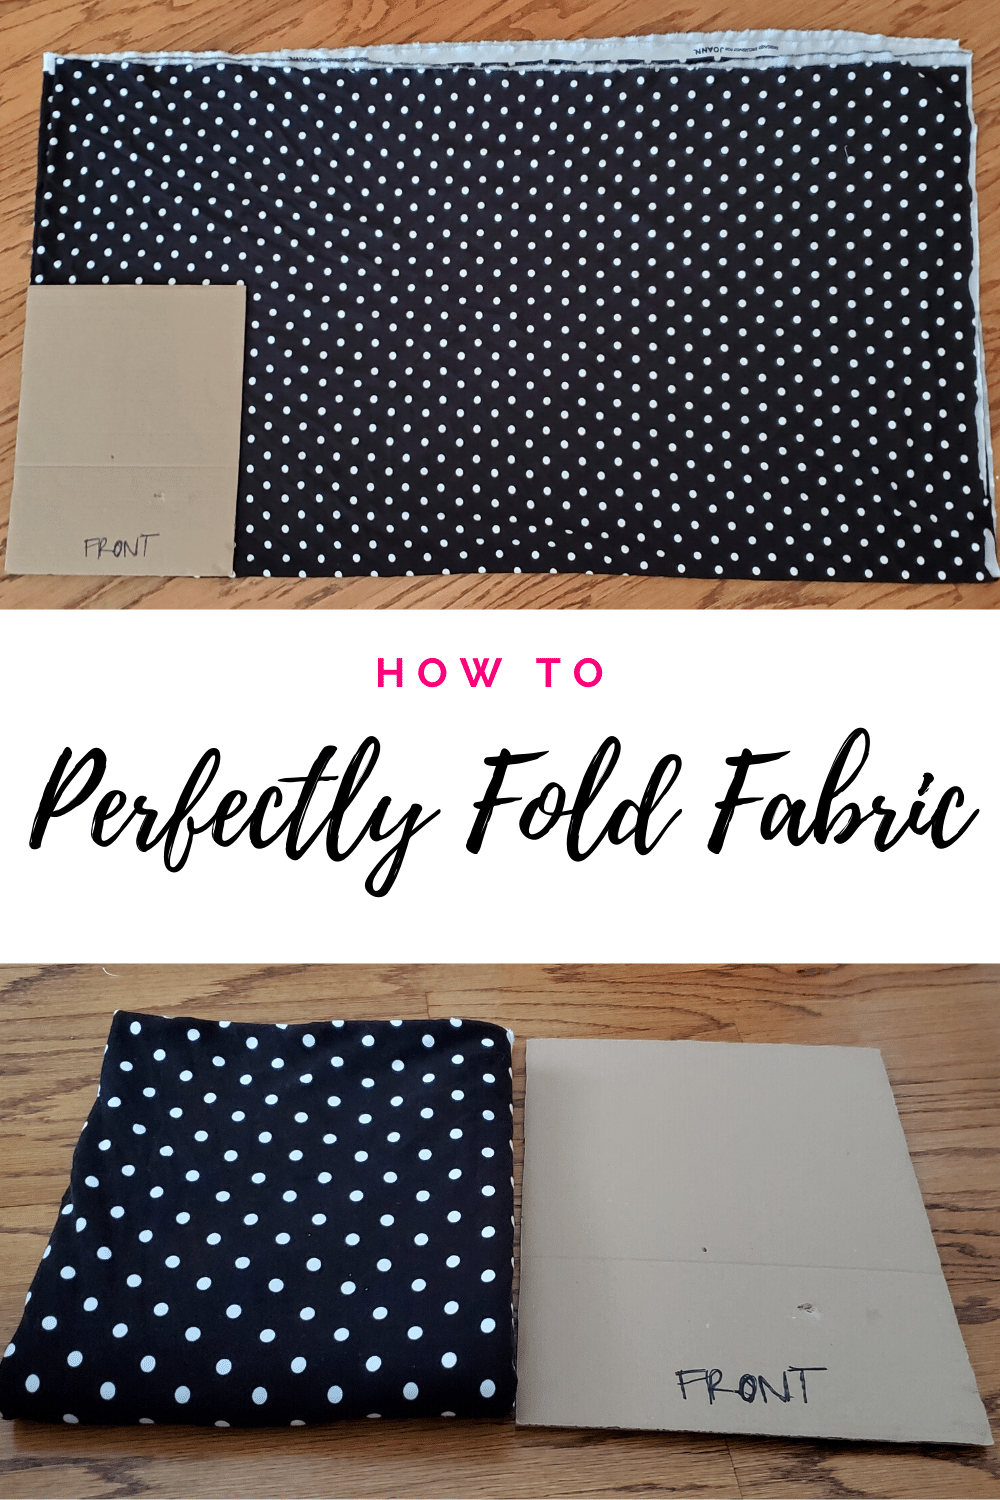
Figuring out how to fold the fabric to the perfect size was a bit challenging at first, but then I had a great idea!
Why not use one of the cardboard boxes I had delivered with my IKEA order and cut a piece to the perfect size?
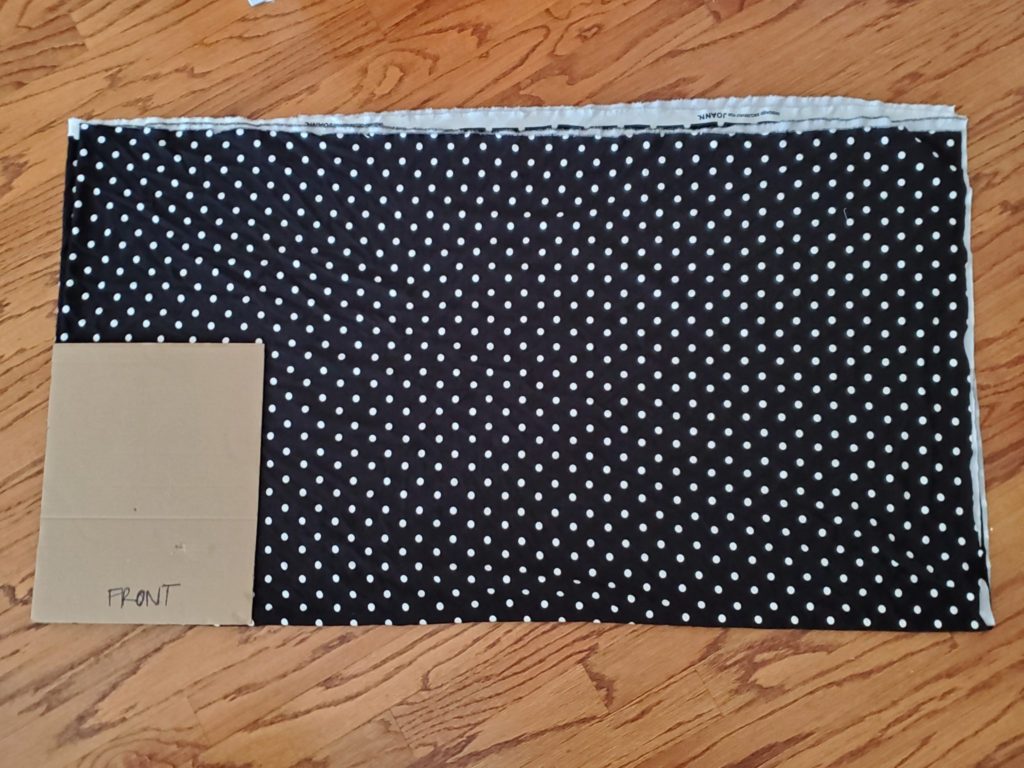
Well, I did exactly that, and here’s my cardboard box piece cut to dimensions slightly smaller than the dimensions of the interior cube space–it’s 12″ wide to allow edge space, but it’s closer to 14″ in length to accommodate the deep IKEA cubes.
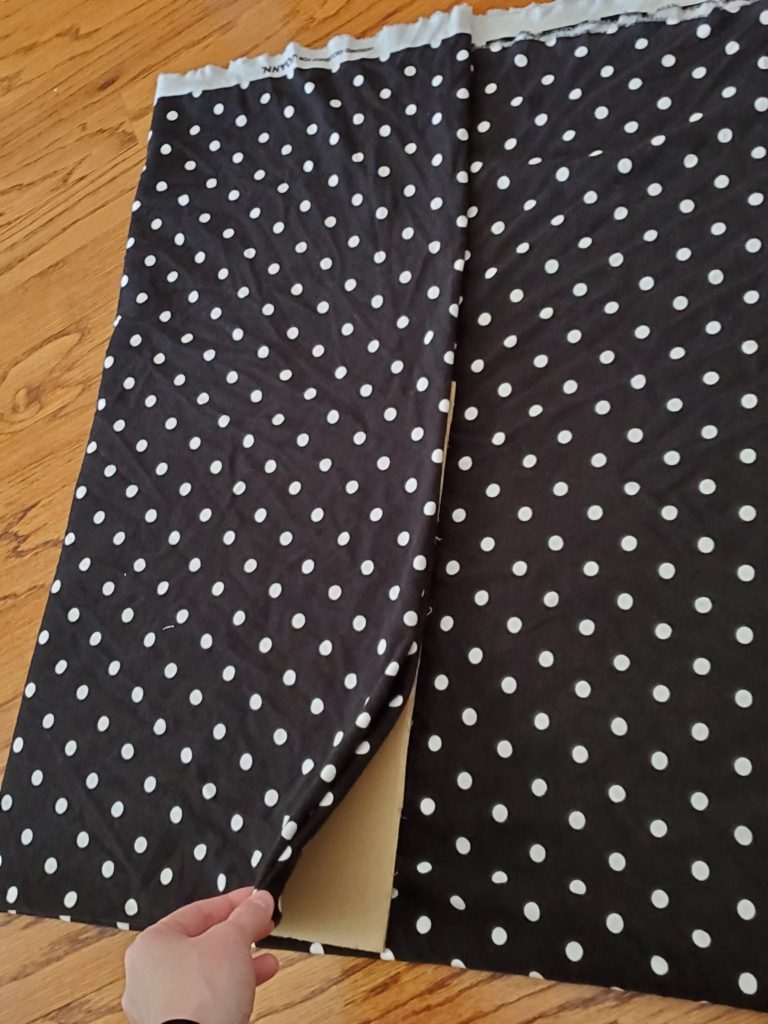
Now, to fold the fabric, I had to decide the best way to decrease bulk so I could fit the max amount of fabric pieces in each cube.
I ultimately ended up laying the fabrics out flat on the floor and then wrapping them layer by layer around the cardboard piece.
I started by folding the fabric long ways around the cardboard piece and then removed it gently.
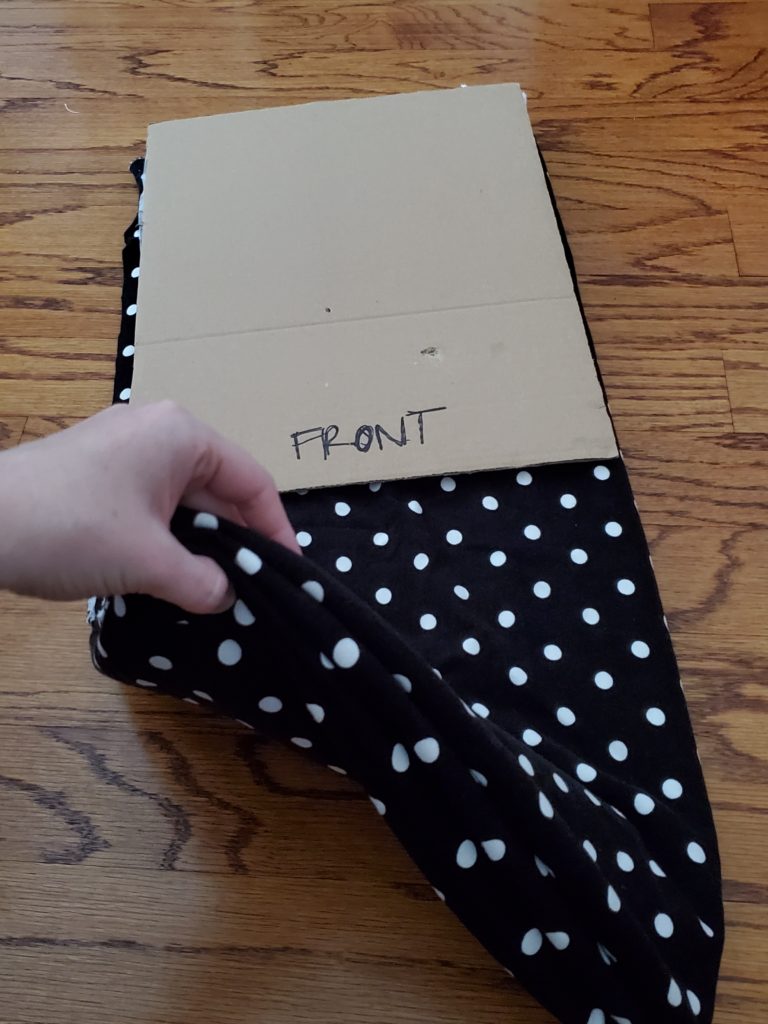
Then, I folded the fabric on itself in the other direction making sure a fold would be on the part of the fabric facing the outside of the cube.
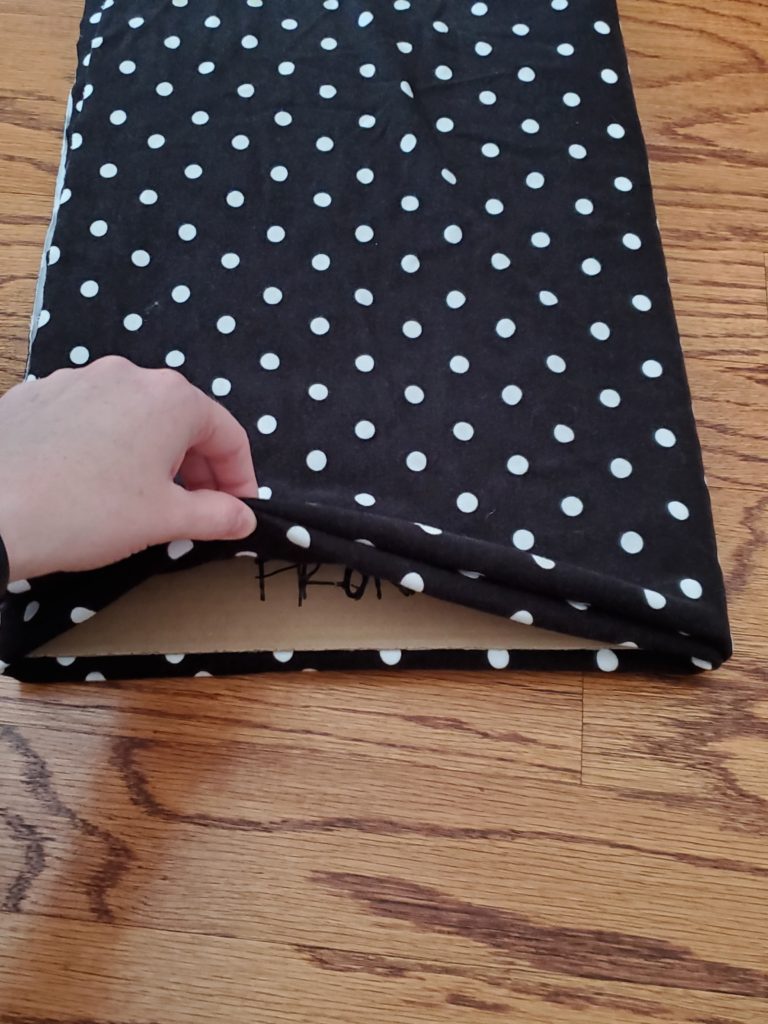
For teh record, I forgot which way was which so many times, I ended up having to write FRONT on the cardboard piece.
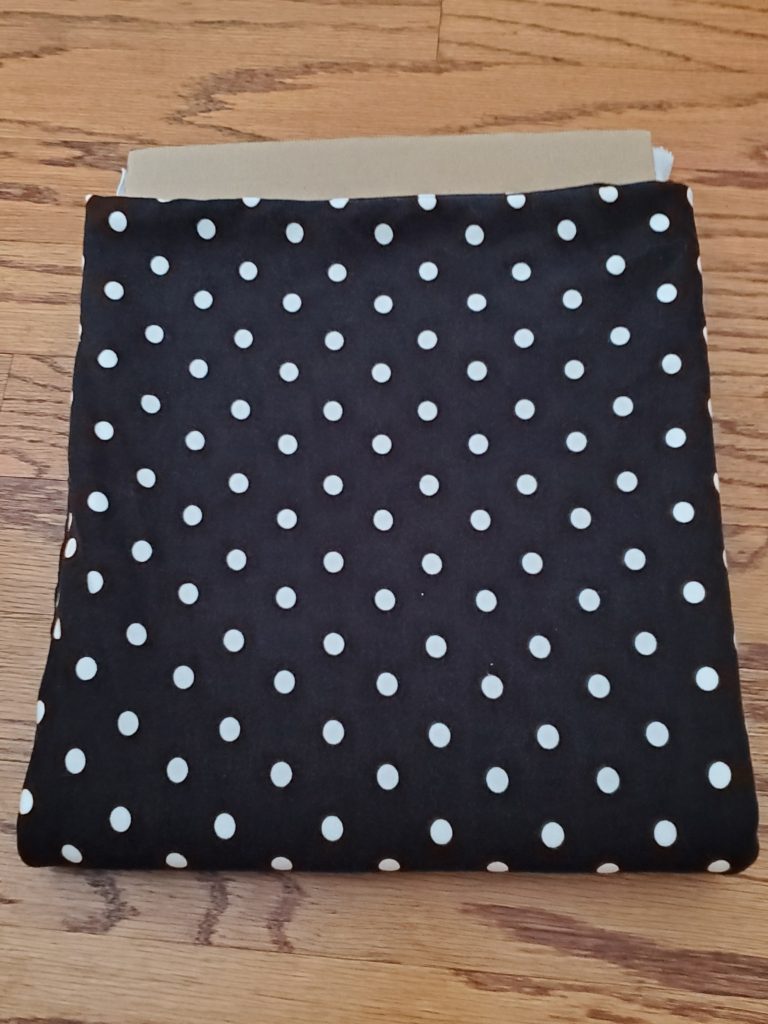
Once each piece of fabric was folded, I slipped the cardboard out before it was encased on my final fold.
This made for SUCH pretty and space-saving fabric folding.
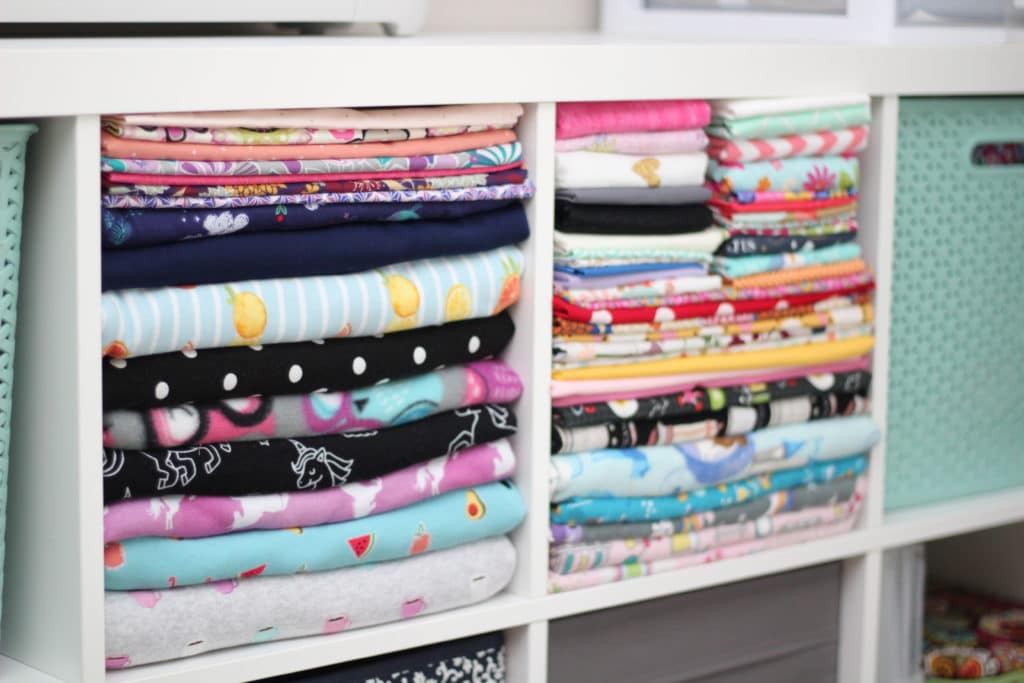
For instance, in the picture above, the bottom left gray coffee print is 4 yards of thick knit fabric, and the flannels on the bottom right are 2-3 yards of fabric, but they barely take up more than 1/2″ of vertical space!
Also, each of the super thin coton fabrics on the top is around a yard.
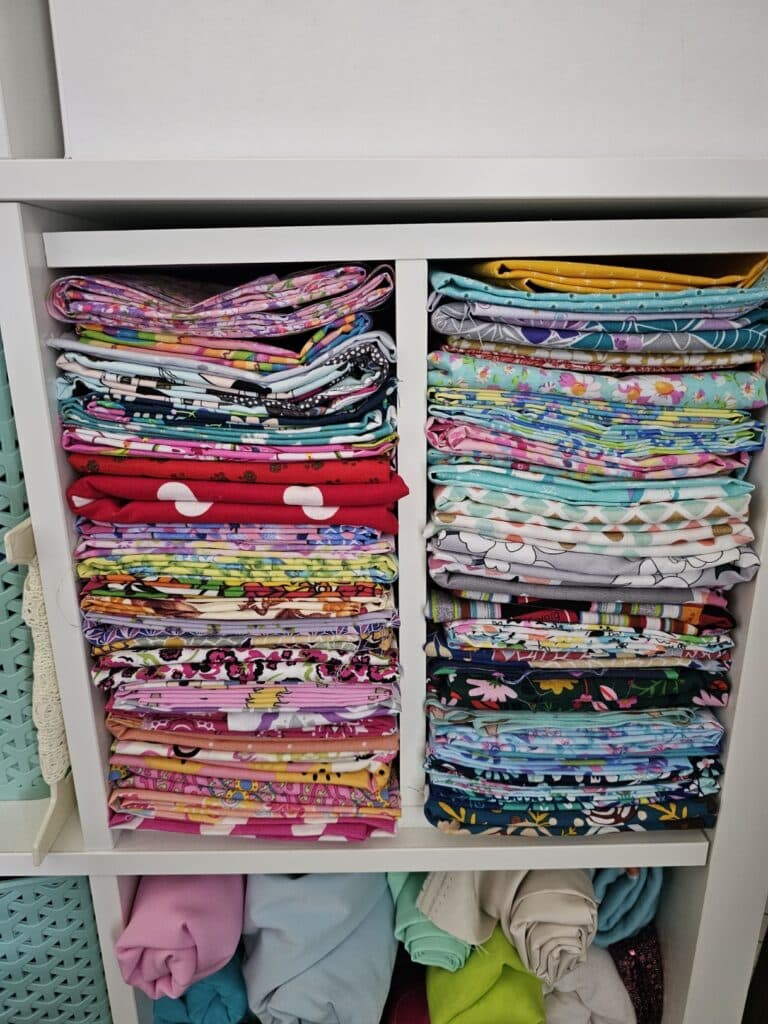
Now, for pieces of fabric less than a yard, folding them around the big piece of cardboard made the resultant folded fabric too thin to see.
So, I cut one more piece of cardboard slightly less than half the size of the first and used this to fold the smaller pieces of fabric.
I found a cube splitter on IKEA’s website and used this to keep the taller stacks from falling over and intermingling.
When I was done with the folding, I stuck the cardboard piece in one of the lower KALLAX shelves for the next time I expand my fabric stash.
Organizing Fabric In the Kallax
Once the fabrics were folded to perfect sizes, I placed them one by one into the cubes.
I tried to put the bigger fabrics on the bottom and also tried to organize my knits on one side and my flannels and cottons on the other side the best I could.
Since this is a fluid fabric storage, obviously it won’t always stay this way. But, again, perfectionist here when it comes to organization!
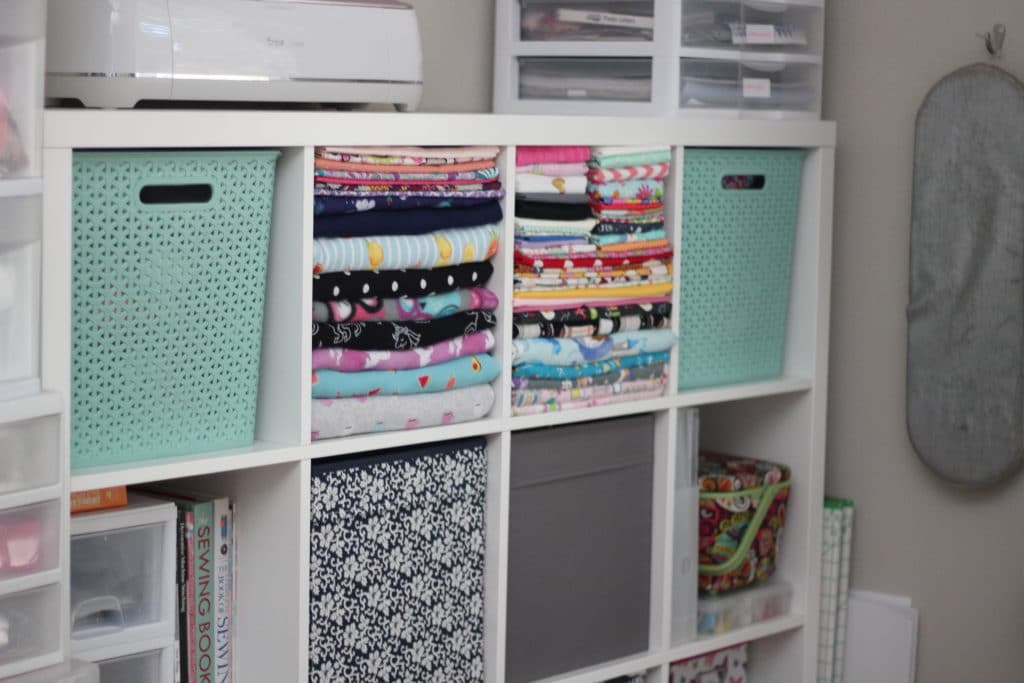
For the pieces that were less than 1/2 a yard or a bunch of small scraps, I stored them in plastic cubes I got from Target.
While they have openings in the sides, it’s not easy to see through, so the messiness of scrap fabric storage is out of sight, out of mind!
I have to dig to really find what I want, but I couldn’t think of any other visually appealing, space-saving way to organize the fabric scraps in a cube.
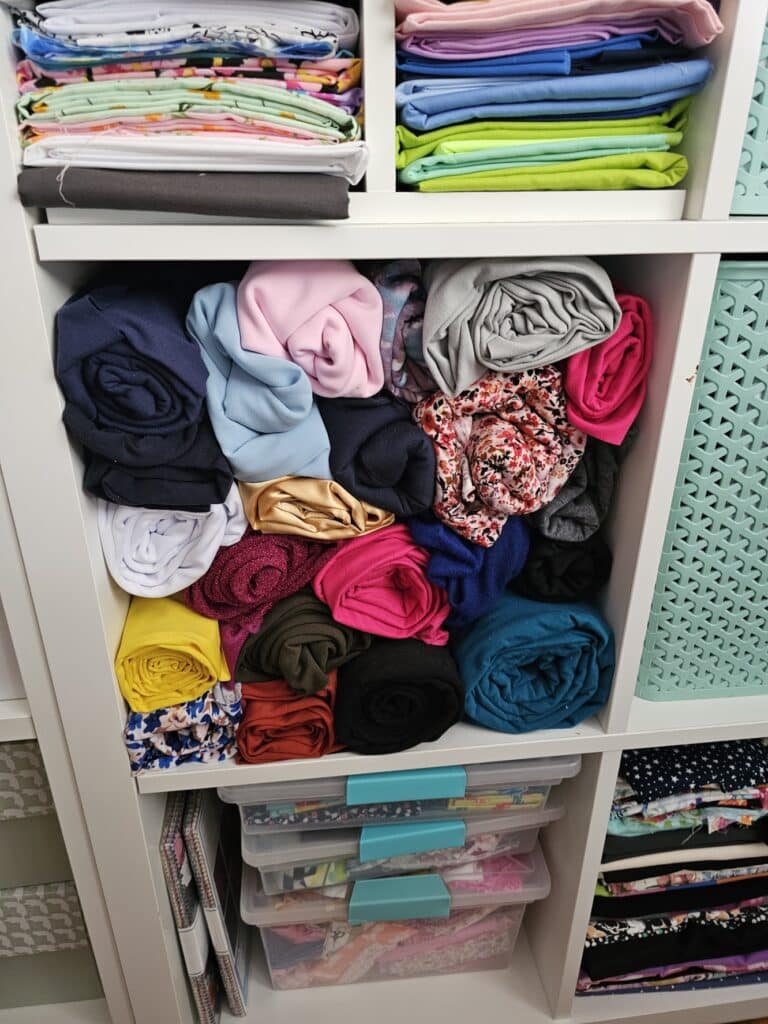
Also, I ended up rolling some fabrics also to see if I liked this storage option better.
While it was space saving and aesthetically pleasing, the thin knit fabrics wrinkled a bit with all the squishing.
Final Notes
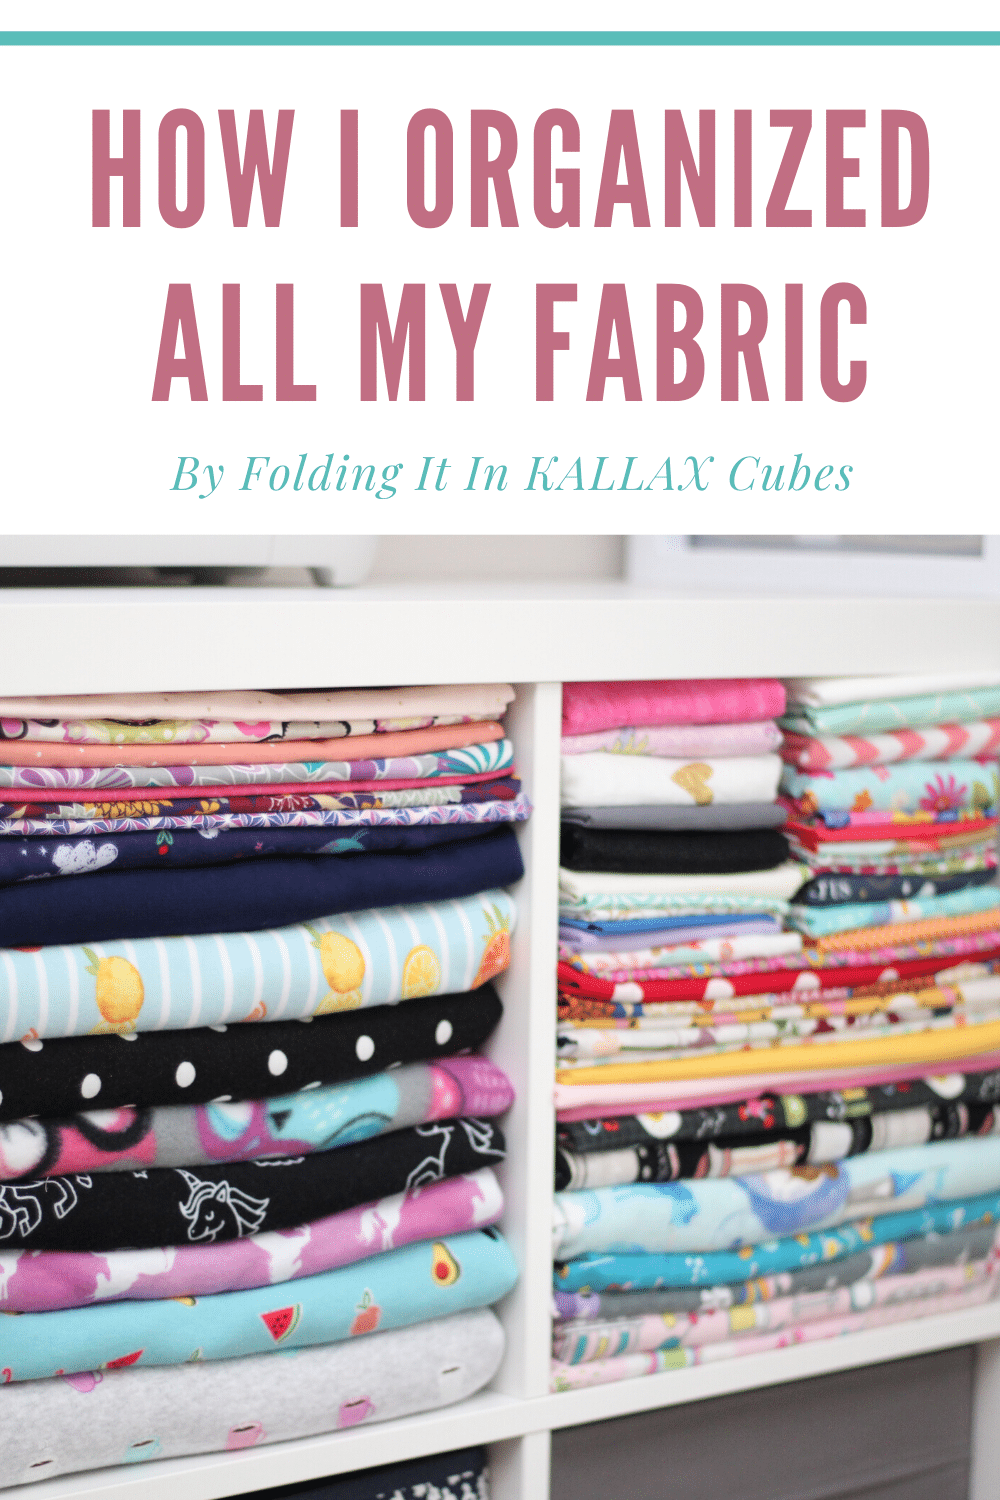
And that’s how I organized my fabric stash using the IKEA KALLAX shelving system. I’m SO happy to have the fabric off the ground and organized so I can see it all.
And if you’re interested, check out my DIY ironing board tutorial to see how I made my own using wood and quilted ironing board fabric. It’s been so handy having on my cutting table!
Lastly, I use the KALLAX again in my craft room for my daughter’s art supplies and one in our formal living room to hide toys. I definitely believe this is one of the most efficient ways to organize large amounts of things.

Thank you for this! I spent this afternoon organizing my sewing supplies. I already had the IKEA storage so this made orgazining my fabric super easy! Now, to instruct my kids to stay away!
I’m looking forward to making a tabletop ironing board now as well! Thank you!
Glad you’re getting organized also! Ha, the struggle with kids messing up organization is real!