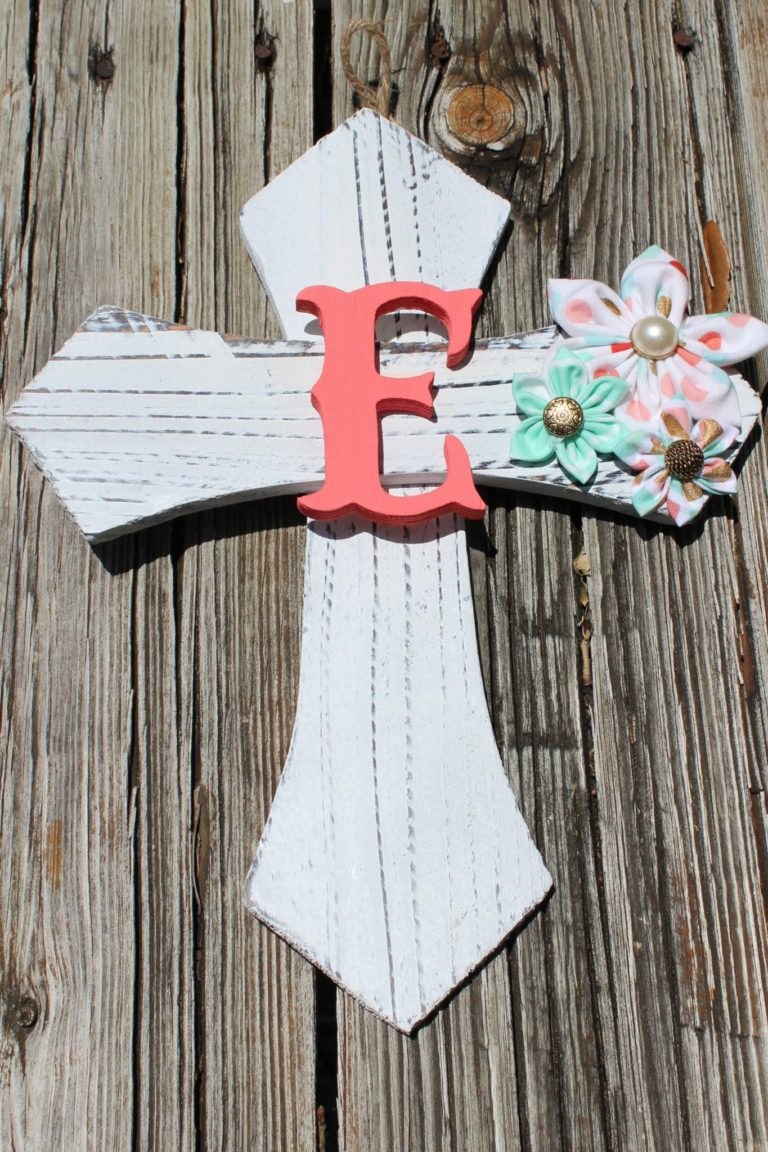
Scrap Fabric Craft – DIY Wooden Cross for Baby Nursery
This post may contain affiliate links, which means I’ll receive a commission if you purchase through my links, at no extra cost to you. Please read full disclosure for more information.
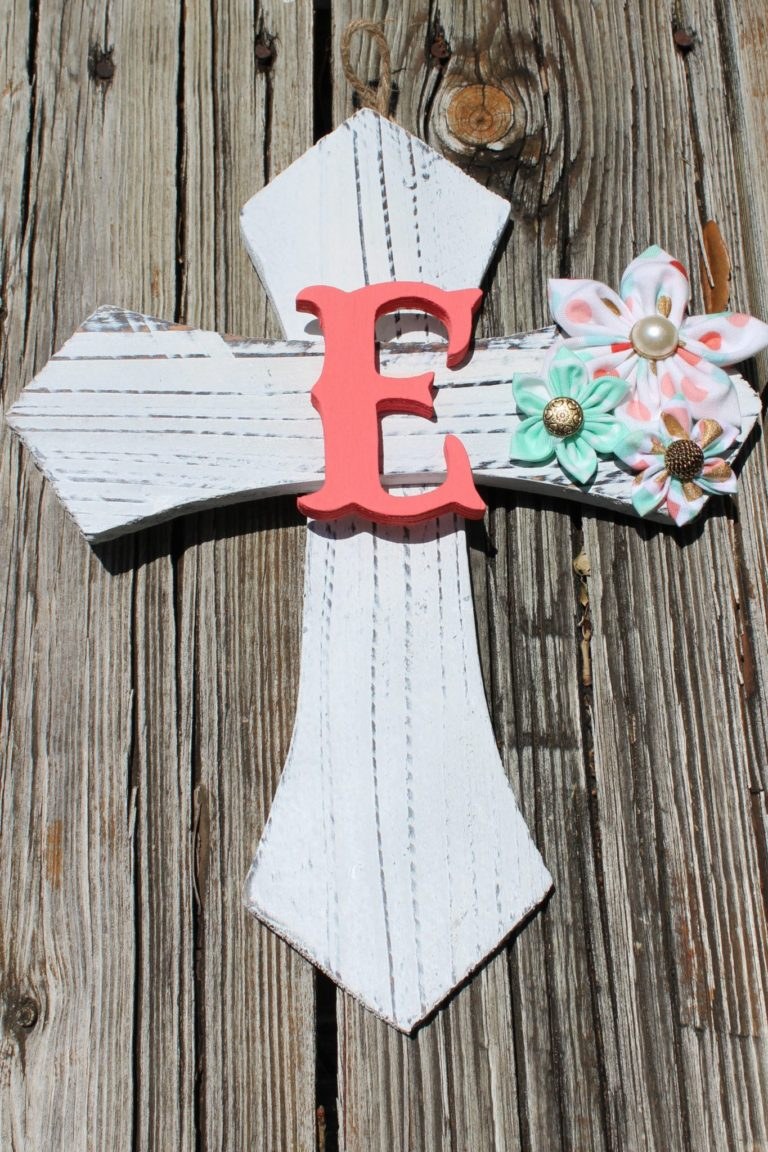
We’ve officially moved our older daughter into her new big girl room, and our younger one is getting her own nursery finally! Luckily, the decorations are about finished! I want to share a quick scrap fabric craft tutorial to make a wooden cross for a baby nursery.
Gold, Mint, and Salmon Themed Decor
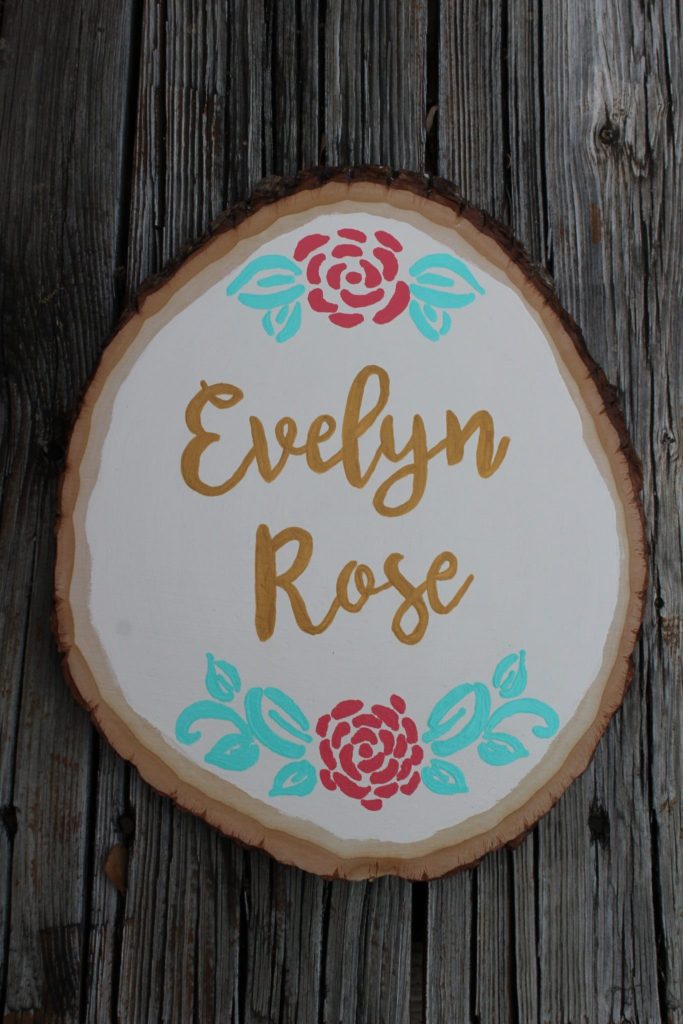
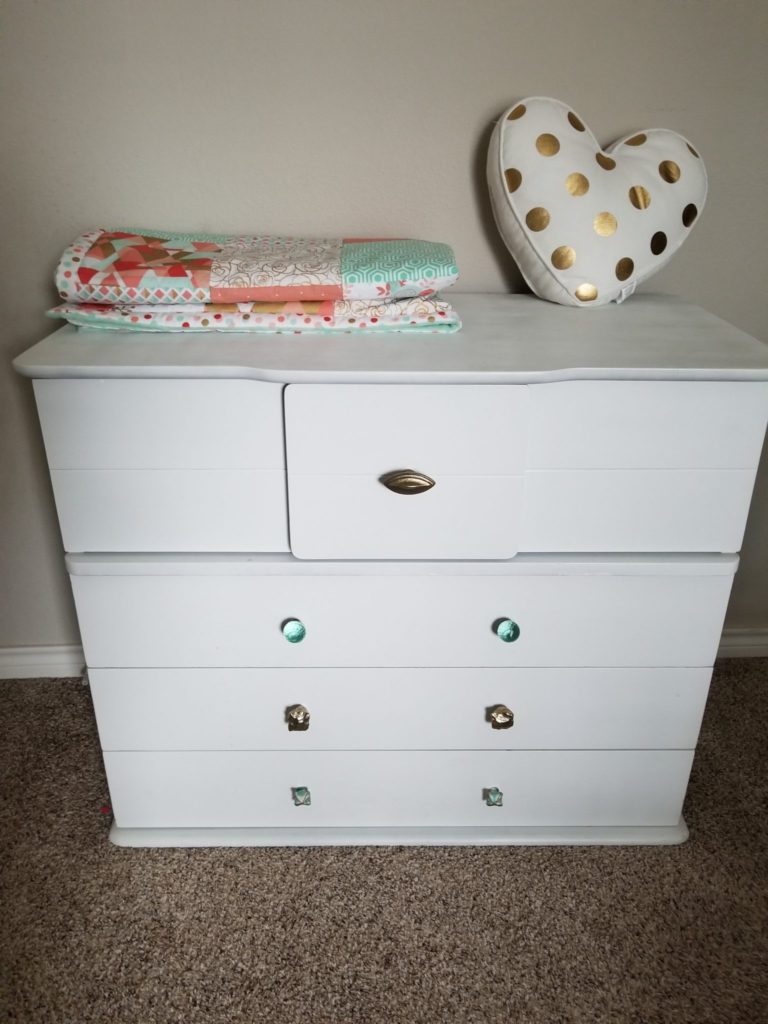
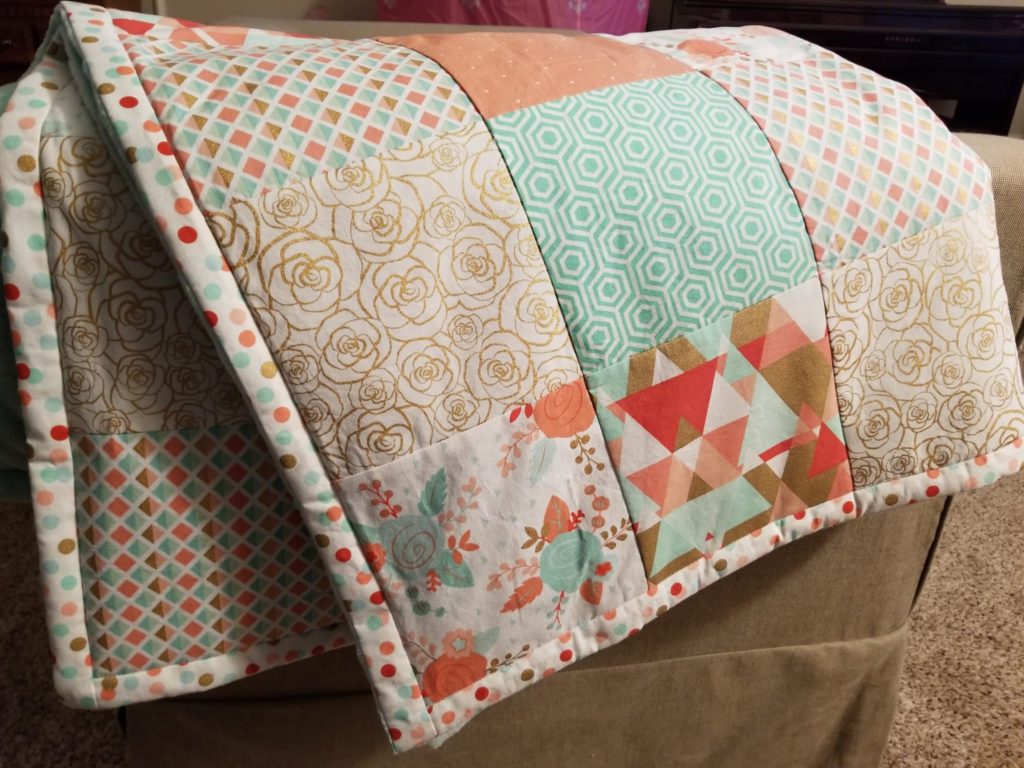
The room theme colors have been salmon, gold, and mint green. Here’s her quilt, wood slice decor, and dresser. (Check out the pics below and the links for tutorials!)
How I Got the Idea: I Needed to Use Scrap Fabric!
When she got dedicated at our church a while ago, I wanted to make her a cross that would complement the colors of her nursery. It would double as decor for her baby dedication party.
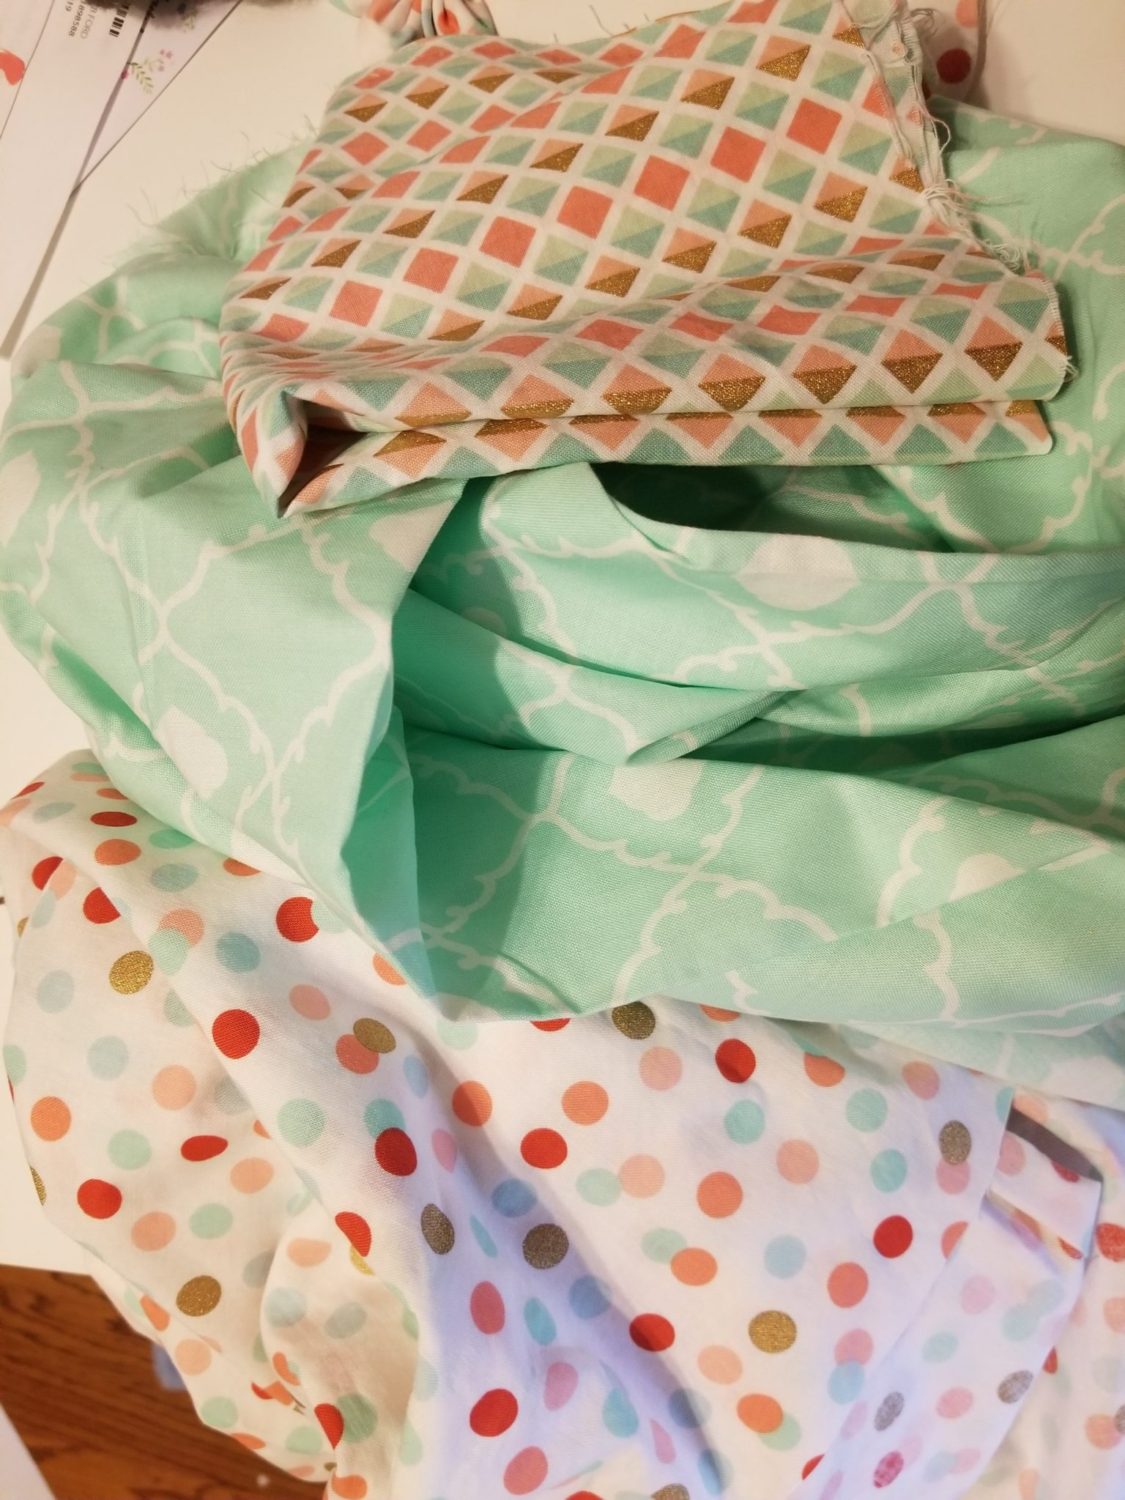
After doing her quilt, I also had a ton of fabric left over that I didn’t have any idea what to do with! Here’s the selection of scrap fabric I ended up using for this project:
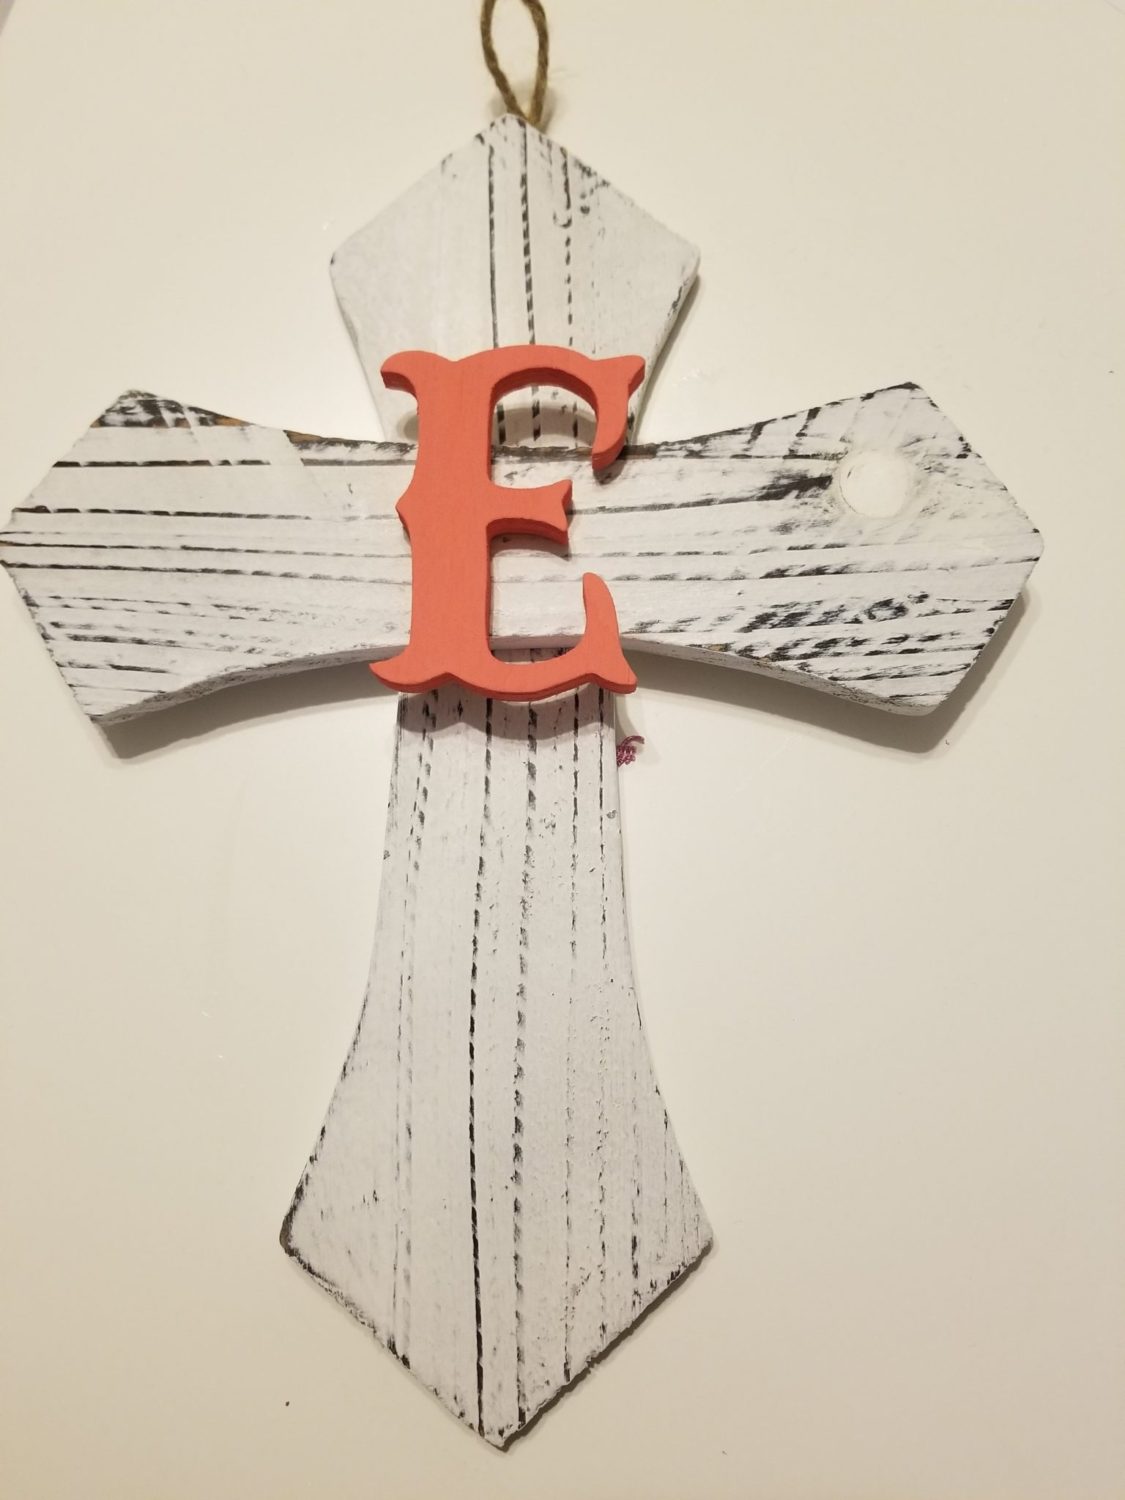
One day while browsing at Michael’s, I found a wooden cross on a great clearance deal. It had a nice structure to it, and it was already white-washed. One less step for me to have to paint it to get the fun vintage chic look.
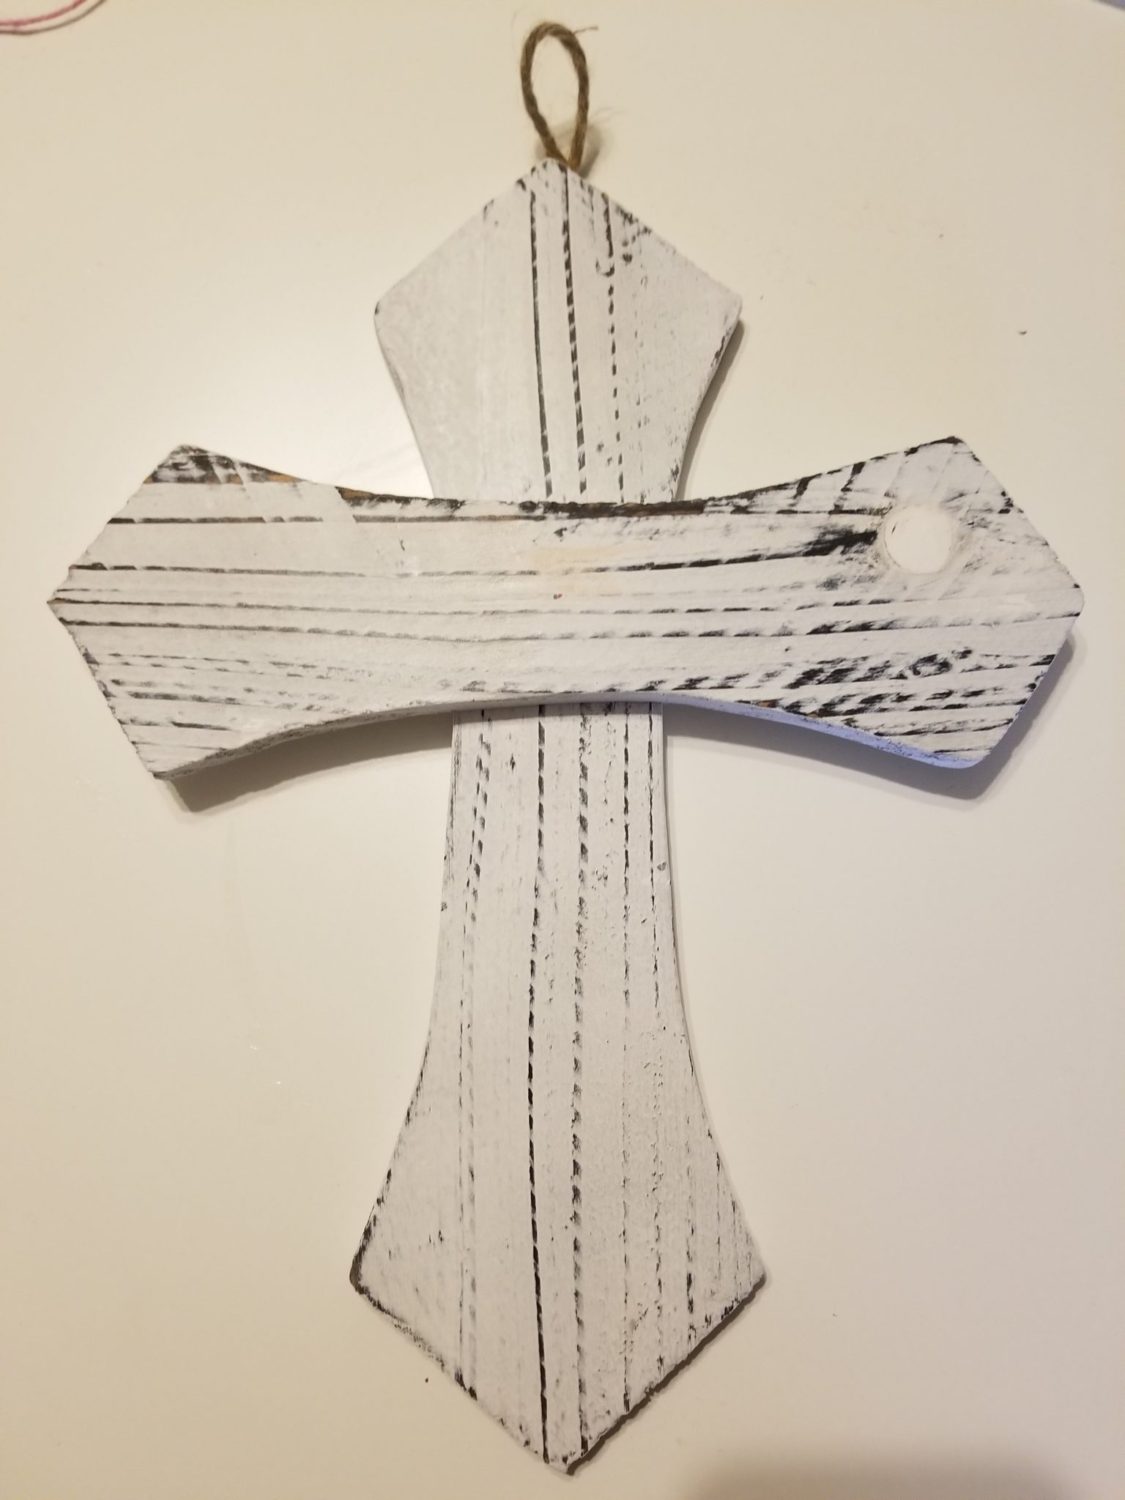
After purchasing the cross, I stumbled upon a Pinterest tutorial for how to make fabric flowers, and I was so excited! This would be a perfect way to use up the coordinating fabric. I also needed to find a way to cover up the big white circle on the right side of the cross. I’m pretty sure this is why the cross was on such a deal. Didn’t bother me, though!
How to Make a Wooden Cross With Fabric Flowers
I like to put initials on everything. I’m not sure why, but so many of the items in my daughter’s nursery have either her name or her initials on them.
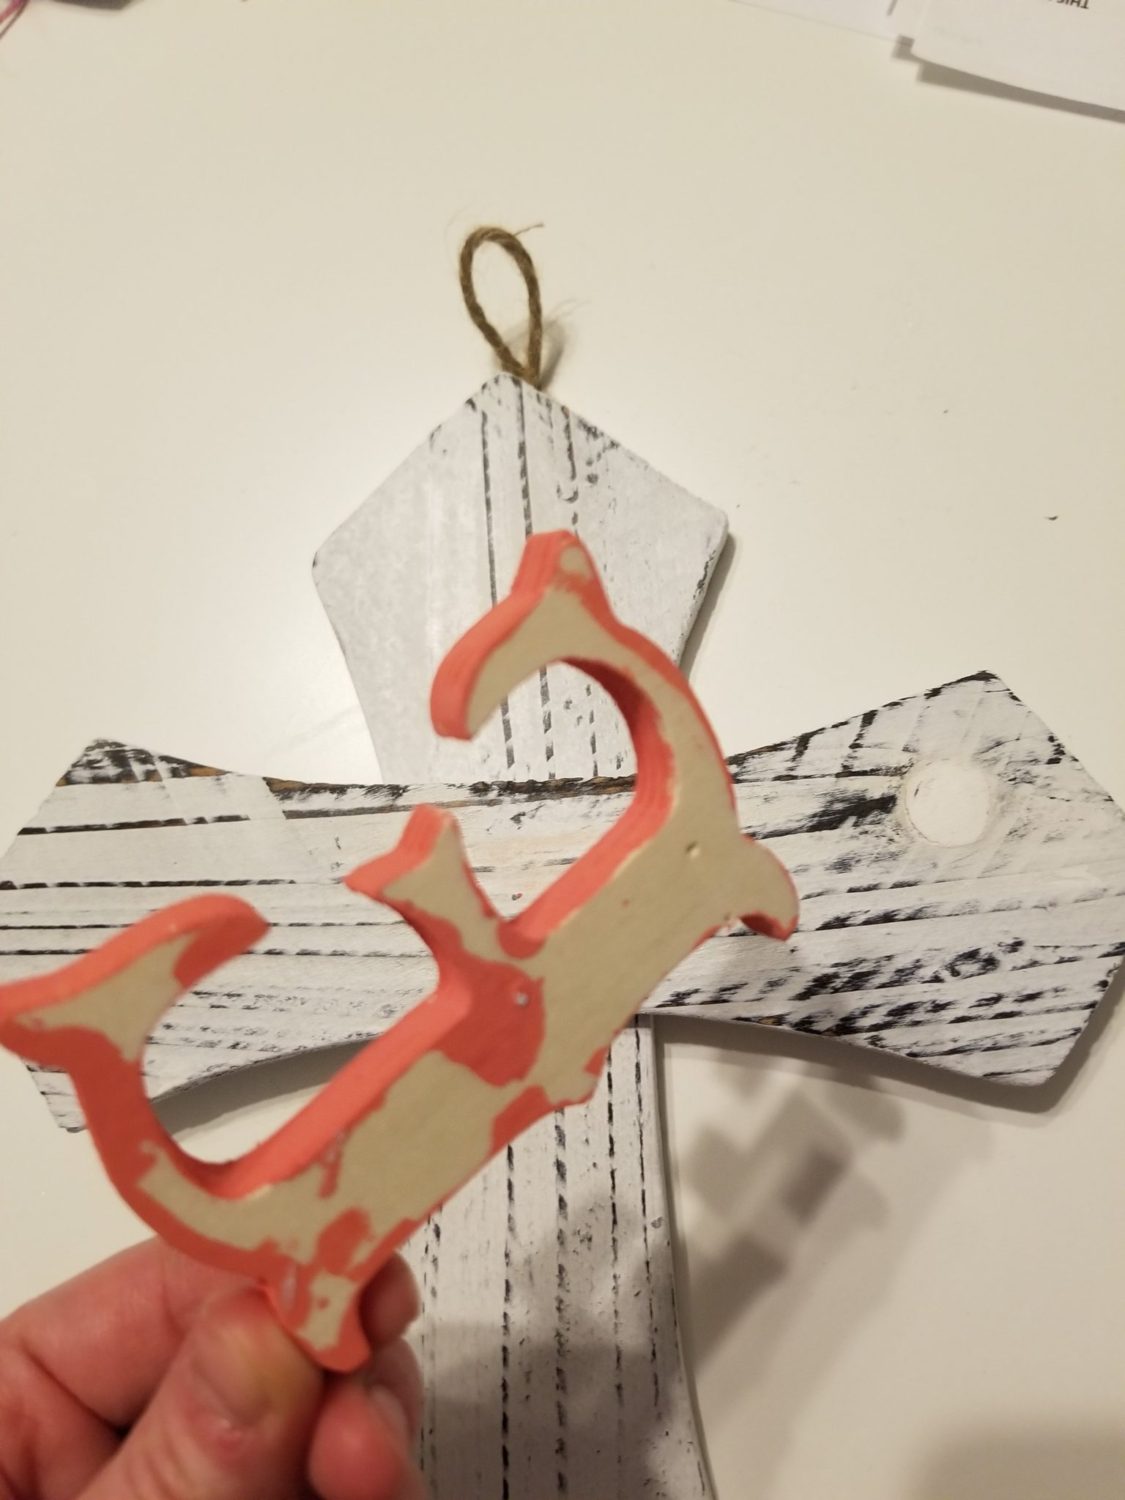
This project was no different, so I started by painting a wooden E with the salmon color that I used on her wood slice decor I showcased above. After it dried, I glued it on to the center of the wood.
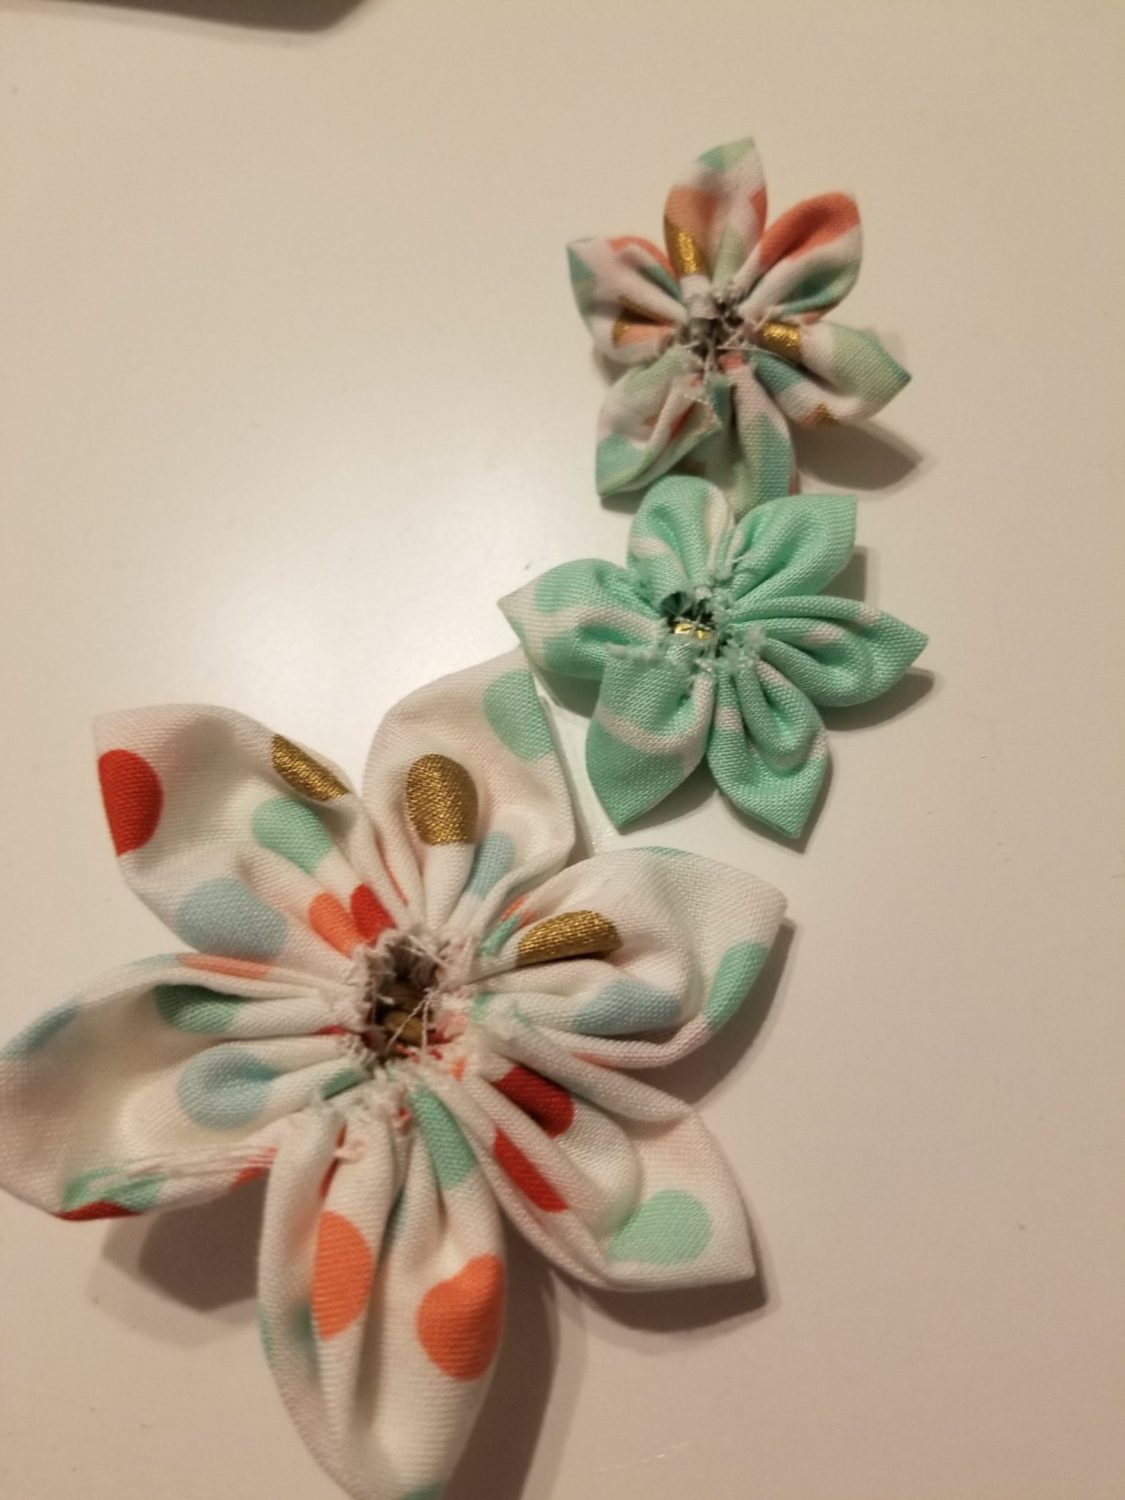
Now, time to make the fabric flowers. I loosely followed this tutorial but didn’t sew them together super close in the middle. Starting with circles of fabric, I folded them in fourths and sewed along the edge, stringing them all together. When I was done with the three flowers, here’s what they looked like:
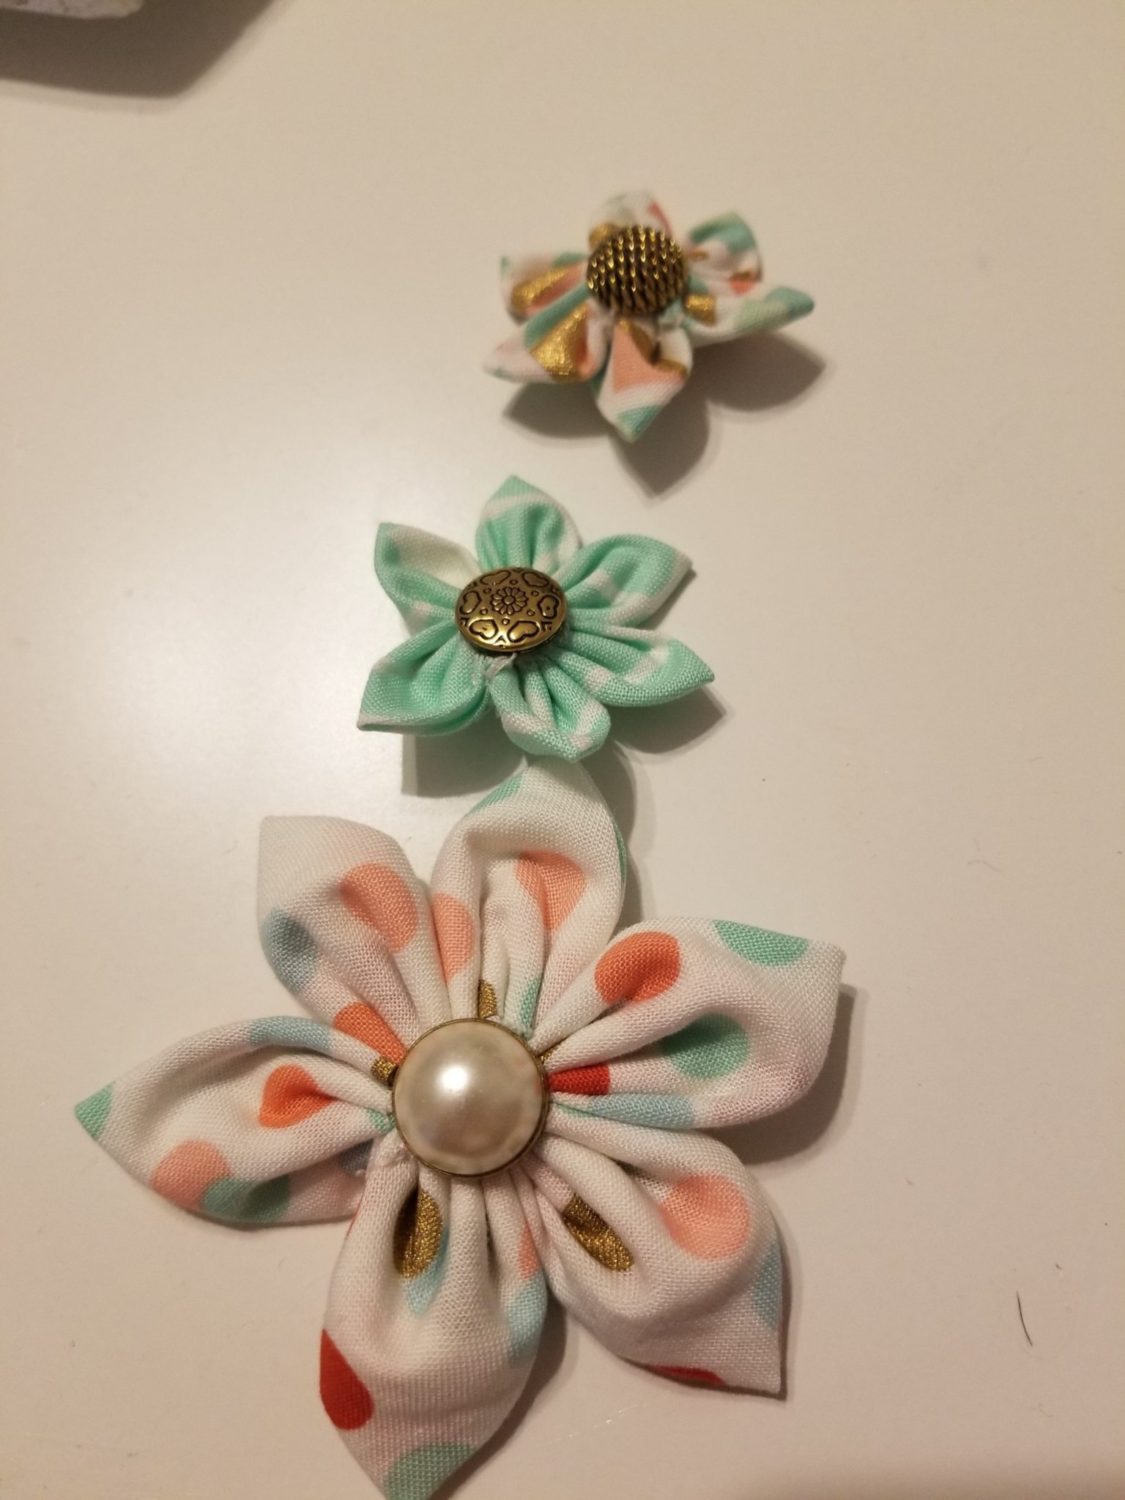
I have this rocking button collection I inherited from my Mom and have been adding to steadily over the last few years. After selecting three perfect vintage buttons, I glued them to the center of the fabric flowers. Perfection!
I then glued the button-enhanced fabric flowers to the right side of the wooden cross. And here’s the finished product! A fun scrap fabric craft that didn’t take more than an hour total!
Check out more of our DIY crafts!
